· Todd Martin · Home Improvement · 22 min read
How To Seal Particle Board Cabinets
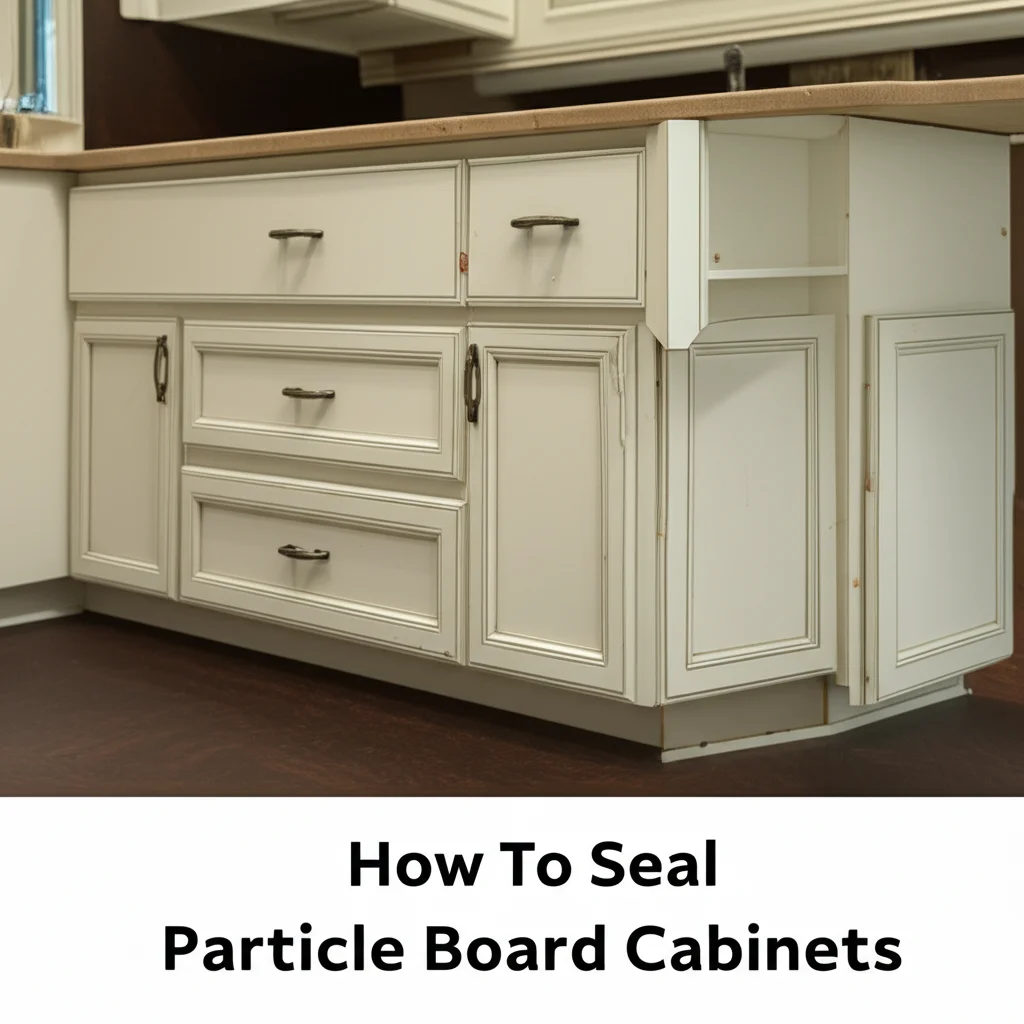
Seal Your Particle Board Cabinets for Lasting Durability
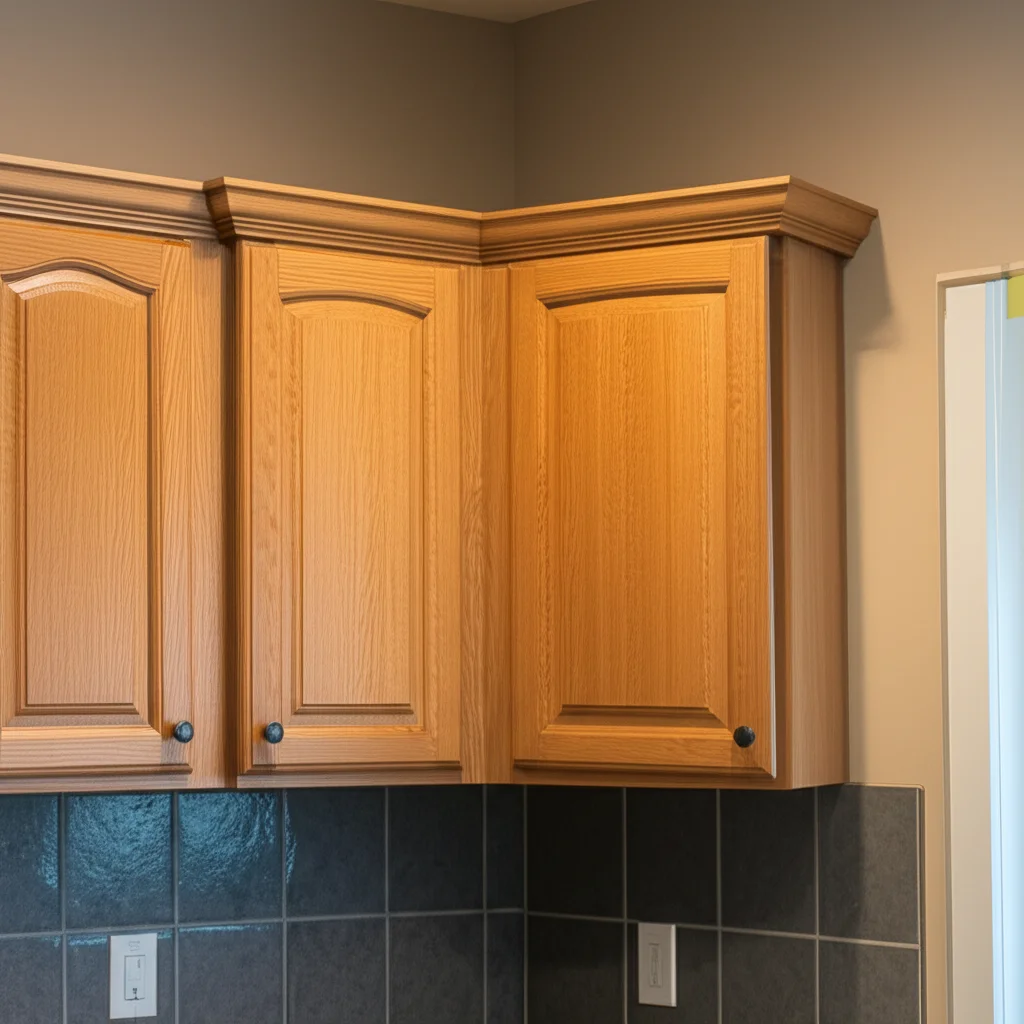
Particle board cabinets offer an affordable and versatile solution for various spaces in our homes. From kitchens to utility rooms, they serve many purposes. However, their core material, particle board, is very sensitive to moisture. This sensitivity means particle board cabinets can quickly swell, warp, and fall apart when exposed to water or high humidity. Learning how to seal particle board cabinets becomes an essential skill for any homeowner looking to extend their lifespan.
This guide will walk you through the entire process. We will cover the specific reasons why sealing is crucial. We will also detail the necessary tools and materials you need. Furthermore, you will learn comprehensive preparation techniques.
Finally, we will provide a step-by-step application process and offer tips for ongoing maintenance. By the end, you will possess the knowledge to effectively protect your particle board cabinets, ensuring they remain functional and attractive for years to come.
Takeaway:
- Protect Against Moisture: Sealing creates a barrier. This barrier prevents moisture absorption, a common cause of particle board damage.
- Enhance Durability: Sealed cabinets resist everyday wear and tear better. They also stand up to minor impacts.
- Improve Appearance: A proper seal provides a smooth, uniform finish. This finish makes your cabinets look more refined.
- Extend Lifespan: Sealing significantly prolongs the life of particle board cabinets. This saves you money on replacements.
You can effectively seal particle board cabinets by first cleaning and sanding the surfaces. Then, apply a high-quality primer to ensure adhesion. Finally, finish with multiple coats of a durable sealer like polyurethane or epoxy. This process protects the material from moisture and improves its longevity.
Understanding Particle Board: Why Sealing Matters
Particle board is an engineered wood product. It consists of wood chips, sawmill shavings, and sawdust. Manufacturers bind these small pieces together with a synthetic resin. They press this mixture under high heat. This process creates dense, rigid panels. Particle board is widely used for cabinets, furniture, and shelving. Its affordability makes it a popular choice.
However, particle board has a major weakness: moisture. Unlike solid wood, particle board acts like a sponge. It absorbs water quickly. When it absorbs water, the wood particles swell. The binding resins also break down. This causes the board to expand, warp, and lose its structural integrity. You will see bubbling, delamination, and crumbling. This damage is often irreversible.
The Vulnerability of Particle Board to Moisture
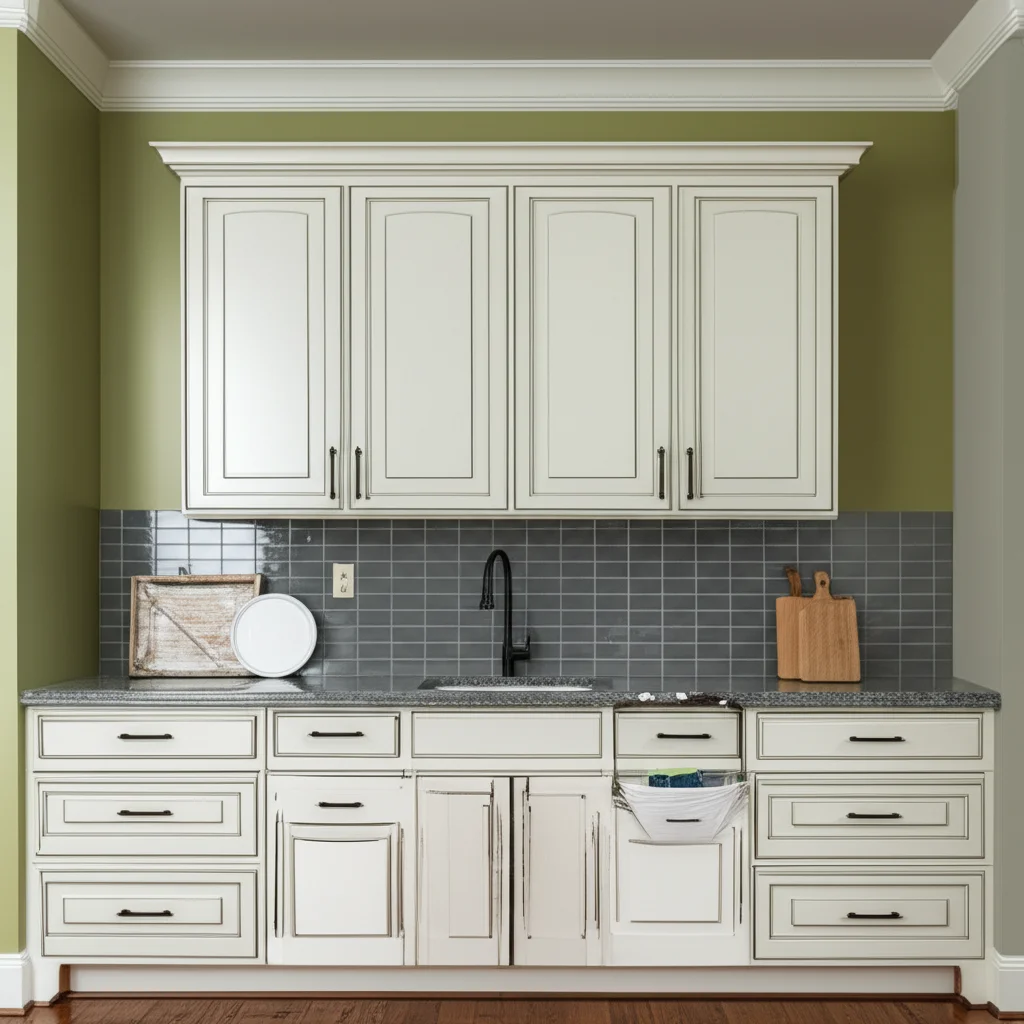
Everyday kitchen and bathroom environments present constant moisture risks. Splashes from sinks, steam from cooking, and humidity from showers all threaten particle board. Even cleaning with damp cloths can cause issues over time. Unsealed edges are particularly vulnerable. Water can seep into these exposed areas. This leads to internal swelling.
Consider a kitchen cabinet under a sink. A small leak from a pipe can devastate an unsealed particle board base. In a bathroom, steam from a hot shower can cause the cabinet doors to warp. These scenarios highlight the critical need for protection. Sealing forms a protective barrier. This barrier repels water and moisture. It keeps the core material dry.
Benefits of Sealing Particle Board Cabinets
Sealing particle board cabinets offers several significant advantages. First, it greatly extends their lifespan. By preventing moisture damage, you avoid premature replacement costs. Second, it enhances their durability. A sealed surface is more resistant to scratches and scuffs. This means your cabinets will look better for longer.
Third, sealing improves the aesthetic appeal. It provides a smoother, more uniform finish. This can make the cabinets look more polished and high-end. Fourth, it makes cleaning easier. Sealed surfaces are less porous. They do not trap dirt and grime as easily. A simple wipe-down is often enough. Regular cleaning, like learning how to clean particle board, becomes much more effective and safer for the material when it is properly sealed.
Essential Tools and Materials for Sealing Cabinets
Preparing your workspace and gathering the right items is crucial. This step ensures a smooth sealing process. You will need a variety of tools. You also need specific sealing materials. Having everything ready before you start saves time and prevents interruptions. Proper tools make the job easier and improve the final result.
Consider the type of sealer you plan to use. This choice affects other material selections. For instance, some sealers require specific types of brushes. Always read the product labels for application instructions. Safety gear is also a must. Protect yourself from fumes and dust.
Tools You Will Need
- Screwdriver/Drill: For removing cabinet doors and hardware.
- Sanding Blocks or Orbital Sander: Essential for surface preparation.
- Fine-Grit Sandpaper: 180-220 grit for initial sanding, 320-400 grit for between coats.
- Tack Cloths: For picking up fine dust particles after sanding.
- Microfiber Cloths: For cleaning surfaces.
- Drop Cloths or Plastic Sheeting: To protect your floor and surrounding areas.
- Painter’s Tape: For masking off areas you don’t want to seal.
- High-Quality Brushes and Rollers: Foam rollers give a smooth finish. Brushes are good for detailed areas.
- Paint Tray: For holding your primer and sealer.
- Stirring Sticks: To mix your primers and sealers thoroughly.
- Safety Glasses: To protect your eyes from dust and splatters.
- Gloves: To protect your hands from chemicals.
- Respirator Mask: To protect against fumes from primers and sealers. Ensure good ventilation in your work area.
Sealing Materials to Gather
- Degreaser/Cleaner: A strong cleaner to remove grease and grime from the cabinets.
- Wood Filler/Putty: For repairing any chips, dents, or damaged areas in the particle board.
- High-Quality Primer: Choose a primer specifically designed for engineered wood or one that blocks stains. A shellac-based primer is excellent for sealing porous particle board and preventing bleed-through.
- Your Chosen Sealer:
- Polyurethane: Very durable and water-resistant. Available in water-based (lower odor, faster drying) and oil-based (more durable, yellowing over time).
- Lacquer: Dries very fast and provides a hard, clear finish. Requires multiple thin coats.
- Epoxy Resin: Offers the strongest water protection and a very durable, thick finish. This is an excellent choice, similar to how one might seal a table top with epoxy.
- Varnish: Similar to polyurethane but often slower drying and can be more prone to brush marks.
- Marine-Grade Sealer: If your cabinets are in a very high-moisture area, a marine-grade product, often used to seal an outdoor wood table, offers superior moisture resistance.
- Mineral Spirits or Water: Depending on your chosen sealer, for cleaning brushes.
Remember to purchase enough material to apply multiple coats. It is better to have too much than to run out in the middle of a project. Always follow the manufacturer’s instructions for mixing and application.
Preparing Your Particle Board Cabinets for Sealing
Proper preparation is the most critical step in sealing particle board cabinets. It ensures the sealer adheres well. It also guarantees a smooth, durable finish. Skipping preparation steps can lead to peeling, bubbling, or an uneven appearance. Invest time here for the best results. A clean and smooth surface allows the sealer to perform its best.
This preparation phase involves several distinct tasks. Each task builds upon the last. Start by clearing the area. Then, meticulously clean the cabinet surfaces. Address any damage before sanding. Finally, ensure the surfaces are completely dust-free.
Step 1: Empty and Disassemble Cabinets
Begin by emptying all contents from your cabinets. Remove shelves, drawers, and any removable dividers. Next, detach all cabinet doors and drawer fronts. Label each piece and its corresponding hardware. This helps significantly during reassembly. Store hardware in labeled bags. This prevents losing small screws or hinges.
Removing components allows you to seal all surfaces evenly. It also protects hardware from paint or sealer. Work in an organized manner. This will streamline the entire project.
Step 2: Clean and Degrease Surfaces Thoroughly
Particle board surfaces often accumulate grease, grime, and dirt. These contaminants prevent proper adhesion of primers and sealers. Use a strong degreaser or a mild detergent solution. Mix it with warm water. Wipe down all surfaces, both inside and out. Pay special attention to areas near cooking zones if it’s a kitchen.
For stubborn grease, you might need to scrub gently with a soft brush or sponge. After cleaning, rinse the surfaces with a clean, damp cloth. Make sure all soap residue is gone. Allow the cabinets to dry completely before moving on. For comprehensive cleaning tips, consider reading about how to clean cabinets before painting. This article provides excellent methods for preparing various cabinet types.
Step 3: Inspect and Repair Any Damage
Particle board is prone to chips, dings, and swelling. Inspect all surfaces carefully. Look for any damaged areas. Use wood filler or putty to repair these imperfections. Apply the filler according to the product instructions. Overfill slightly, as it may shrink when dry.
For swollen areas, you might need to sand them down first. Allow the filler to dry completely. This can take several hours, depending on the product. Ensure repairs are flush with the surrounding surface.
Step 4: Sand the Particle Board for Adhesion
Sanding creates a profile for the primer and sealer to grip. Start with 180-grit or 220-grit sandpaper. Lightly sand all surfaces. Do not press too hard. You are not trying to remove material. You are only scuffing the surface. This step also helps smooth out minor imperfections and repaired areas. For a deeper understanding of general cabinet cleaning, exploring resources like how to clean wood cabinets can provide additional context and techniques for proper surface preparation.
After initial sanding, wipe away all dust with a clean, dry cloth. Then, use a tack cloth. A tack cloth picks up fine dust particles. Repeat this step meticulously. Any dust left behind will show in your finished seal.
Step 5: Mask Off Adjacent Areas
Use painter’s tape to protect any areas you do not want to seal. This includes walls, countertops, and inside cabinet frames if you are only sealing the exteriors. Press the tape down firmly. This prevents bleed-through. Remove tape carefully after the final coat has dried.
Step-by-Step Guide to Applying Your Sealer
Once your particle board cabinets are thoroughly prepared, you are ready to apply the primer and sealer. This stage requires patience and careful application. Rushing can lead to an uneven finish or inadequate protection. Always work in a well-ventilated area. Follow the manufacturer’s drying times precisely. Proper application ensures maximum durability and a professional look.
Remember, multiple thin coats are always better than one thick coat. This approach minimizes drips and promotes better adhesion. It also results in a smoother, more resilient finish.
Step 1: Apply the Primer Coat
Pour your chosen primer into a clean paint tray. Stir it well before use. Use a high-quality brush for corners and detailed areas. Use a foam roller for flat surfaces. Apply a thin, even coat of primer to all prepared particle board surfaces. Work in one direction, overlapping slightly.
Particle board is very porous. It will absorb a lot of primer. Do not over-apply. Just ensure good coverage. Allow the primer to dry completely. Check the product label for specific drying times. This is typically 2-4 hours. Some primers may require a second coat for optimal sealing and stain blocking. A good primer creates a solid foundation, crucial for achieving a smooth finish on cabinets.
Step 2: Lightly Sand After Priming (Optional but Recommended)
Once the primer is fully dry, lightly sand the surface with 320-grit or 400-grit sandpaper. This step removes any minor imperfections or raised grain from the primer coat. It creates an even smoother base for your sealer. This light sanding is often called “scuff sanding.”
Wipe away all dust thoroughly with a tack cloth after sanding. Ensure no dust particles remain. Dust can ruin the smoothness of your final sealer coat.
Step 3: Apply the First Coat of Sealer
Stir your chosen sealer well. Pour it into a clean paint tray. Apply the first coat of sealer using a clean brush and roller. Apply thin, even coats. Avoid drips and heavy spots. Work efficiently but carefully. Cover all surfaces. For cabinet doors, work on one side at a time. Let each side dry completely before flipping.
The first coat of sealer might look uneven. This is normal. Focus on even coverage, not perfection. Pay attention to edges and corners, as these are vulnerable spots.
Step 4: Allow Proper Drying and Re-Coat
Refer to the sealer’s instructions for drying times between coats. This varies significantly between products (e.g., polyurethane might be 4-6 hours, lacquer much faster). Do not rush this step. Applying a new coat too soon will cause stickiness, uneven drying, and an inferior finish.
Once dry, lightly sand with 320-grit or 400-grit sandpaper again. This ensures proper adhesion for subsequent coats. Always clean dust with a tack cloth after each sanding. Apply a second coat of sealer. Many projects benefit from a third coat for maximum durability and protection. Repeat the sanding and cleaning process before each subsequent coat.
Step 5: Final Curing and Reassembly
After applying the final coat, allow the sealer to cure completely. Curing time is longer than drying time. It allows the sealer to reach its full hardness and protective qualities. This can range from 24 hours to several days, depending on the product. Avoid placing heavy objects on the cabinets during this time.
Once fully cured, carefully reattach all hardware, doors, and drawers. Reinstall shelves and put contents back into your now protected cabinets. Enjoy your newly sealed and durable particle board cabinets.
Choosing the Right Sealing Product for Durability
Selecting the correct sealing product is just as important as the application process. Different sealers offer varying levels of protection, durability, and aesthetic finishes. Your choice should depend on the cabinet’s location, expected exposure to moisture, and desired final look. Understanding the properties of each type helps you make an informed decision.
Consider factors like drying time, odor, and ease of application. Some sealers are more user-friendly for DIYers. Others require more specialized equipment or ventilation. Always research the product before purchase.
Polyurethane: A Popular and Durable Choice
Polyurethane is one of the most common and versatile sealers for wood products, including particle board. It provides a hard, durable, and water-resistant finish. It comes in two main types:
- Water-Based Polyurethane: This type dries quickly. It has low odor and cleans up with water. It offers good protection. It is less prone to yellowing over time. This makes it a great choice for light-colored cabinets.
- Oil-Based Polyurethane: This type is more durable than water-based versions. It offers superior scratch and chemical resistance. However, it takes longer to dry. It also has a stronger odor. Oil-based polyurethane can yellow light colors over time. This creates a warm, amber tone.
Both types are available in different sheens: matte, satin, semi-gloss, and high-gloss. This allows you to achieve your desired look.
Lacquer: Fast Drying and Hard Finish
Lacquer provides a very hard, durable, and clear finish. It dries extremely fast, allowing for multiple coats in a single day. This speed is a significant advantage. Lacquer also offers good moisture resistance once fully cured. It produces a professional, smooth surface.
However, lacquer has a strong odor. It requires excellent ventilation. It is often applied with a spray gun for the best results. Brushing lacquer can be challenging due to its fast drying time. It may show brush marks if not applied quickly and expertly.
Epoxy Resin: Ultimate Moisture Protection
Epoxy resin offers the most robust protection against water and chemicals. It creates a thick, durable, and waterproof barrier. Epoxy is an excellent choice for cabinets in high-moisture areas. Examples include bathroom vanity bases or laundry room cabinets. It cures to a very hard, glass-like finish.
Epoxy is typically a two-part system. You mix a resin and a hardener just before application. It has a longer working time than lacquer. However, it takes longer to fully cure. Application can be tricky. It requires precise mixing ratios. It can be more expensive than other sealers. For detailed information on this robust material, exploring how to seal a table top with epoxy can provide valuable insights into its application and benefits.
Shellac: Good for Sealing and Adhesion
Shellac is a natural resin. It is an excellent choice as a primer for particle board. It effectively seals porous surfaces. It also blocks stains and odors. Shellac dries very quickly. It creates a good adhesion layer for topcoats like polyurethane.
As a topcoat sealer, shellac is not as durable or water-resistant as polyurethane or epoxy. It is more susceptible to heat and alcohol damage. Therefore, it is often best used as a preparatory sealer or for light-use cabinets.
Varnish and Other Clear Coats
Varnish is a traditional wood finish. It contains resin, oil, and a solvent. It provides good durability and moisture resistance. Varnish is often slower drying than polyurethane. It can also be prone to brush marks. It is a good general-purpose clear coat.
Some specialized clear coats, including marine-grade options, offer enhanced protection. These are designed for extreme moisture exposure. They are often used for outdoor wood projects. Using a product designed to seal an outdoor wood table could provide maximum protection for indoor particle board in very damp environments. These products offer superior water repellency.
Maintaining Your Sealed Particle Board Cabinets
Sealing your particle board cabinets is an investment in their longevity. Proper ongoing maintenance is essential to preserve that investment. Even the most durable sealers require care. Regular cleaning and attention to small issues prevent major problems later. This ensures your cabinets continue to look good and perform well for many years.
Neglecting sealed surfaces can degrade the protective layer over time. This exposes the vulnerable particle board beneath. Simple, consistent care extends the life of your seal. It also keeps your cabinets looking fresh.
Regular Cleaning for Longevity
Clean your sealed particle board cabinets regularly. Use a soft, damp cloth. A mild, non-abrasive cleaner is best. Avoid harsh chemicals, ammonia-based cleaners, or abrasive sponges. These can damage the sealer. Always wipe up spills immediately. Do not let liquids sit on the surface. This is especially true for acidic liquids or those containing dyes.
For kitchen cabinets, grease buildup is common. Use a dedicated kitchen degreaser that is safe for sealed surfaces. Spray it onto a cloth, then wipe the cabinets. Do not spray directly onto the cabinets, as excess liquid can seep into seams. Always dry the cabinets thoroughly after cleaning. Learning how to clean particle board generally involves careful, non-abrasive methods, which become even more effective and safe once the board is sealed. Similarly, the principles for maintaining other wood surfaces, such as how to clean wood cabinets, apply well here, focusing on gentle care to preserve the finish.
Protecting Against Scratches and Impacts
While sealing enhances durability, particle board is still softer than solid wood. It can scratch or dent. Use cutting boards on countertops. Avoid dragging heavy objects across cabinet surfaces. Place protective pads on the bottoms of any items stored inside or on top of the cabinets. For instance, put felt pads under decorative items.
In high-traffic areas, consider adding decorative contact paper or liners to shelves. This adds an extra layer of protection. Be mindful when closing doors and drawers. Avoid slamming them. This prevents unnecessary wear on the finish.
Dealing with Minor Damage and Re-sealing
Even with the best care, minor damage can occur. Small scratches or scuffs can often be buffed out. Use a soft cloth and a small amount of the same type of sealer you used originally. Apply it very thinly. Minor chips can be filled with wood filler. Then, lightly sand the area. Reapply the primer and sealer to that specific spot. Feather the edges to blend it with the existing finish.
Over time, especially in high-use areas, your sealer may wear down. This typically happens after several years. You might notice the finish looking dull or feeling less smooth. This is a sign it might be time to re-seal. Lightly sand the entire cabinet surface with fine-grit sandpaper (e.g., 320-grit). Clean all dust thoroughly. Then, apply one or two fresh coats of your chosen sealer. This revitalizes the protection and appearance of your cabinets.
Troubleshooting Common Sealing Challenges
Even with careful preparation and application, you might encounter issues. Problems like bubbling, uneven finishes, or poor adhesion can be frustrating. Understanding why these problems occur helps you fix them. It also helps prevent them in future projects. Most issues stem from inadequate surface preparation or improper application techniques. Addressing these challenges effectively ensures a professional-looking and durable result.
Do not get discouraged if a problem arises. Many common issues have simple solutions. Patience and a willingness to re-do a small section can make a big difference.
Problem 1: Bubbling or Blistering
Cause: Bubbles usually form due to trapped air or moisture. This can happen if the surface was not completely clean and dry before sealing. Applying the sealer too thickly can also trap air. High humidity during application is another factor. Applying sealer over a porous surface that releases air as it dries can also cause this.
Solution:
- Small Bubbles: If the sealer is still wet, you can gently run a foam roller or brush over the area to release the bubbles.
- Dry Bubbles: Once dry, sand the bubbled area down until smooth. You might need to go down to the primer layer. Clean thoroughly. Then, reapply thin coats of sealer. Ensure good ventilation. Avoid applying in high humidity.
Problem 2: Uneven Finish or Streaks
Cause: This often results from uneven application. Using too much pressure with a brush or roller can cause thick spots and streaks. Not stirring the sealer thoroughly can also lead to inconsistent sheen. Dirty application tools can also leave marks. Applying coats too quickly without sufficient drying time between them also contributes.
Solution:
- Wet Sealer: If the sealer is still wet, lightly go over the area with a foam roller to even it out.
- Dry Sealer: Allow the sealer to dry completely. Lightly sand the uneven area with fine-grit sandpaper. This removes the streaks. Clean the dust. Then, apply another thin, even coat of sealer. Use consistent pressure. Work in smooth, overlapping strokes.
Problem 3: Poor Adhesion or Peeling
Cause: The sealer is not sticking properly to the particle board or primer. This is almost always due to improper surface preparation. Common culprits include not cleaning or degreasing the surface adequately. Failing to sand sufficiently is another reason. Applying sealer over a dusty surface also causes poor adhesion. An incompatible primer or sealer can also be an issue.
Solution:
- Peeling: You must remove the peeling sealer. Sand the area down to the bare particle board or the firmly adhering primer layer. Re-clean and re-sand. Apply a new coat of primer. Then, apply thin, even coats of sealer. Ensure surfaces are spotless before application. If you think the primer and sealer are incompatible, choose products from the same manufacturer. Ensure the primer is suitable for engineered wood.
Problem 4: Dull Spots or Lack of Luster
Cause: This usually happens when the sealer is applied too thinly. It can also occur if the surface was not evenly primed. Insufficient coats can also be the reason. Dirt or dust on the surface during application can also dull the finish. Sometimes, an oil-based sealer applied over a water-based primer can have adhesion issues leading to dullness.
Solution:
- Dull Spots: Ensure the surface is clean. Lightly sand the entire cabinet surface with fine-grit sandpaper. Clean all dust. Apply an additional thin, even coat of sealer. Ensure full coverage. For consistent luster, apply the recommended number of coats for your chosen product.
Problem 5: Slow Drying or Tackiness
Cause: This problem indicates that the sealer is not curing properly. Common reasons include applying coats too thickly. High humidity or low temperatures can also significantly slow drying times. Poor ventilation in the work area can trap solvent vapors. Using an old or expired product can also be a factor. Sometimes, mixing two-part sealers incorrectly can cause tackiness.
Solution:
- Tackiness: Increase ventilation in the area using fans. Increase the room temperature if it is too cold. Wait longer. Some sealers take days to fully cure. If the sealer remains tacky for an unusually long time (e.g., more than 24-48 hours past the recommended drying time), you might need to remove it. You can use mineral spirits or a solvent recommended by the manufacturer. Then, reapply properly. Ensure you are applying thin coats. Check the product’s expiration date. Ensure precise mixing for two-part systems.
By understanding these common challenges, you can approach your sealing project with confidence. You will know how to react if something does not go as planned.
FAQ Section
Q1: How long does sealed particle board last?
A1: The lifespan of sealed particle board cabinets depends on several factors. These include the quality of the sealing product used. It also depends on the application method. Environmental conditions and how well you maintain them play a role. Generally, a properly sealed cabinet can last 5-10 years or more. High-quality epoxy or polyurethane provides longer protection. Regular re-sealing every few years in high-moisture areas helps extend this.
Q2: Can I paint over sealed particle board cabinets?
A2: Yes, you can paint over sealed particle board cabinets. The key is proper preparation. You must first clean and lightly sand the sealed surface. This creates a profile for the new paint to adhere to. Then, apply a high-quality primer designed for glossy or previously finished surfaces. Finally, apply your chosen paint. This ensures good adhesion and a smooth finish.
Q3: Is it necessary to seal the inside of particle board cabinets?
A3: Sealing the inside of particle board cabinets is highly recommended, especially in high-humidity areas like kitchens and bathrooms. The interior surfaces are also exposed to moisture, albeit indirectly. Sealing the inside offers complete moisture protection. It prevents odors from being absorbed. It also makes cleaning the interior much easier. If you want full protection, seal all surfaces.
Q4: What is the best sealer for particle board in a bathroom?
A4: For bathroom particle board cabinets, epoxy resin is often the best choice due to its superior water resistance. It creates a waterproof barrier. Marine-grade varnishes or oil-based polyurethanes also offer excellent moisture protection. They are highly durable. Water-based polyurethanes can work but may offer less robust long-term moisture defense compared to epoxy or oil-based options.
- particle board cabinets
- seal particle board
- cabinet protection
- moisture damage
- DIY home improvement

Todd Martin
Senior Writer
With over 15 years of experience in home renovation and design, I started HEG to share what I’ve learned with homeowners who want to create spaces that are both beautiful and functional. I’ve always believed in a hands-on approach, and over the years, I’ve picked up practical solutions that actually work. Through HEG, I aim to make home improvement more approachable, sharing real tips that help you create a home you truly love.