· Davia Murnell · Home Improvement · 14 min read
How To Remove Glass From Cabinet Doors
How To Remove Glass From Cabinet Doors Safely & Easily
Are your cabinet doors looking tired? Perhaps a pane of glass is cracked, or you just want a new look for your kitchen. Removing glass from cabinet doors can seem like a daunting task. However, with the right approach and a focus on safety, it is a project you can handle. This guide will walk you through each step, from gathering tools to tackling different glass retention methods. You will learn how to remove glass from cabinet doors without damage. This process makes way for repairs, a fresh coat of paint, or new decorative inserts.
Takeaway:
- Always prioritize safety with proper gear.
- Understand different glass retention methods.
- Work slowly and carefully to prevent damage.
- Prepare your workspace before starting.
To remove glass from cabinet doors, first gather safety gear and tools like a utility knife, heat gun, and putty knife. Next, take the cabinet door off its hinges and place it on a protected surface. Identify how the glass is held in place—usually with trim, silicone, or clips—then carefully remove these fasteners to free the glass.
Gather Your Tools & Safety Gear for Glass Removal
Beginning any home project requires proper preparation. Removing glass from cabinet doors is no exception. Having the correct tools makes the job easier and safer. You want to protect yourself and your cabinet door during the process.
Essential Tools You Need
Before you start, collect all the necessary items. You might already own many of these. A utility knife is crucial for cutting sealants. A putty knife or chisel helps pry off trim. You will also need a heat gun for softening old silicone. Pliers can help with small fasteners. A screwdriver set is useful for hinges and some clips. Finally, strong work gloves are a must-have item.
Crucial Safety Precautions
Safety must be your top priority. Glass can be sharp and dangerous. Always wear heavy-duty work gloves to protect your hands from cuts. Safety glasses are also essential to shield your eyes from flying debris. Lay down a drop cloth or old blankets on your work surface. This protects both the door and the floor. Clear your workspace to avoid tripping hazards. A clean and organized area helps you focus. Remember, rushing leads to mistakes. Take your time with each step. Knowing how to clean glass doors can also help you understand the material better, even before you start the removal.
Preparing Your Cabinet Door for Safe Disassembly
Proper preparation sets the stage for a successful glass removal. You cannot just start prying at the glass while the door is still hanging. Taking the door off ensures stability and safety. It also gives you better access to the glass retaining elements.
Removing the Cabinet Door
Start by emptying the cabinet if it contains items. Use a screwdriver to detach the hinges from the cabinet frame. Most cabinet doors use standard screws. Support the door as you remove the last screw to prevent it from falling. You may need a helper for larger or heavier doors. Place all screws and hardware in a small bag or container. This prevents loss and makes reassembly easier. Keeping track of hardware saves time later.
Setting Up Your Workspace
Once the door is off, find a stable, flat surface to work on. A workbench or a sturdy table works well. Cover the surface with a moving blanket, an old towel, or a drop cloth. This padding protects the cabinet door’s finish from scratches or dents. It also provides a soft landing if the glass slips during removal. Ensure the area is well-lit. Good lighting helps you see small details and potential hazards. Having enough space to move around freely is also important. Knowing how to hang cabinet doors with exposed hinges can be a useful skill once your project is complete.
Identifying Glass Retention Methods in Cabinet Doors
Cabinet manufacturers use various methods to secure glass panes. Knowing how your specific cabinet door holds the glass is key. This knowledge dictates which removal technique you will use. Do not try to force the glass out before understanding its attachment. Each method requires a different approach.
Wood Trim or Moldings
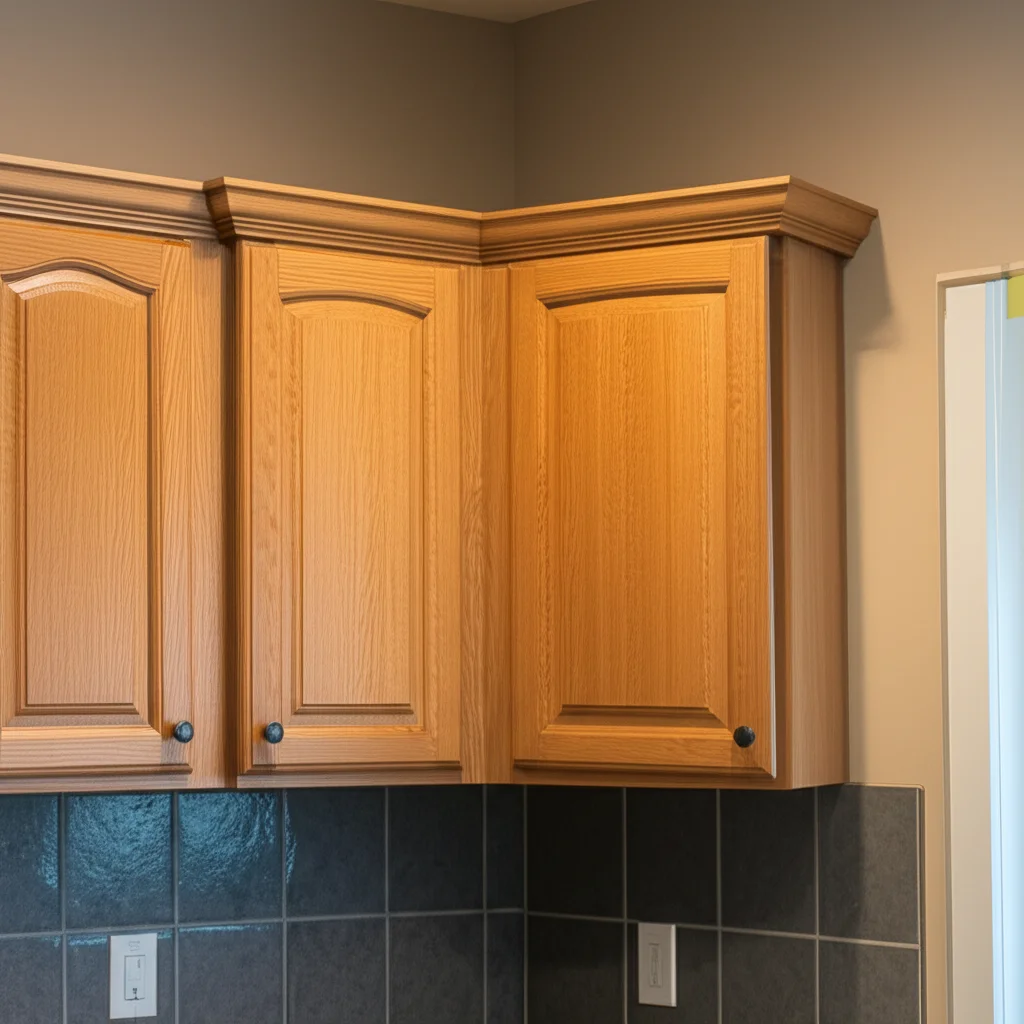
Many traditional cabinet doors feature wood trim or moldings around the glass. These pieces create a decorative frame. They are typically held in place with small brad nails or staples. Sometimes, they use a bit of wood glue as well. You will see a thin line where the trim meets the door frame. These trims are often thin and delicate. They can break easily if you are not careful. This method is common in classic or shaker-style cabinets. Learning how to put trim on cabinet doors can give you insights into how these pieces are attached.
Silicone or Glazing Compound
Modern cabinet doors often use silicone caulk or a glazing compound. This material forms a seal directly around the glass edge. It holds the glass firmly in the frame. Silicone provides a clean, seamless look. It also makes the door more resistant to moisture. You will see a flexible, rubbery bead along the glass edge. This bead needs to be cut or softened for glass removal. Old silicone can be very stubborn and hard. It might require more effort to remove.
Clips or Tabs
Some cabinet doors, especially those with thin glass or simple designs, use clips or tabs. These are small metal or plastic pieces. They are screwed or pushed into the wood frame from the back. They press against the glass edge to hold it in place. You will see these small fasteners along the perimeter of the glass on the back side of the door. They are often easy to spot and remove with a screwdriver or pliers. This method is common in more contemporary or budget-friendly cabinets.
Step-by-Step Guide to Removing Wood Trim or Moldings
Removing wood trim requires precision and patience. This method is common in older or more ornate cabinet doors. The goal is to detach the trim without damaging it or the door. Take your time to avoid splintering the wood.
Locate the Seams: Carefully inspect the wood trim around the glass. You will see where the trim pieces meet each other or the door frame. Look for any visible nails or staples. Mark these spots if it helps.
Score the Paint/Finish: If the trim is painted or varnished, use a utility knife to score along the seams. Cut where the trim meets the door frame. This prevents the paint from peeling off the main door frame. This step also ensures a cleaner break. Make shallow cuts to avoid damaging the wood underneath.
Gently Pry the Trim: Insert a thin putty knife or a small, flat chisel into a seam. Choose a less visible spot if possible. Gently tap the handle of the tool with a rubber mallet. This action creates a small gap. Avoid using too much force. Widen the gap slowly. Move the tool along the trim piece, prying it up little by little. You may hear small pops as nails release.
Remove Nails/Staples: Once a piece of trim is loose, pull it off completely. Use needle-nose pliers or a nail puller to remove any remaining nails or staples from the trim or the door frame. Store the trim pieces and fasteners safely. You might want to reuse them. After the glass is removed, consider giving the cabinet a thorough cleaning to prepare for its next phase.
Lift the Glass: With all trim removed, the glass should be loose. Carefully lift the glass pane from the opening. If it feels stuck, check for any remaining nails or old adhesive. Place the glass on a soft, padded surface.
Removing Glass Secured by Silicone or Glazing Compound
Silicone or glazing compound can be tricky to remove. This material forms a strong, flexible bond. It requires a different approach than wood trim. You need to cut or soften the sealant for successful removal.
Score the Silicone Bead: Use a sharp utility knife to cut along both edges of the silicone bead. Make a continuous cut where the silicone meets the glass. Then, cut where it meets the wooden frame. This breaks the seal. You might need to make several passes. Keep the blade angle low to avoid scratching the glass or wood.
Soften Stubborn Silicone (Optional): If the silicone is old and hard, it can be difficult to cut. A heat gun can help soften it. Set the heat gun to a low-to-medium setting. Hold it a few inches away from the silicone. Move it constantly to avoid burning the wood. The silicone will become softer and more pliable. This makes cutting easier. Be careful not to overheat the glass.
Pry Off the Silicone: Once scored and softened, use a putty knife or a specialized silicone removal tool. Insert it under the silicone bead. Gently pry it away from the glass and frame. Work slowly around the entire perimeter. The goal is to remove as much of the sealant as possible. You may need to use the utility knife again to cut through any remaining stubborn spots.
Clean Residue: After removing the bulk of the silicone, residue might remain on the glass or wood. Use a plastic scraper or a razor blade (carefully!) to scrape off stubborn bits from the glass. Mineral spirits or rubbing alcohol can help dissolve sticky residue from the wood. Always test these cleaners in an inconspicuous area first. Learn how to clean adhesive off glass for thorough cleanup.
Remove the Glass: With the silicone fully detached, the glass should now be loose. Carefully lift the glass pane from the opening. Place it safely on a padded surface.
How to Handle Clips, Tabs, or Other Fasteners
Clips, tabs, and similar fasteners offer the simplest method for glass retention. These are often found on the backside of the cabinet door. They are designed for easy installation and removal. Identifying them is the first step to successful glass removal.
Locate the Fasteners: Turn the cabinet door over so the back side faces up. Look along the edges of the glass opening. You will see small metal or plastic clips, L-shaped brackets, or retaining tabs. They are usually spaced evenly around the perimeter. Count how many there are. This helps ensure you remove them all.
Unscrew or Unclip: Most clips are held in place by small screws. Use a screwdriver to carefully unscrew each one. If they are spring clips, you might just need to pull them outwards or twist them to release the tension. Plastic tabs might simply snap into place and require gentle prying with a flathead screwdriver. Avoid bending or breaking them if you plan to reuse them. Keep all screws in a separate container. This prevents them from getting lost.
Remove Spacers (If Present): Some cabinet doors use small plastic or rubber spacers. These sit between the glass and the wood frame. They absorb shock and prevent rattling. Remove these spacers once the clips are off. They are usually just pressed into place. Keep them with the clips and screws. They are important for proper glass installation later.
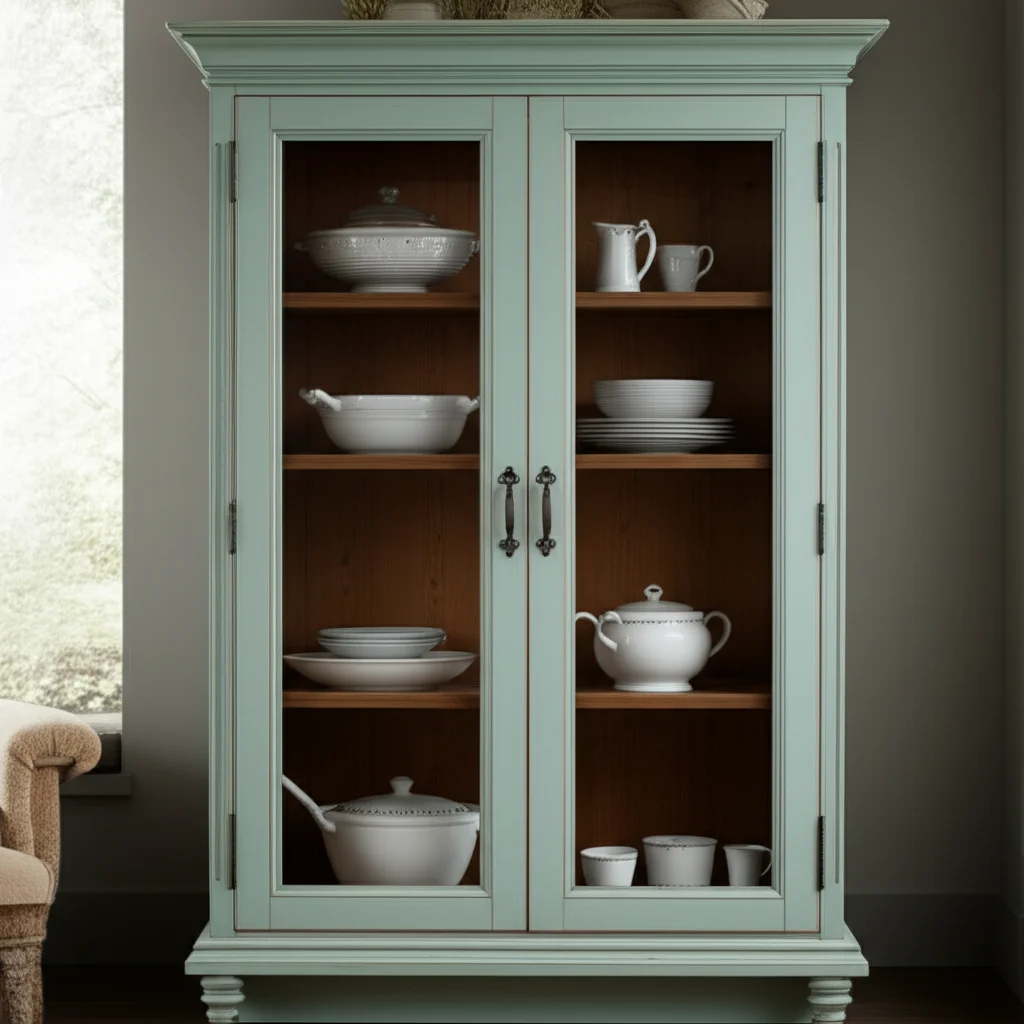
Carefully Lift the Glass: With all fasteners removed, the glass pane will be loose. Gently lift the glass straight up and out of the opening. Be prepared for it to slide out. Support it fully to prevent it from dropping. Place the glass on a soft, padded surface immediately. This ensures its safety. If you are moving a larger piece like a china cabinet with glass, similar careful handling is required for the glass components.
Final Steps After Glass Removal & What’s Next
Once the glass is safely removed, your project is not over. There are crucial final steps to prepare the cabinet door for its next phase. Whether you are replacing the glass, painting the door, or installing a new insert, proper preparation ensures a smooth transition.
Clean the Opening: Inspect the inner edges of the cabinet door frame. Remove any lingering bits of old silicone, dried glue, or small splinters. A utility knife or a chisel can help scrape away stubborn debris. Sand the edges lightly if they are rough. A clean, smooth opening is essential for whatever comes next. It helps new materials fit perfectly.
Prepare the Door: Decide on your next step for the cabinet door.
- Painting: If you plan to paint the door, now is the perfect time. Sand the entire door surface. Clean it thoroughly to remove dust and grease. Apply primer before painting.
- New Glass: If installing new glass, measure the opening precisely. Order glass that fits snugly but has a small clearance for expansion.
- New Inserts: Perhaps you want to replace glass with cane webbing, fabric, or solid wood panels. Measure and cut your material to fit the opening.
- No Insert: If you are leaving the opening empty, consider sanding and finishing the inner edges to match the rest of the door.
Reassemble or Install: Once your preparations are complete, you can proceed with your chosen project. If installing new glass, re-secure it using the same method you removed. You can reuse the old trim or clips. If using silicone, apply a new bead. Ensure the glass is firmly seated and secure. For a sparkling finish on your new or existing glass, knowing how to clean glass without streaks will be very helpful. Finally, rehang the cabinet door on its hinges.
FAQ Section
Can I remove glass from any cabinet door?
Most cabinet doors with glass panes allow for glass removal. The method depends on how the glass is held. Common methods include wood trim, silicone sealant, or various clips. Older doors might use wood putty. Always assess the retention method before starting.
What if the glass is broken?
If the glass is broken, proceed with extreme caution. Wear heavy-duty gloves and safety glasses. Use duct tape to cover the cracked areas on both sides of the glass. This helps hold shattered pieces together. Carefully remove the broken pane piece by piece. Use pliers for small, sharp shards.
How do I dispose of the old glass?
Broken or unwanted glass should be disposed of safely. Wrap the glass securely in newspaper or cardboard. Tape it tightly to prevent sharp edges from protruding. Label the package “Broken Glass” to alert waste handlers. Check with your local waste management for specific recycling or disposal guidelines.
What can I put in place of the glass?
Many options exist for replacing glass. You can install new clear or frosted glass. Other popular choices include fabric inserts, metal mesh, cane webbing, or solid wood panels. Some people even paint the back of the opening for a solid, opaque look. Consider the style of your room.
Is it hard to put new glass back in?
Putting new glass back in is often simpler than removing the old. You will essentially reverse the removal process. Ensure the new glass fits well. Use new silicone, reattach the trim, or reinstall clips. Make sure the glass is secure and does not rattle.
Can I paint the cabinet door after removing the glass?
Yes, removing the glass is an excellent opportunity to paint or refinish the cabinet door. This allows for a clean, professional finish without the risk of getting paint on the glass. Ensure the door is thoroughly cleaned and sanded before painting for best adhesion and results.
Conclusion
You now have the knowledge to confidently remove glass from cabinet doors. This project, while seeming intricate, is very manageable with the right tools and a careful approach. We covered everything from gathering your essential safety gear to understanding various glass retention methods. You learned how to handle wood trim, silicone, and different clips. Remember that preparation is key, and patience ensures a smooth process.
Taking on a project like this empowers you. It allows you to repair a broken pane or completely transform your cabinet’s look. Imagine your kitchen with fresh, updated cabinets, customized exactly to your taste. Do not let outdated or damaged glass hold you back. Start your DIY journey today. Follow these steps to successfully remove glass from cabinet doors and give your home a fresh, new update.
- cabinet doors
- glass removal
- DIY home improvement
- kitchen cabinets
- cabinet renovation
- glass replacement
- home repair

Davia Murnell
Room Cleaning Expert
Before joining HEG, I spent over a decade running my own window cleaning business, where I perfected streak-free techniques and learned the ins and outs of specialty glass care. Now, I bring that expertise to a broader mission—helping homeowners maintain sparkling windows and beautiful outdoor spaces. From skylights and sliding doors to patio glass and outdoor furniture, I believe every surface deserves attention and care. I share practical tips and proven methods that make even the toughest cleaning jobs feel manageable. Whether you're battling pollen on the porch or smudges on high windows, I’m here to help you see your home in a whole new light—literally.