· Todd Martin · Home Improvement, Cleaning, Kitchen · 20 min read
How To Clean Wood Cabinets
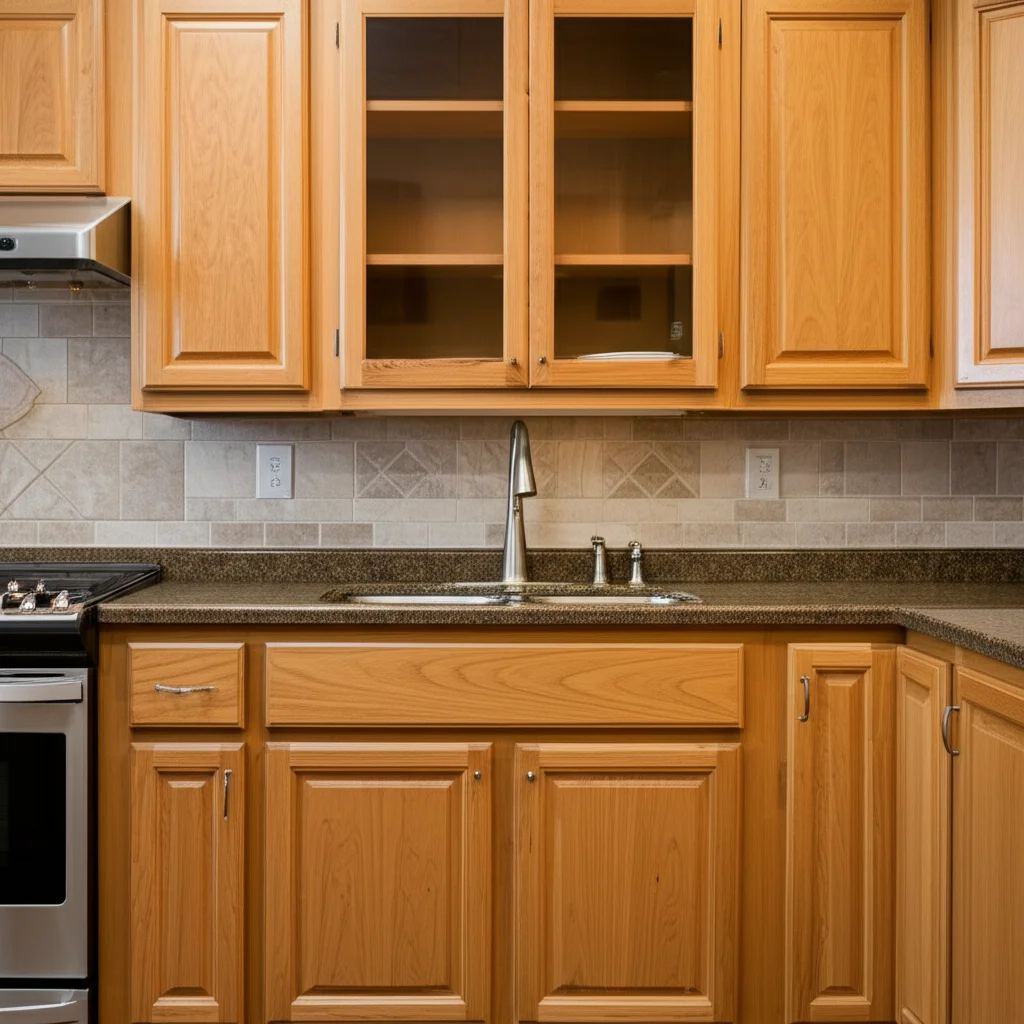
Keep Your Kitchen Shining: How To Clean Wood Cabinets
Walking into a clean kitchen makes a good day better. But sometimes, dirt and grime on your wood cabinets can make that feeling disappear. I know the struggle of trying to keep those beautiful wooden surfaces looking their best. It feels like a constant battle against grease, dust, and daily spills. This article helps you learn how to clean wood cabinets effectively.
We will cover essential steps for daily cleaning and deep cleaning wood cabinets. We will also share tips for tackling stubborn stains and maintaining their natural beauty. You will find simple methods that protect your wood finish. Get ready to give your kitchen cabinets the care they deserve.
Takeaway
- Identify Wood Finish: Know if your cabinets are sealed, painted, or raw to choose safe cleaning methods.
- Gather Gentle Supplies: Use soft cloths, mild soap, and warm water for most tasks.
- Wipe Regularly: Daily or weekly light cleaning prevents dirt buildup.
- Tackle Grease & Stains: Use specific, gentle solutions for tough spots.
- Protect After Cleaning: Condition wood to maintain its luster and prevent drying.
What is the best way to clean wood cabinets?
To clean wood cabinets effectively, first wipe them with a damp, soft cloth to remove loose dust. For dirt and grime, use a solution of warm water and a few drops of mild dish soap. Wipe surfaces gently, then rinse with a clean, damp cloth. Dry the cabinets immediately with a soft towel to prevent water damage.
Understanding Your Wood Cabinet Finishes
Before you start cleaning, it is important to know your cabinet’s finish. Different finishes require different cleaning approaches. Using the wrong cleaner can damage your beautiful wood. Knowing your cabinet type prevents costly mistakes.
Most wood cabinets have a protective coating. This coating seals the wood. Common finishes include lacquer, varnish, polyurethane, and paint. These finishes make the wood resistant to moisture and stains. They also determine how you should clean the surface.
To identify your finish, feel the surface. Sealed wood feels smooth. Painted wood shows paint layers. Raw or unfinished wood feels porous. Knowing this helps you pick the right cleaner.
- Sealed Wood Cabinets: These are the most common. They have a clear protective layer. You can usually clean them with mild soap and water. Avoid harsh chemicals that strip the seal.
- Painted Wood Cabinets: These cabinets have a layer of paint. They are usually easy to clean. Use gentle cleaners to avoid chipping or dulling the paint. Learn how to clean white cabinets that have yellowed if yours are painted white.
- Unfinished or Oiled Wood Cabinets: These are less common for kitchens. They do not have a hard protective layer. Water can easily damage them. They often require specialized oil-based cleaners or minimal cleaning. If you are preparing wood for other treatments, it is essential to clean wood before staining.
Always test any new cleaning solution in a hidden spot first. This helps ensure it does not harm the finish. A patch behind a cabinet door or inside a drawer is perfect. Wait a few minutes after applying. Then check for discoloration or dullness. This simple step saves you from potential damage.
Essential Cleaning Supplies for Wood Cabinets
Gathering the right tools makes the cleaning process easier. It also helps protect your cabinets. You do not need many fancy products. Simple, everyday items often work best. Using gentle supplies ensures the wood finish remains intact.
I always start by getting everything ready. This prevents me from having to stop in the middle. Having the right cleaning supplies on hand saves time. It also makes the job feel less daunting.
Here is a list of supplies I recommend for cleaning wood surfaces:
- Soft Microfiber Cloths: These are great for dusting and wiping. They absorb well and do not scratch the surface. Have several on hand for cleaning and drying.
- Warm Water: The base for most cleaning solutions. It helps dissolve grease and grime.
- Mild Dish Soap: A few drops of a gentle dish soap like Dawn work wonders. It cuts through grease without being too harsh.
- White Vinegar (Optional): For tough grease, a diluted vinegar solution can be effective. Mix equal parts water and vinegar. You can also use vinegar to clean wood furniture.
- All-Purpose Wood Cleaner (Optional): If you prefer a commercial product, choose one specifically for wood. Read the label carefully to ensure it is safe for your finish.
- Old Toothbrush or Cotton Swabs: Useful for cleaning intricate details. They reach into carved areas and corners.
- Small Bucket or Bowl: For mixing your cleaning solution.
- Old Towels or Drop Cloths: To protect your countertops and floor from drips.
Avoid harsh abrasives like scouring pads or rough sponges. These can scratch or dull your cabinet finish. Also, steer clear of ammonia-based cleaners, bleach, or abrasive powders. These can strip finishes and cause irreversible damage. Stick to gentle, wood-friendly options. Your cabinets will thank you for it by looking good for years.
Routine Cleaning: Keeping Daily Grime at Bay
Regular cleaning is key to maintaining beautiful wood cabinets. Dust, crumbs, and light splatters happen every day. Addressing them quickly prevents buildup. This daily habit makes deep cleaning much easier later on. I find that a quick wipe-down keeps my kitchen looking fresh.
This routine also protects your cabinet finish. Dirt and dust can scratch surfaces over time. Food spills, if left, can harden and become much harder to remove. A simple, consistent approach works best.
Follow these steps for routine wood cabinet cleaning:
- Dust Regularly: Use a soft, dry microfiber cloth to wipe down cabinet surfaces. Pay attention to top edges where dust settles. I try to do this every few days, especially in the kitchen.
- Wipe Down Spills Immediately: If food or liquid spills, wipe it up at once. Use a damp cloth. This prevents stains from setting into the wood or finish.
- Prepare a Gentle Cleaning Solution: For light grime, mix a few drops of mild dish soap with warm water in a small bowl. This simple solution is effective and safe.
- Clean Surfaces Gently: Dip your microfiber cloth into the solution. Wring it out very well so it is barely damp. Wipe down cabinet doors, drawer fronts, and sides. Focus on areas near the stove or sink where grease accumulates.
- Rinse and Dry Thoroughly: Use a separate clean cloth dampened with plain water to wipe away any soap residue. It is important to remove all soap. Immediately follow with a dry, soft cloth to dry the cabinets completely. Do not let water sit on the wood.
This routine cleaning takes only a few minutes. It keeps your cabinets looking their best. It also extends the life of their finish. Think of it as a small effort for a big reward. Regular cleaning is the best defense against stubborn dirt.
Tackling Stubborn Stains and Grease on Wood Cabinets
Sometimes, routine cleaning is not enough. Kitchen cabinets, especially near the cooking area, attract grease and tough stains. These sticky residues can be a real challenge. But with the right approach, you can remove them safely. I have dealt with countless sticky spots and greasy films. There are good methods to handle them.
The key is to use specific, gentle solutions. Avoid harsh scrubbing or abrasive cleaners. These can damage the wood finish. Patience and the right product make a big difference.
Here are ways to clean grease from kitchen cabinets and handle other stains:
For Grease and Sticky Residue:
- Dish Soap and Warm Water (Stronger Mix): Increase the concentration of mild dish soap slightly in warm water. Dip a soft cloth, wring it out, and apply it to the greasy area. Let it sit for a minute to loosen the grease. Then wipe gently. Rinse with a clean, damp cloth and dry immediately. This is often enough for moderate grease. If your cabinets feel sticky, clean sticky kitchen cabinets with this method.
- White Vinegar Solution: For tougher grease, mix equal parts white vinegar and warm water. Spray lightly onto the greasy area. Let it sit for a few minutes. Vinegar helps cut through grease. Wipe clean with a soft cloth. Follow with a plain water rinse and dry thoroughly. Vinegar is acidic, so do not leave it on the wood for too long.
- Baking Soda Paste: For very stubborn, caked-on grease, make a paste with baking soda and a little water. Apply the paste to the spot. Let it sit for 5-10 minutes. Gently rub with a soft cloth or sponge. Do not scrub hard. This acts as a mild abrasive. Rinse well and dry.
For Other Common Stains:
- Food Stains (Coffee, Wine, Food Coloring): Mix mild dish soap and warm water. Apply with a cloth. If the stain persists, try a very diluted solution of white vinegar. Always test first. For general stains on wood, you can learn how to clean stains on wood effectively.
- Crayon Marks: Use a soft cloth with a small amount of mineral oil or mayonnaise. Rub gently until the crayon comes off. Then clean the oily residue with mild soap and water. You can find more tips for cleaning crayon off wood.
- Dirt Buildup: For heavy dirt buildup on wood, a stronger solution of mild dish soap and water works. A soft brush, like an old toothbrush, can help gently loosen dirt in corners and crevices.
- Water Marks: For fresh water marks, often a dry, soft cloth can buff them out. For older white water rings, sometimes a dab of mayonnaise or petroleum jelly left on overnight can draw out the moisture. Wipe clean in the morning.
Always remember to wipe clean with a plain water-dampened cloth after treating a stain. Then dry the cabinet surface immediately and completely. This prevents water spots and protects the wood finish.
Restoring Shine and Protecting Your Wood Cabinets
After cleaning, your wood cabinets might look clean but still lack their original luster. Restoring their shine and adding protection is an important step. This step helps preserve the wood. It also makes future cleaning easier. I always take this extra step to make my cabinets truly glow.
Protecting wood is about more than just aesthetics. It helps seal the surface against moisture and dirt. This extends the life of your cabinets. A well-protected surface resists new stains.
Here is how to restore shine and protect your wood cabinets:
Conditioning Wood After Cleaning
- Wood Polish/Conditioner: Once the cabinets are dry, apply a good quality wood polish or conditioner. Choose products specifically designed for wood cabinets or furniture. These products nourish the wood and enhance its natural beauty. Some contain oils that moisturize the wood. Others have waxes that provide a light protective layer.
- Application Method: Apply a small amount of polish to a clean, soft microfiber cloth. Work in small sections, rubbing the polish into the wood grain. Use a circular motion for even coverage.
- Buff for Shine: After applying, use a separate, clean, dry microfiber cloth to buff the surface. This removes excess product and brings out the shine. Buffing also helps distribute the conditioner evenly. This method is effective for cleaning kitchen cabinets without removing finish.
Natural Alternatives for Shine
- Olive Oil and Vinegar: For a natural shine, mix 1/2 cup olive oil with 1/4 cup white vinegar. Shake well. Apply a small amount to a soft cloth. Wipe down the cabinets, then buff with a dry cloth. The olive oil nourishes, and the vinegar helps clean and adds shine.
- Lemon Oil: Pure lemon oil can clean and shine wood. It also leaves a fresh scent. Apply sparingly with a soft cloth and buff.
Long-Term Protection Tips
- Avoid Over-Polishing: Do not over-polish your cabinets. A thin layer of conditioner is enough. Too much can build up and attract dust.
- Maintain Humidity: Wood responds to humidity. Keep your kitchen humidity stable. Too dry air can crack wood. Too much moisture can warp it.
- Use Exhaust Fans: Always use your kitchen exhaust fan when cooking. This pulls away steam and grease. It reduces buildup on cabinets.
- Wipe Up Spills Quickly: Even after conditioning, spills can still cause damage. Clean them up immediately.
By conditioning and protecting your wood cabinets, you are doing more than just cleaning. You are investing in their longevity. You also ensure they remain a beautiful feature of your kitchen. This step makes a noticeable difference in their appearance and durability.
Deep Cleaning Your Wood Cabinets: A Comprehensive Approach
Sometimes, your wood cabinets need more than just a routine wipe-down. Years of cooking, spills, and everyday use can lead to heavy grime and grease buildup. A deep clean restores their beauty. It reaches dirt that regular cleaning misses. I schedule a deep clean for my kitchen cabinets a few times a year.
Deep cleaning requires a bit more time and effort. But the results are worth it. It gives your kitchen a refreshed look. It also protects your wood from long-term damage. This process ensures every part of your cabinet is clean.
Follow these steps for a thorough deep clean of your wood cabinets:
- Empty Cabinets and Drawers: Remove all dishes, food, and items from inside the cabinets and drawers. This gives you full access to all surfaces. It also lets you clean the interiors.
- Vacuum or Brush Loose Debris: Use a vacuum cleaner with a brush attachment to remove loose dust, crumbs, and debris. Pay attention to corners and edges. A soft brush can help sweep out stubborn bits.
- Prepare a Stronger Cleaning Solution: Mix a solution of warm water and a good amount of mild dish soap. For very greasy cabinets, you might use a 1:1 mixture of warm water and white vinegar. Or add a tablespoon of baking soda to your soapy water.
- Work in Sections: Start at the top cabinets and work your way down. This prevents dirty water from dripping onto already clean areas. Clean one section at a time.
- Clean Exterior Surfaces:
- Dip a soft microfiber cloth into your cleaning solution.
- Wring it out very well so it is damp, not wet. Excess water can damage wood.
- Wipe down doors, drawer fronts, and cabinet frames. Pay extra attention to handles and pulls, as these collect the most grime.
- For intricate carvings or tight spots, use an old toothbrush or cotton swab. Gently scrub to dislodge stubborn dirt.
- For very stubborn grease spots, you may need to apply a baking soda paste. Let it sit for a few minutes. Then gently scrub and wipe.
- Clean Interior Surfaces: Use the same damp, soapy cloth to wipe down the inside shelves and walls of the cabinets. Do not forget the inside of the doors.
- Rinse Thoroughly: With a clean cloth dampened only with plain water, wipe all cleaned surfaces. This removes any soap residue. Rinse the cloth frequently.
- Dry Immediately and Completely: This is a crucial step. Use a dry, soft microfiber cloth to dry every surface. Pay attention to corners and seams. Any standing water can cause swelling or damage to the wood.
- Clean Hardware: While cabinets are empty, consider cleaning handles and knobs. You can often remove them and clean them in warm soapy water. Dry them well before reattaching.
- Condition Wood: Once everything is completely dry, apply a wood conditioner or polish. This step helps restore the wood’s luster and protects the finish. Refer to the previous section for conditioning tips.
Deep cleaning your wood cabinets ensures they are hygienic and look their best. It also helps you identify any small issues, like loose hinges, early on. This comprehensive approach keeps your kitchen shining.
Preventing Future Buildup and Maintaining Cabinet Health
Cleaning your wood cabinets is one thing; keeping them clean is another. Prevention is always easier than a cure. By adopting a few simple habits, you can significantly reduce future buildup. This saves you time and effort in the long run. I have found that small, consistent actions make a huge difference.
Maintaining your cabinets’ health goes beyond just cleaning. It involves protecting them from daily wear and tear. It also means being mindful of their environment. These measures prolong the life and beauty of your wood.
Here are key strategies to prevent future buildup and maintain your wood cabinet health:
- Use Your Exhaust Fan: This is perhaps the most important tip for kitchen cabinets. Always turn on your range hood or exhaust fan when cooking. Especially when frying or boiling. This vents steam, smoke, and grease particles away from your cabinets. Without it, grease vapours settle and create sticky residue.
- Wipe Down Daily: A quick wipe with a damp cloth after cooking prevents fresh splatters from drying. Address spills immediately. This stops dirt and grease from bonding to the cabinet surface.
- Avoid Overloading: Do not pack your cabinets too tightly. Overloaded shelves can stress the wood. They can also prevent air circulation.
- Control Humidity: Wood is sensitive to changes in humidity. Very dry air can cause wood to crack. High humidity can lead to swelling or mold. Use humidifiers or dehumidifiers as needed. Maintain a consistent indoor humidity level, ideally between 30-50%. If you encounter mold off wood furniture, it is important to address it quickly.
- Use Shelf Liners: Place non-adhesive shelf liners inside your cabinets. These catch spills and crumbs. They make interior cleaning much easier. You can simply remove and wash the liners.
- Protect from Heat and Moisture:
- Keep coffee makers, toasters, and kettles away from direct contact with cabinet fronts. The heat and steam can damage the finish over time.
- Fix leaky sinks or pipes immediately. Persistent moisture is detrimental to wood.
- Avoid Harsh Cleaners: Stick to mild, wood-friendly cleaners for routine cleaning. Harsh chemicals, abrasives, or excessive water can strip the finish. They can also dry out or warp the wood.
- Regular Conditioning: Apply a wood conditioner or polish every few months. This replenishes moisture in the wood. It also maintains the protective barrier of the finish. This keeps the cabinets looking lustrous and protected.
- Inspect Hardware: Periodically check hinges and handles. Tighten any loose screws. Smooth-operating hardware reduces stress on the cabinet doors. This helps them last longer.
By integrating these preventive measures into your routine, you are doing more than just keeping cabinets clean. You are actively preserving their condition. These small efforts ensure your beautiful wood cabinets remain a highlight of your home for many years to come.
When to Call a Professional for Wood Cabinet Care
Most wood cabinet cleaning tasks are easy for homeowners. But there are times when professional help is the best choice. Some damage or deep-seated issues require expert intervention. Knowing when to call in a professional can save you from costly mistakes. It also ensures the best possible outcome for your cabinets.
I have seen situations where DIY attempts made problems worse. Recognizing when a job is beyond your skill set is smart. Professionals have specialized tools and knowledge. They can address unique challenges.
Here are situations where you should consider hiring a professional for your wood cabinets:
- Extensive Water Damage: If your cabinets have significant water damage, such as swelling, warping, or discolored wood, a professional can assess the damage. They can often repair or restore the wood. This is more than just wiping up a spill.
- Severe Mold Infestation: While you can clean minor mold spots, a widespread mold problem indicates a deeper moisture issue. Professional mold remediation is necessary. They can safely remove the mold and address its source. This prevents it from returning. They can also ensure the wood is properly treated. Learning how to clean black mold off wood is a good skill, but for severe cases, a pro is best.
- Deep Scratches or Dents: While minor scratches can be touched up, deep gouges or structural damage require professional repair. They have techniques to fill, sand, and blend repairs seamlessly.
- Finish Restoration or Refinishing: If your cabinet finish is severely worn, peeling, or dull, it might need to be restored or completely refinished. This is a complex process. It involves stripping the old finish, sanding, and applying new coats. Professionals have the equipment and expertise for this.
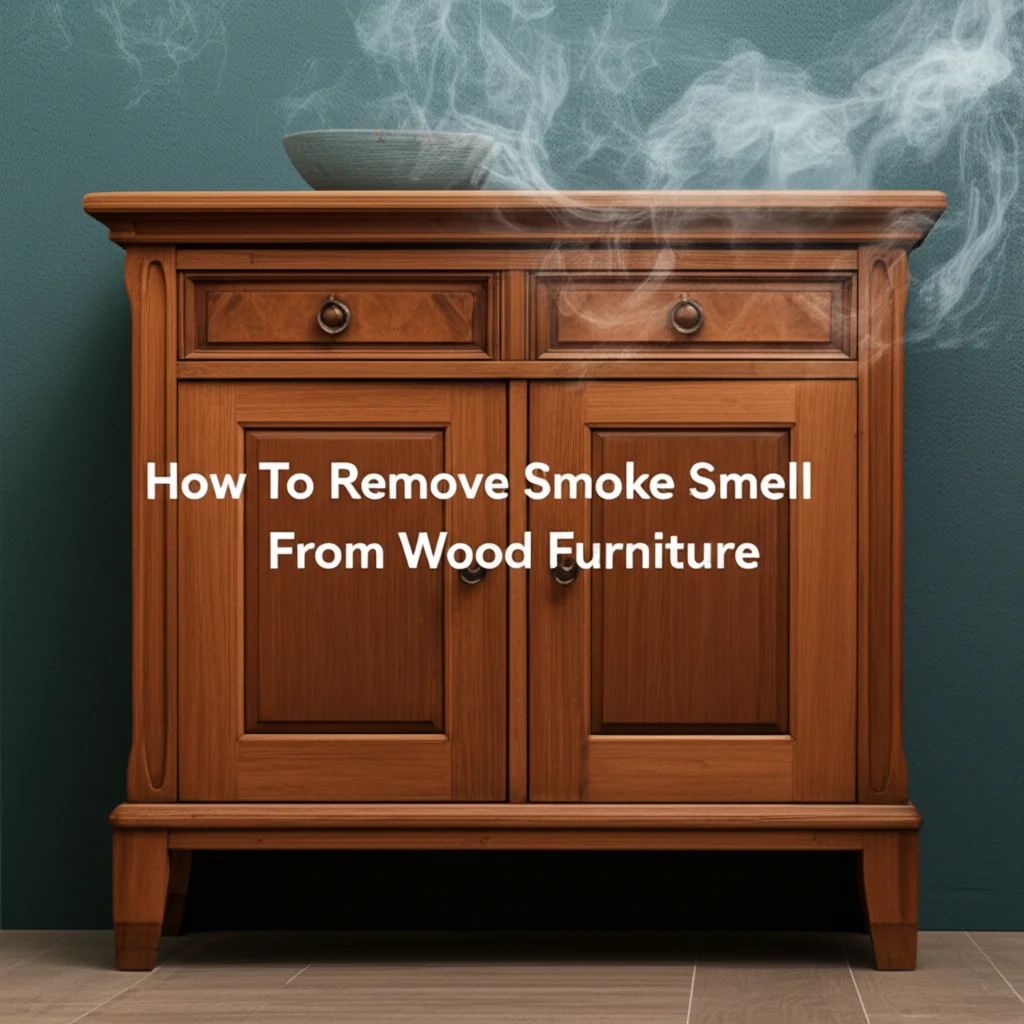
- Smoke or Fire Damage: Cabinets exposed to smoke or fire residue require specialized cleaning. Professionals use specific solutions to remove soot and odors without further damaging the wood.
- Infestation Cleanup: If you have had pests like roaches in your cabinets, professional cleaning might be needed, especially if there’s significant residue. While you can clean cabinets after roaches yourself, a deep cleanse by a pro ensures all traces are gone.
- Valuable or Antique Cabinets: For very old, antique, or custom-made cabinets, seek a specialist. They understand the unique care requirements of valuable wood. They can preserve their integrity.
Hiring a professional is an investment. It ensures your cabinets receive the proper care. They can extend the life and beauty of your wood. Do not hesitate to seek expert help when the task seems too big or complex.
Frequently Asked Questions About Cleaning Wood Cabinets
Cleaning wood cabinets brings up common questions. People often wonder about safe methods and specific issues. I have collected some of the most asked questions. This helps you get quick, clear answers.
Can I use vinegar to clean wood cabinets?
Yes, you can use diluted white vinegar. Mix equal parts white vinegar and warm water. This solution is effective for cutting through grease and grime. Always wring your cloth well so it is only damp. Rinse with plain water and dry immediately. Test it on an inconspicuous spot first to ensure it does not harm your specific finish.
How often should I clean my wood kitchen cabinets?
For routine cleaning, wipe down high-traffic areas and splatters daily or every few days. A light cleaning of all surfaces once a week is good. Deep cleaning should be done every 3-6 months. This depends on your cooking habits and how much grease accumulates.
What is the best homemade cleaner for wood cabinets?
A simple homemade cleaner is warm water with a few drops of mild dish soap. This gentle solution removes most daily dirt and grease. For tougher spots, a diluted white vinegar solution (equal parts vinegar and water) works well. Always dry the cabinets thoroughly after cleaning.
How do I remove sticky residue from wood cabinets?
For sticky residue, try a stronger solution of mild dish soap and warm water. Apply with a damp cloth and let it sit for a minute to loosen the stickiness. Gently wipe away. For very stubborn stickiness, a small amount of mineral spirits on a cloth can work, but use it sparingly and test first. Always rinse and dry well.
Can I use furniture polish on kitchen cabinets?
Yes, you can use furniture polish or wood conditioner on kitchen cabinets after cleaning. Choose a product designed for wood. Apply it sparingly with a soft cloth. Then buff to a shine. This helps restore luster and provides a protective layer. Do not use spray polishes that contain silicone, as they can build up over time.
How do I prevent water spots on wood cabinets?
To prevent water spots, always wipe up spills immediately. Use a dry, soft cloth to thoroughly dry cabinets after cleaning. Ensure your hands are dry when opening cabinet doors. Consider using a clear protective wax or polish. This adds a barrier against moisture.
Conclusion: Enjoy Your Beautifully Clean Wood Cabinets
Cleaning your wood cabinets helps keep your kitchen looking its best. We started by understanding different wood finishes. This showed us why choosing the right cleaning method is important. Then, we gathered essential, gentle cleaning supplies. You learned that simple tools are often the most effective.
We covered routine cleaning to prevent daily buildup. We also tackled stubborn grease and stains using specific techniques. You now know how to restore shine and protect your wood. Finally, we looked at when to deep clean and when to call a professional. Following these steps ensures your wood cabinets stay beautiful.
Now you know how to clean wood cabinets like a pro. Your efforts will extend their life and keep them shining. Step into your kitchen and enjoy the fresh, clean look. Give your cabinets the care they deserve. This is an ongoing process, but the results are worth it.
- clean wood cabinets
- wood cabinet care
- kitchen cabinet cleaning
- grease removal
- wood furniture cleaning
- home cleaning tips

Todd Martin
Senior Writer
With over 15 years of experience in home renovation and design, I started HEG to share what I’ve learned with homeowners who want to create spaces that are both beautiful and functional. I’ve always believed in a hands-on approach, and over the years, I’ve picked up practical solutions that actually work. Through HEG, I aim to make home improvement more approachable, sharing real tips that help you create a home you truly love.