· Todd Martin · DIY & Home Improvement · 17 min read
How To Restain A Table Without Sanding
Restain Your Table Without Sanding: An Easier Way
Are you dreaming of giving your old table a fresh new look? Perhaps it shows years of wear or has an outdated color. The thought of sanding can stop many DIY projects before they begin. Sanding creates dust, takes time, and feels like a big job.
But what if you could refresh your wood furniture without the mess? Good news: you can restain a table without sanding. This guide helps you achieve a beautiful, updated finish with less effort. I will show you methods that bypass traditional sanding entirely. This article covers preparation, material selection, and application techniques. Get ready to transform your table.
Takeaway
- Prep is Essential: Thorough cleaning and degreasing are vital for adhesion.
- Choose Wisely: Select stains like gel stain or all-in-one products for no-sanding projects.
- Use Liquid Deglosser: A liquid deglosser or “liquid sander” helps remove gloss and improve stain grip.
- Apply Thin Coats: Multiple thin layers give a better, more even finish than one thick coat.
- Protect Your Work: Always apply a durable topcoat for long-lasting results.
Can you restain a table without sanding?
Yes, you can restain a table without sanding by properly preparing the surface with a thorough cleaning and using products like liquid deglosser or gel stain. These materials bond effectively to existing finishes, allowing you to update the table’s appearance with less mess and effort.
Why Skip Sanding When Restaining a Table?
Sanding a table is a traditional step in furniture refinishing. It creates a rough surface for new finishes to bond. However, sanding can be messy. It fills your home with fine dust. This dust gets into everything. Sanding also takes a lot of time. You must use different grits of sandpaper. This process adds hours to a project.
Many people also find sanding physically demanding. Your arms can get tired quickly. For some tables, especially those with intricate details, sanding is very hard. It is difficult to reach small areas or carved designs. Avoiding sanding simplifies the process. It saves time and effort. It also means less cleanup. This approach makes furniture refinishing more accessible. You can achieve great results without all the fuss.
Sometimes, the existing finish is still mostly intact. It just needs a color change. In these cases, sanding might be overkill. A light scuff or chemical preparation can be enough. This method preserves the original wood integrity. It also speeds up your project significantly. I love finding ways to make DIY easier.
Essential Preparations for a Sand-Free Restain
Proper preparation is the most critical step when you want to restain a table without sanding. A clean surface ensures good adhesion. Skipping this step leads to poor results. The new stain may chip or peel off quickly. You need to remove all dirt, grease, and grime. This prepares the surface for the new finish.
Start by wiping down the table. Use a damp cloth to remove loose dust. Then, mix a mild detergent with water. A good option is dish soap. Use a sponge or cloth dipped in this solution. Thoroughly scrub the entire table surface. Pay attention to sticky spots or food residue. These areas need extra cleaning. If your table is particularly dirty, you might need a stronger cleaner. You can find more tips on how to clean a wood table in our detailed guide.
After cleaning with soap and water, rinse the table. Use a clean, damp cloth. Wipe away all soap residue. Soap left on the surface can stop the stain from sticking. Let the table dry completely. This might take a few hours. Ensure no moisture remains trapped in the wood. A dry surface is crucial for the next steps.
Deep Cleaning and Degreasing
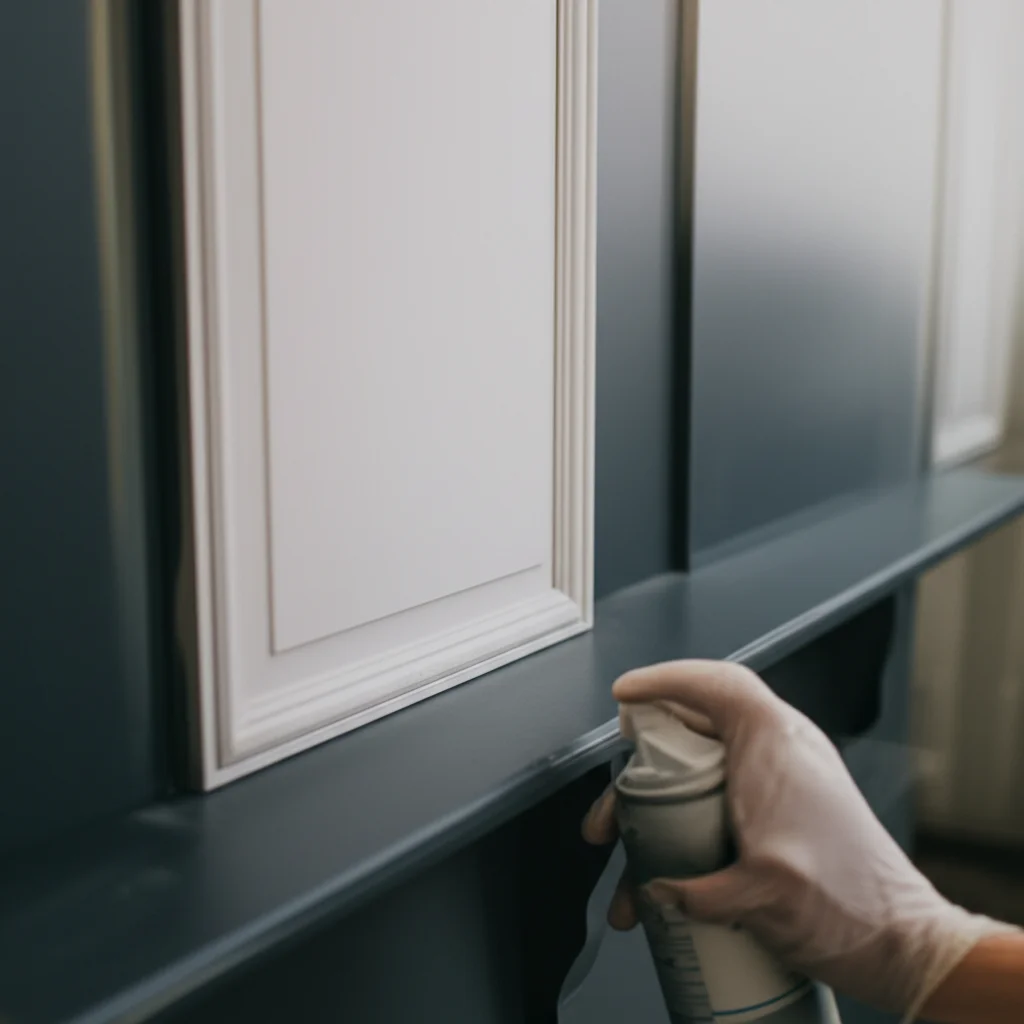
Once your table is dry, it is time for a deeper clean. You need to remove any waxy buildup or greasy films. These residues are invisible. They can stop your stain from adhering. Use a specialized wood cleaner or a mineral spirits solution. Apply it with a clean cloth. Wipe down the entire table surface firmly. This step helps strip away stubborn grime. It also helps dull the existing finish slightly.
For a truly clean surface, consider using a liquid deglosser. This product is also known as a “liquid sander.” It chemically dulls the existing finish. It creates a microscopic texture. This texture helps the new stain grip the surface. Apply the deglosser according to the product instructions. Usually, you wipe it on and then wipe it off after a short time. Always work in a well-ventilated area. Wear gloves to protect your hands. This step is a game-changer for no-sanding projects. It is a powerful way to prepare your surface without physical abrasion.
Remember, the goal is a completely clean, dull, and dry surface. Any leftover dirt or grease will show through your new stain. It will also prevent proper adhesion. Take your time with this preparation. It determines the success of your project. If you are struggling with a sticky finish, you might find useful tips on how to clean a wood table that is sticky.
Choosing the Right Stain for No-Sanding Projects
Selecting the correct type of stain is crucial when you skip sanding. Not all stains work well without surface preparation. Traditional oil-based stains penetrate raw wood. They need an open grain to absorb properly. Your existing table likely has a sealed finish. This finish blocks traditional stain penetration.
For a no-sanding project, you need a stain that coats the surface. It does not need to soak into the wood. The best choices are gel stains or all-in-one stain-and-seal products. These stains sit on top of the old finish. They bond to it. This provides a new color layer. These products are thicker than traditional stains. This thickness helps them cover previous finishes evenly.
Gel stains are popular for a reason. They have a non-drip formula. This makes them easy to control. You can apply them to vertical surfaces without worrying about drips. Gel stains offer rich, deep colors. They are also highly pigmented. This means they provide excellent coverage over existing finishes. You can achieve a solid color change. They mimic the look of traditional stain without the penetration requirement.
All-in-One Stain and Topcoat Products
Another excellent option is an all-in-one stain and topcoat product. These products combine color and protection in one can. They save you time and effort. You apply the product, and it stains the wood. It also provides a protective layer. This reduces the number of steps in your project. These products are often very forgiving. They are a good choice for beginners.
You will typically find these as “stain and polyurethane” products. They come in various colors and finishes. Always check the label. Ensure the product states it can be applied over existing finishes. Some require a light scuff sanding. Others explicitly say “no sanding required.” Read the instructions carefully before buying. This ensures you pick the right product for your no-sanding goal.
Consider your desired final look. Gel stains give a more opaque, painted look, but still show wood grain. All-in-one products can offer various opacities. Test a small, hidden area first. This lets you see how the color looks on your specific table. It also confirms adhesion. This small test saves you from potential disappointment.
Application Techniques for a Sand-Free Restain
Applying stain without sanding requires specific techniques. You are essentially layering color on top of an existing finish. This is different from traditional staining. The goal is an even, streak-free coat. Patience is key. Rushing the process can lead to drips or uneven color.
Start with a clean, dry, and deglossed surface. Make sure your workspace is well-lit. This helps you see any missed spots. Use good quality applicators. Foam brushes work well for smooth surfaces. Lint-free rags or synthetic brushes also provide a nice finish. Avoid bristle brushes that might leave brush marks. I find a soft, clean cloth offers the best control for wiping on gel stain.
Apply the stain in thin, even coats. Do not apply a thick layer all at once. This can cause pooling or blotchiness. It also takes longer to dry. Dip your applicator into the stain. Wipe off any excess. Apply the stain in the direction of the wood grain. Work in small sections. This gives you control. It also prevents the stain from drying too quickly.
Layering for Desired Color Depth
For gel stains, you often apply a thin coat and then wipe away excess. This allows some of the wood grain to show through. If you want a darker color, apply a second coat. Wait for the first coat to dry completely before adding another. This drying time can vary. Check the product instructions. It might be a few hours or even overnight. Applying a new coat too soon can lift the previous layer.
When using all-in-one stain-and-seal products, follow the same thin-coat principle. These products typically do not get wiped off. They form a solid film. You might need two or three coats to achieve your desired color and durability. Lightly scuff the surface between coats if the product recommends it. Some “no-sanding” products still suggest a very light scuff with a fine abrasive pad. This is not the same as full sanding. It simply helps with inter-coat adhesion.
Always maintain a wet edge when applying. This means overlapping your strokes slightly. It helps prevent visible lines or streaks. If you see streaks, try wiping with a clean, dry cloth. This can help blend the stain. Practice on a scrap piece of wood if you are unsure. This builds confidence before working on your actual table.
Addressing Imperfections Without Sanding
Restaining a table without sanding is great for general color changes. However, it does not magically fix deep imperfections. Sanding typically smooths out scratches or dents. When you skip sanding, these flaws will remain. They might even become more noticeable with a fresh stain. But you can still address many minor issues.
For small scratches or nicks, a wood filler is your friend. Choose a wood filler that can be stained. Some fillers are designed to accept stain. Others are not. Fill the imperfection with a small amount of filler. Use a putty knife to apply it. Smooth it out flush with the surface. Let it dry completely. Then, lightly sand the filled area with very fine-grit sandpaper (220-grit or higher). This is a localized sanding, not full table sanding. Wipe away any dust. Then apply your stain over the repair. The key is to match the filler color as closely as possible to your desired final stain color.
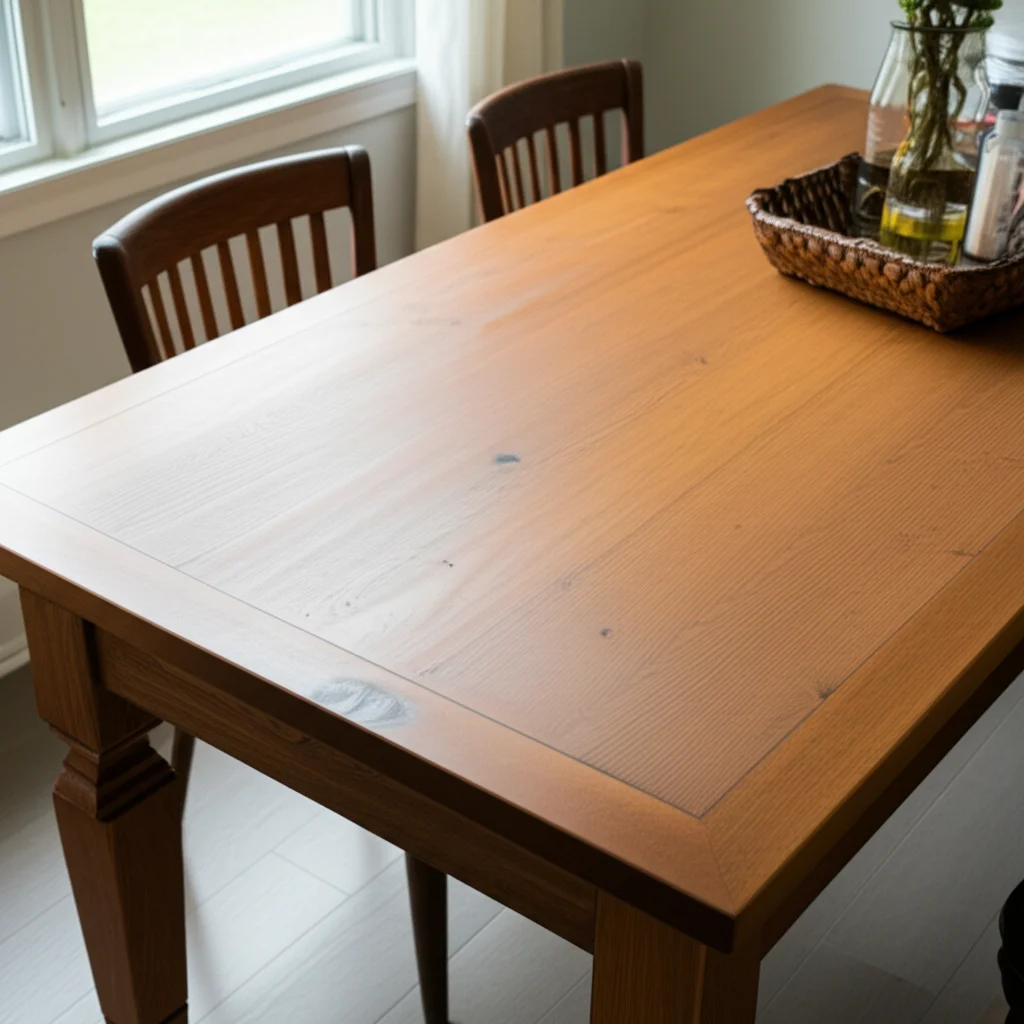
What about watermarks or white spots? These are common on old tables. If they are superficial, a liquid deglosser might help. Sometimes, though, they go deeper. For white spots, you might try rubbing with mineral oil or a mixture of baking soda and toothpaste. These methods can sometimes lift or blend the spot. You can find more detailed advice on how to fix white spots on wood table. For cloudy finishes, check our guide on how to fix cloudy finish on wood table, as some of those techniques might also be applicable before staining.
Hiding Blemishes with Stain and Technique
Darker stains often hide more imperfections. If your table has many small dings, a dark gel stain might be a good choice. The opacity of gel stain can camouflage minor surface damage. You can also use a small artist’s brush. Apply a tiny amount of stain to very small nicks or scratches. Blend it in carefully with your finger or a clean cloth. This helps minimize their appearance.
Remember that restaining without sanding is a surface treatment. It will not level out unevenness in the wood. It will not remove deep gouges. For significant damage, traditional sanding might be necessary. However, for most cosmetic updates, these techniques are effective. They help your table look much better. You can achieve a professional-looking finish with less effort. Focus on making the table clean and receptive to the new stain. Then, the stain will do its job of transforming the color.
Protecting Your Newly Restained Table (Topcoats)
After you successfully restain a table without sanding, protecting that new finish is essential. The stain provides color. It does not provide significant protection against daily wear. A good topcoat safeguards your work. It prevents scratches, water rings, and fading. It also makes your table easier to clean. Skipping this step can lead to a quickly deteriorating finish.
There are several types of topcoats suitable for wood furniture. Polyurethane is a very popular choice. It comes in oil-based and water-based formulas. Water-based polyurethane dries faster. It has less odor. It also cleans up with water. Oil-based polyurethane is more durable. It has a slightly amber tint. This can warm up the look of your stain. Choose a finish that matches your desired look: matte, satin, or gloss.
Apply the topcoat in thin, even coats. Just like with stain, multiple thin coats are better than one thick coat. A thick coat can lead to bubbles or drips. It also takes longer to cure. Use a good quality brush or foam applicator. Work in the direction of the wood grain. Allow each coat to dry completely. Check the product label for specific drying times. This usually takes a few hours.
Sanding Between Topcoat Layers (Optional, Light)
Some topcoat products recommend a very light scuff sanding between coats. Use a fine-grit sandpaper (220-grit or higher) or a sanding sponge. This is not full-on sanding. It just creates tiny scratches. These scratches help the next coat adhere better. It also smooths out any dust nibs. Always wipe away the dust with a tack cloth before applying the next coat. Do this step only if the product instructions suggest it.
For high-traffic tables, like dining tables, aim for at least two to three coats of topcoat. More coats provide better durability. Allow the final coat to cure fully. This curing time is longer than drying time. It can take several days or even weeks. During this period, be gentle with your table. Avoid placing heavy objects on it. Do not slide things across the surface. Once fully cured, your table will be ready for regular use.
A well-applied topcoat gives your table a professional finish. It ensures your hard work lasts for years. It protects against everyday spills and bumps. This final step completes your no-sanding restaining project. Your table will look beautiful and be protected.
Common Mistakes to Avoid When Restaining Without Sanding
Even with a simpler method like restaining without sanding, mistakes can happen. Knowing what to avoid helps ensure your project’s success. My goal is for you to achieve a beautiful, lasting finish. Paying attention to these common pitfalls will save you time and frustration.
One major mistake is inadequate surface preparation. I cannot stress this enough: cleaning is paramount. If you skip thorough cleaning and degreasing, the new stain will not stick. It will chip, peel, or show uneven spots. Take the time to do this step right. Use a liquid deglosser if your table has a glossy finish. This ensures proper adhesion.
Another error is applying stain too thickly. This is especially true for gel stains. A thick layer looks gummy. It takes forever to dry. It can also create an uneven finish. Always apply thin, even coats. Build up the color gradually with multiple layers. This gives you more control over the final shade. It also promotes proper drying.
Ignoring Drying Times and Overworking the Stain
Not allowing sufficient drying time between coats is a common mistake. Each coat of stain or topcoat needs to dry completely. Applying a new layer too soon can lift the previous one. This leads to a messy, uneven finish. Always follow the product instructions for drying times. Humidity and temperature can affect drying. Allow more time if your environment is cool or damp.
Overworking the stain also causes problems. Once you apply the stain, avoid brushing or wiping it too much. This can create streaks or remove too much product. Apply, then smooth quickly. If using a wipe-on gel stain, wipe it on, then wipe off the excess. Do not keep rubbing. This helps maintain an even look.
Finally, skipping the topcoat is a big mistake. The stain itself offers little protection. Without a topcoat, your newly stained table will quickly show wear. It will be vulnerable to spills and scratches. Invest in a good quality topcoat. Apply multiple thin layers for maximum durability. This protects your hard work and makes your table last. Avoiding these pitfalls will lead to a more satisfying and successful table refinishing project.
FAQ Section
What types of tables can be restained without sanding?
You can usually restain solid wood tables and veneer tables without sanding, provided their existing finish is in good condition, meaning it is not peeling or severely damaged. The key is to thoroughly clean and degrease the surface. Surfaces with thick, chipped paint or deep gouges may still require some localized repair or full sanding.
What is a liquid deglosser and how does it work?
A liquid deglosser, also known as a “liquid sander,” is a chemical solution that dulls and slightly etches an existing finish. It creates a microscopically rough surface without abrasive sanding. This allows new paint or stain to bond better to the old finish, improving adhesion and durability. You apply it with a cloth and then wipe it off.
How long does it take to restain a table without sanding?
The total time depends on the table size and the products used. Preparation can take 1-2 hours. Applying multiple thin coats of stain and topcoat, with drying times in between, might take 1-3 days of intermittent work. Each coat typically requires 2-4 hours of drying, with a full cure time of several days for the topcoat.
Can I go from a light table to a dark color without sanding?
Yes, you can go from a light table to a dark color without sanding, especially when using gel stains or opaque stain-and-seal products. These products are highly pigmented. They effectively cover the existing lighter finish. You might need more coats to achieve a deep, rich dark color.
How durable is a table restained without sanding?
The durability of a table restained without sanding largely depends on the quality of the topcoat applied. With proper surface preparation and multiple layers of a durable topcoat like polyurethane, the finish can be very resilient. It can withstand regular daily use. The adhesion of the stain itself relies on good surface prep.
Can I use regular wood stain for a no-sanding project?
Regular penetrating wood stains are not suitable for no-sanding projects over existing finishes. These stains are designed to soak into bare, porous wood. An existing sealed finish prevents this penetration. For no-sanding, you need surface-bonding products like gel stains or all-in-one stain-and-sealers.
Conclusion
Giving your table a fresh new look does not have to involve messy, time-consuming sanding. As we have explored, you can restain a table without sanding by using the right techniques and products. This approach saves you effort and reduces cleanup. It makes furniture refinishing accessible to everyone.
Remember, thorough preparation is your most important step. Clean your table meticulously. Use a liquid deglosser to ensure proper adhesion. Choose a suitable product like gel stain or an all-in-one stain-and-sealant. Apply thin, even coats, building up the color gradually. Finally, always protect your renewed table with a durable topcoat. Your hard work will result in a beautiful, transformed piece of furniture that you can enjoy for years to come. Now, go ahead and start your project with confidence.
- restain table
- no sanding
- furniture refinishing
- wood restoration
- DIY wood projects

Todd Martin
Senior Writer
With over 15 years of experience in home renovation and design, I started HEG to share what I’ve learned with homeowners who want to create spaces that are both beautiful and functional. I’ve always believed in a hands-on approach, and over the years, I’ve picked up practical solutions that actually work. Through HEG, I aim to make home improvement more approachable, sharing real tips that help you create a home you truly love.