· Todd Martin · Home Improvement · 18 min read
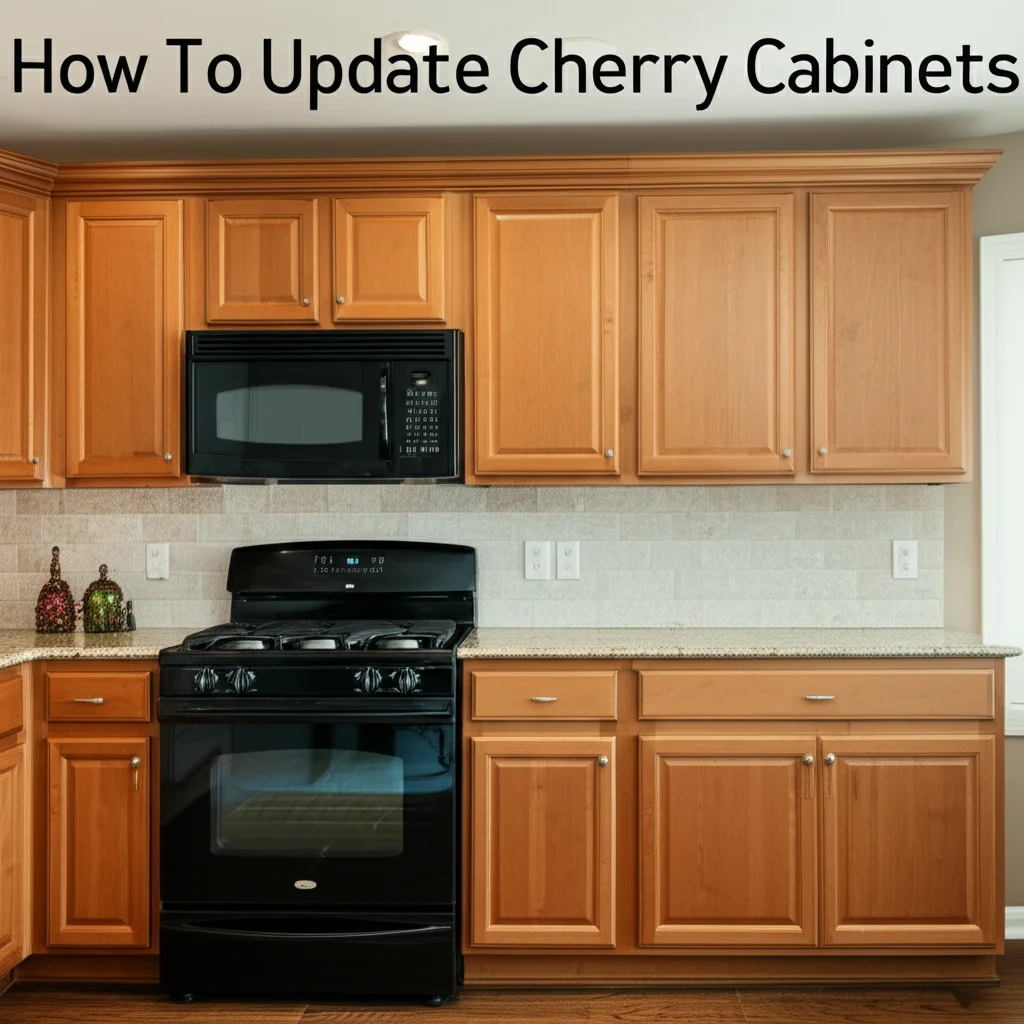
How To Fill Gap Between Two Cabinets
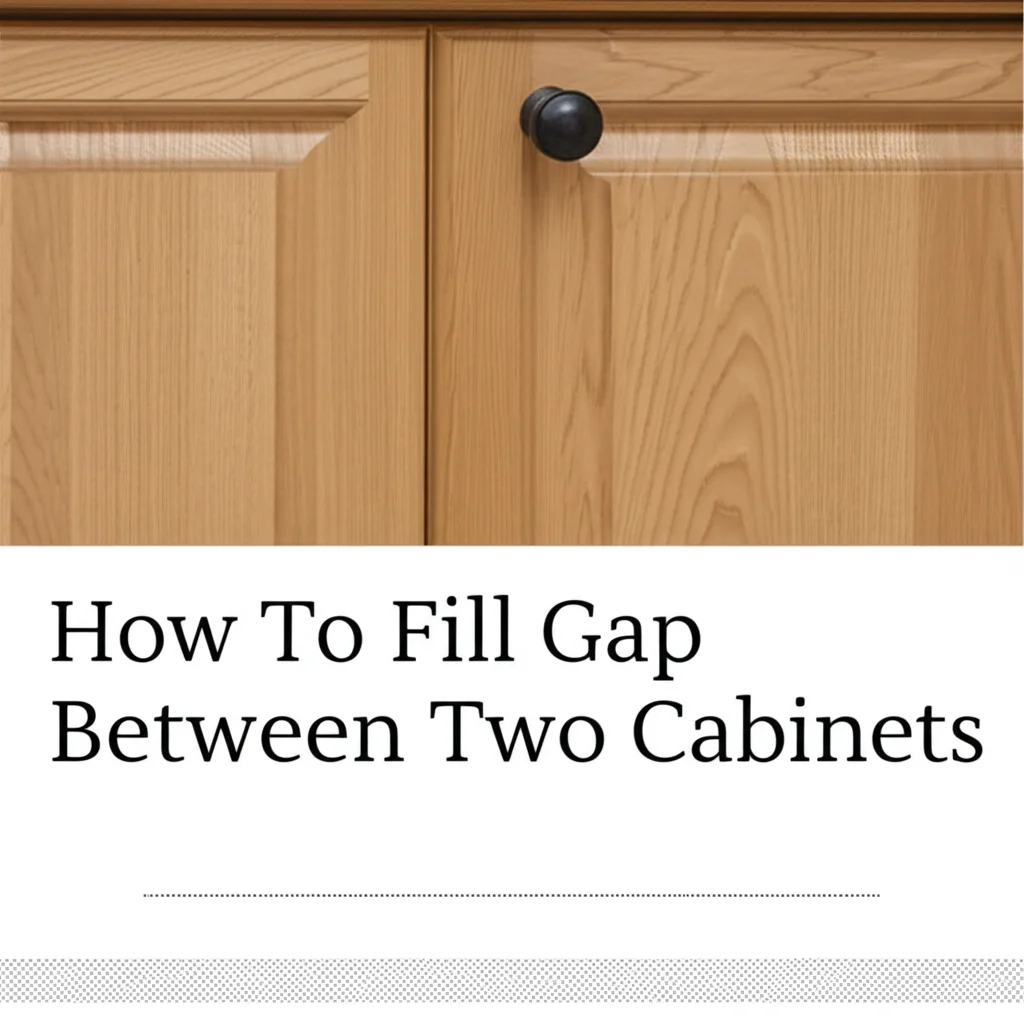
How To Fill Gaps Between Cabinets: Your Complete Guide
Have you ever looked at your kitchen or bathroom and noticed an unsightly gap between two cabinets? These spaces might seem minor, but they can collect dust, allow pests to enter, and even make your space look unfinished. Learning how to fill the gap between two cabinets is a simple home improvement project that can greatly enhance the appearance and functionality of your living areas. It is a common problem, and I am here to help you solve it.
This guide explores various methods to address these gaps, ranging from quick fixes for small cracks to creative solutions for larger voids. We will cover the tools you need, the materials that work best, and step-by-step instructions for different scenarios. By the end, you will have the knowledge to tackle any cabinet gap, improving both the look and utility of your home. Let’s get started on making your cabinets look seamless and beautiful.
Takeaway
- Assess Gap Size: Determine if the gap is small (under 1/4 inch), medium (1/4 inch to 2 inches), or large (over 2 inches) to choose the right filling method.
- Choose Right Materials: Use caulk or wood filler for small gaps, trim or decorative panels for medium gaps, and custom solutions like pull-outs or shelves for large gaps.
- Prepare Surfaces: Clean and prepare the gap area for optimal adhesion and a smooth finish.
- Ensure Seamless Blending: Match colors and textures to your existing cabinets for a professional, integrated look.
- Consider Functionality: Turn large gaps into useful storage or display areas.
To fill a gap between two cabinets, you must first measure the gap to determine its size. For small gaps, use caulk or wood filler. For medium gaps, apply trim or decorative strips. For large gaps, consider custom solutions like pull-out shelves or a small pantry insert for both aesthetic and functional improvement.
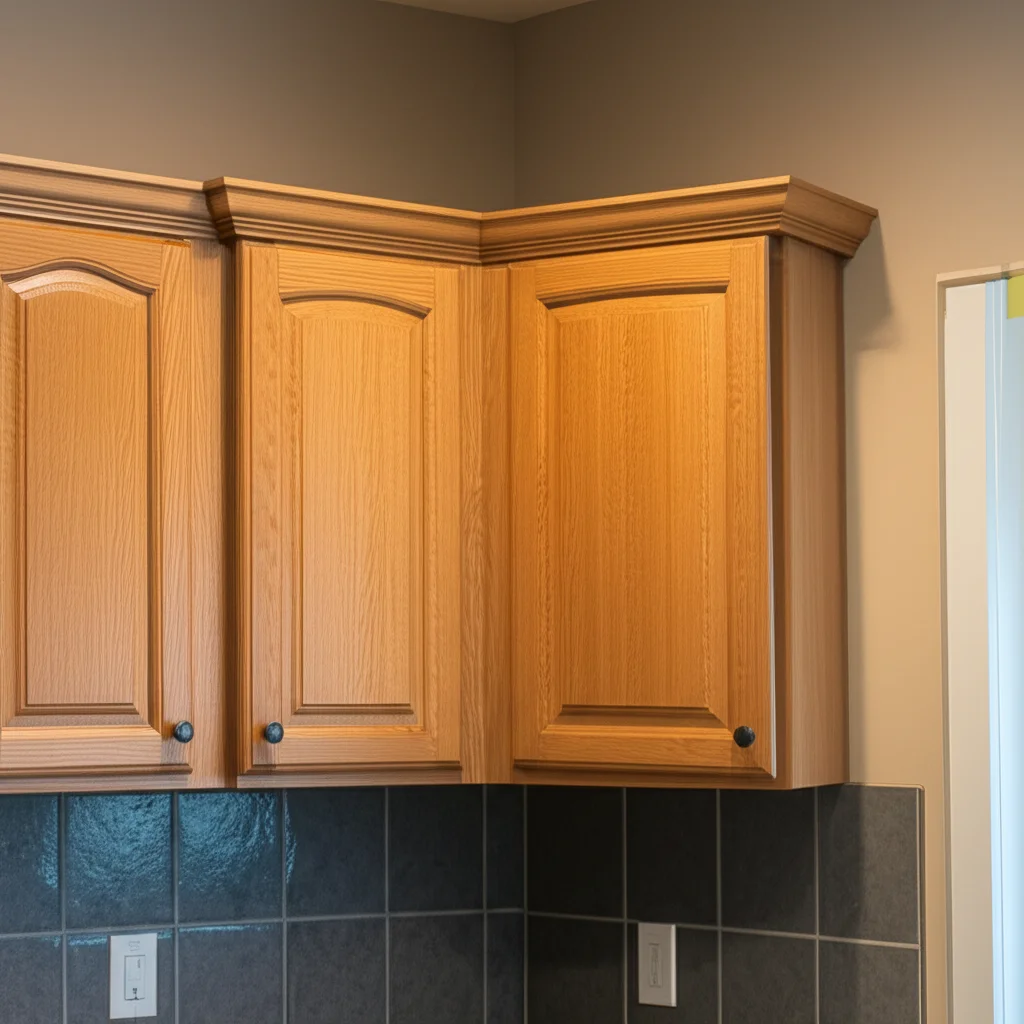
Understanding Cabinet Gaps: Why They Appear and What They Mean
Gaps between cabinets are a common occurrence in many homes. You might wonder why these spaces exist in the first place. Several factors can contribute to their appearance, and understanding these reasons helps in choosing the best solution. House settling is a primary cause. Over time, buildings naturally shift and settle, which can pull cabinets slightly apart.
Improper installation can also lead to gaps. If cabinets are not perfectly plumb or level when installed, small gaps can form immediately or appear later. Temperature and humidity changes cause wood to expand and contract. This natural movement can create or widen spaces between cabinet units. Sometimes, the design of the cabinets themselves or the layout of your room might leave an intentional or unintentional gap.
These gaps are more than just an aesthetic issue. They can become traps for dust, dirt, and food crumbs, making cleaning difficult. This accumulation can attract pests, creating a sanitary concern. Small items can fall into gaps, leading to frustration. From an energy efficiency standpoint, gaps can allow drafts in some areas, though less common for interior cabinets. Addressing these gaps ensures a cleaner, more organized, and more attractive living space. It makes your cabinets look intentional and well-maintained.
Essential Tools and Materials for Gap Filling
Before you begin filling gaps between your cabinets, gather the necessary tools and materials. Having everything ready saves time and ensures a smooth project. The specific items you need depend on the size of the gap and the method you choose to fill it. I always start by taking precise measurements of the gap’s width, depth, and height. This helps me select the right products.
For small gaps, you will mainly need a caulk gun, caulk (acrylic latex or silicone), and a utility knife. A damp cloth or caulk tool helps smooth the caulk. If you are using wood filler, you will need a putty knife, fine-grit sandpaper, and matching stain or paint. These simple tools are often enough for minor cosmetic issues.
When tackling medium to large gaps, your tool list expands. You might need a tape measure, a pencil, a miter saw or hand saw for cutting trim, a drill, and screws or nails. A level ensures your new additions are straight. Materials for these larger gaps include wood trim (quarter round, baseboard, or custom strips), thin plywood or MDF for custom panels, and appropriate adhesives like wood glue or construction adhesive. Don’t forget safety gear such as gloves and safety glasses. Matching the material’s finish to your existing cabinets, whether by painting or staining, is also crucial for a cohesive look.
- Basic Tools:
- Tape Measure
- Pencil
- Utility Knife
- Caulk Gun
- Putty Knife
- Fine-grit Sandpaper
- Damp Cloth
- Materials for Small Gaps:
- Caulk (Acrylic Latex, Silicone, or Paintable Sealant)
- Wood Filler
- Tools for Medium/Large Gaps:
- Miter Saw or Hand Saw
- Drill
- Level
- Clamps (optional, for holding pieces)
- Materials for Medium/Large Gaps:
- Wood Trim (Quarter Round, Baseboard, Scribe Molding)
- Thin Plywood or MDF
- Wood Glue
- Screws or Nails
- Paint or Stain to Match Cabinets
- Backer Rod (for deep gaps)
Filling Small Gaps (Under 1/4 inch): Simple Solutions
Small gaps between cabinets can be annoying. They gather dust and make your cabinetry look less than perfect. Thankfully, these minor imperfections are often easy to fix with simple materials. I typically recommend using caulk or wood filler for gaps under 1/4 inch. These methods offer a quick and effective way to achieve a clean finish.
Caulk is an excellent choice for narrow gaps, especially in kitchens or bathrooms where moisture is present. Acrylic latex caulk is paintable and cleans up with water, making it versatile. Silicone caulk offers superior moisture resistance but is harder to paint over. To apply caulk, first clean the gap thoroughly to remove any dust or grease. Cut the tip of the caulk tube at a 45-degree angle, making the opening slightly smaller than the gap. Apply a steady, even bead of caulk into the gap. Then, use a wet finger, a caulk tool, or a damp cloth to smooth the bead. This creates a neat, professional-looking seam. Allow the caulk to cure according to the manufacturer’s instructions.
Wood filler is ideal for wood cabinets where you want to maintain a consistent wood grain appearance. It works well for small cracks or minor chips. Apply the wood filler with a putty knife, pressing it firmly into the gap. Overfill slightly, as wood filler can shrink as it dries. Once dry, sand the area smooth with fine-grit sandpaper. You can then stain or paint the filled area to match your existing cabinets. This method provides a durable and seamless repair. Both caulk and wood filler are simple solutions that can make a big difference in your cabinet’s appearance.
Bridging Medium Gaps (1/4 inch to 2 inches): Practical Approaches
Medium-sized gaps, typically ranging from 1/4 inch to 2 inches, require more robust solutions than simple caulk or filler. These gaps are too wide for a quick bead of sealant. They need a material that can physically bridge the space. My preferred methods for these gaps involve using trim, molding, or custom-cut strips of wood. These solutions provide both structural integrity and a finished look.
Wood trim is a versatile option. You can choose from various profiles like quarter-round, shoe molding, or flat strips. To use trim, measure the height of the gap and cut the trim piece to fit precisely. For a perfect fit against an uneven wall, scribe molding is an excellent choice. It can be shaped to match the wall’s contours, hiding any imperfections. Once cut, you can attach the trim using small finish nails or wood glue. For a stronger hold, I often use both. After securing the trim, fill any nail holes with wood putty and paint or stain the trim to match your cabinets. This creates a cohesive and integrated appearance. Remember, a well-matched trim piece can completely transform the look of the gap.
For deeper medium gaps, you might consider inserting a backer rod before applying caulk or trim. A backer rod is a foam material that fills the majority of the gap’s depth. It provides a stable surface for the caulk or adhesive to bond to. This method saves on material and creates a more stable fill. For larger medium gaps, a custom-cut piece of thin plywood or MDF can serve as a filler panel. Measure the gap precisely, cut the panel to size, and secure it with screws or glue. Then, finish the panel to match your cabinets. Utilizing these practical approaches ensures that your medium gaps are not only covered but also look like an intentional part of your cabinet design. You can explore ways to match existing cabinet elements by looking at articles on how to add trim to bottom of kitchen cabinets or how to add molding to kitchen cabinets.
- Using Trim and Molding:
- Measure Accurately: Measure the gap’s length and width carefully.
- Select Trim Type: Choose trim (e.g., quarter round, shoe molding, flat stock) that complements your cabinets. Scribe molding is great for uneven walls.
- Cut to Size: Use a miter saw or hand saw to cut the trim piece to the exact height of the gap.
- Attach: Secure the trim with small finish nails or strong wood glue. For a secure bond, I often apply glue and then use nails.
- Finish: Fill nail holes with wood putty. Sand smooth, then paint or stain to match your cabinets perfectly.
- Backer Rod for Deeper Gaps:
- Insert: For deep gaps, push a foam backer rod into the gap first. This reduces the amount of caulk or adhesive needed.
- Apply Finish: Once the backer rod is in place, apply caulk over it for a smooth, finished surface.
- Custom Filler Panels:
- Material: Use thin plywood or MDF cut to the exact dimensions of the gap.
- Secure: Attach the panel with screws from the inside of the cabinets or with strong construction adhesive.
- Blend: Paint or stain the panel to match your existing cabinet finish.
Utilizing Large Gaps (Over 2 inches): Functional and Creative Ideas
Large gaps between cabinets, those exceeding 2 inches, present a unique opportunity. Rather than just covering them, you can transform these spaces into functional or decorative features. This approach adds value to your kitchen or other cabinet areas. It is about making the most of every available inch. I love turning awkward spaces into smart storage.
One popular and highly effective solution is creating a custom pull-out pantry or spice rack. This involves building a narrow, wheeled unit that slides into the gap. You can design it with shelves for spices, oils, or canned goods. This maximizes storage in a previously wasted space and keeps items easily accessible. The face of the pull-out can be designed to match your cabinet doors, making it blend seamlessly when closed. This trick makes the most of your kitchen space.
Another creative idea is to integrate open shelving or a small display nook. If the gap is in a visible area, you can install a series of shelves to hold cookbooks, decorative items, or small plants. This adds visual interest and breaks up the monotony of continuous cabinet faces. You might also consider building a small wine rack, a charging station for electronic devices, or even a narrow desk nook if the gap is wide enough. These custom additions not only fill the gap but also enhance the utility and aesthetic appeal of your home. They demonstrate smart design and problem-solving. For similar ideas on maximizing space, consider how you might install a shelf between two cabinets or address a large gap between cabinet and wall.
- Custom Pull-Out Pantry/Spice Rack:
- Build a Frame: Construct a narrow frame with vertical dividers and shelves.
- Add Wheels: Attach small casters to the bottom for easy movement.
- Match Finish: Design the front panel to match your existing cabinet doors.
- Install Glides: Use full-extension drawer glides for smooth operation.
- Built-in Open Shelving:
- Measure Accurately: Determine the exact dimensions for shelves.
- Select Material: Use wood or MDF that matches your cabinet material.
- Install Supports: Secure shelf supports to the cabinet sides.
- Insert Shelves: Place shelves for display or storage.
- Integrated Wine Rack:
- Design Cells: Plan individual compartments for wine bottles.
- Construct: Build the unit to fit the gap.
- Finish: Stain or paint to complement your kitchen décor.
- Small Desk Nook/Charging Station:
- Install a Countertop: Cut a small piece of countertop material or wood.
- Add Power: Install an outlet inside the nook if power is accessible.
- Add Shelves: Include small shelves for organizing accessories.
Ensuring a Seamless Finish: Tips for Blending Your Solution
Achieving a seamless finish is crucial when filling gaps between cabinets. A well-executed repair should blend so perfectly that it looks like part of the original installation. This requires careful attention to detail in material selection and application. My goal is always for the repair to be invisible or to enhance the overall look.
Color matching is perhaps the most important step. If you are painting the filler material, obtain paint chips from your existing cabinets or remove a small sample. Take it to a paint store for an exact match. For stained cabinets, finding a stain that blends perfectly can be more challenging. Test the stain on a scrap piece of the filler material first. You might need to layer different stains or apply a clear coat to achieve the desired depth and tone. Remember, a slight difference in sheen can also be noticeable, so match the gloss level as well.
Proper surface preparation and application techniques are equally vital. Before applying any caulk, wood filler, or paint, ensure the surfaces are clean, dry, and free of dust or grease. Use painter’s tape to create crisp, clean lines when caulking or painting adjacent surfaces. When sanding wood filler or custom panels, use progressively finer grits of sandpaper to achieve a perfectly smooth surface. Apply paint or stain in thin, even coats to avoid drips or brush marks. For a truly professional outcome, you might even consider methods to achieve a smooth finish on cabinets for the entire cabinet run, not just the repaired section. Finally, give the materials adequate time to cure or dry before putting the area into full use. These careful steps ensure your filled gap looks integrated and flawless.
- Color Matching Paint or Stain:
- Get Samples: Bring a cabinet piece or high-quality photo to a paint store for professional matching.
- Test on Scrap: Always test paint or stain on a scrap piece of the filler material first.
- Match Sheen: Ensure the new finish matches the existing cabinet’s gloss level (e.g., satin, semi-gloss).
- Proper Surface Preparation:
- Cleanliness: Thoroughly clean the gap area and surrounding cabinet surfaces. Remove all dust, grease, and debris.
- Dryness: Ensure the area is completely dry before applying any material.
- Smoothness: Lightly sand any rough edges on the existing cabinet or filler material.
- Application Techniques:
- Painter’s Tape: Use painter’s tape to create sharp, clean edges when applying caulk or painting.
- Smooth Caulk Beads: Use a wet finger or a specialized caulk tool to smooth caulk lines.
- Even Coats: Apply paint or stain in thin, even coats. Avoid over-applying, which can lead to drips or an uneven finish.
- Sanding and Finishing:
- Progressive Sanding: For wood filler or custom panels, sand with increasingly finer grits of sandpaper (e.g., 120, 180, 220) for a perfectly smooth surface.
- Dust Removal: Wipe away all sanding dust before applying the final finish.
- Curing Time:
- Follow Instructions: Allow adequate drying or curing time for caulk, wood filler, paint, or stain according to product instructions. This ensures durability and a lasting finish.
Addressing Gaps Beyond the Kitchen: Other Cabinet Scenarios
While kitchen cabinets are often the focus, gaps can appear in cabinetry throughout your home. The principles for filling these gaps remain similar, but the specific solutions might vary based on the room’s function and aesthetic. I always consider the environment and usage when deciding on the best approach for different spaces.
In bathrooms, vanity gaps are a common issue. Moisture resistance is key here. Using a silicone caulk that contains mildew inhibitors is essential for sealing gaps between the vanity and the wall or between vanity units. This prevents water damage and mold growth. For larger gaps, a waterproof trim or a custom-cut PVC panel might be more suitable. These materials stand up well to humidity and splashes, maintaining their appearance over time.
Laundry rooms often feature utilitarian cabinets. Gaps in these areas can be functional issues, as items might fall behind them. Simple caulk or basic wood trim can usually suffice here. The focus is less on decorative appeal and more on practicality. If you are building or installing new cabinets, like how to build your own closet cabinets, planning for minimal gaps from the start is ideal. In living rooms or dens with built-in shelving or entertainment centers, gaps can detract from the custom look. Here, precise wood filler, decorative molding, or custom panels stained to match the furniture’s finish are ideal. The aim is to create a seamless, furniture-like appearance. It is also important to consider if the gap is structural or cosmetic. For instance, a gap between cabinet doors is a different issue than a gap between two cabinet boxes. If you are dealing with misaligned doors, information on how to fix gap between cabinet doors would be more relevant than filling a gap between two separate cabinet units. No matter the room, addressing cabinet gaps improves the overall look and cleanliness of your space.
- Bathroom Vanities:
- Material Choice: Use mildew-resistant silicone caulk for water-prone areas.
- Durability: Opt for waterproof trim or PVC panels for larger gaps to withstand humidity.
- Purpose: Prevent water damage and mold growth around sinks and showers.
- Laundry Room Cabinets:
- Practicality Over Aesthetics: Simple caulk or basic wood trim is often sufficient.
- Function: Focus on preventing items from falling behind cabinets.
- New Installations: Plan for minimal gaps during initial installation for ease.
- Living Room Built-ins/Entertainment Centers:
- Seamless Integration: Use precise wood filler, decorative molding, or custom panels.
- Finish Match: Ensure the repair matches the furniture’s finish for a built-in look.
- Attention to Detail: Small gaps can affect the high-end appearance of custom units.
- Beyond Box Gaps:
- Internal Gaps: Distinguish between gaps between cabinet units and gaps within a cabinet, such as between cabinet doors or drawers.
- Specialized Fixes: For gaps in cabinet doors, adjustments to hinges or specific door repair techniques are needed, not gap filling between boxes.
FAQ Section
Q1: How do I choose the right color caulk for my cabinets? A1: Choose a caulk color that closely matches your cabinet paint or stain. Many caulk brands offer a range of colors. If an exact match is not available, select a clear caulk or a paintable acrylic latex caulk. You can then paint over the caulk to blend it perfectly with your cabinets. Testing a small, hidden area first is always a good idea.
Q2: Can I fill a gap with wood filler if it’s not a wood cabinet? A2: Wood filler is designed for wood surfaces. If your cabinets are laminate, thermofoil, or painted MDF, using a paintable acrylic latex caulk or a spackling compound might be a better choice. These materials adhere well to non-wood surfaces and can be painted to match your cabinet finish. Always check product labels for compatibility.
Q3: How do I prevent gaps from reappearing after I fill them? A3: To prevent gaps from reappearing, ensure the cabinets are properly secured to the wall studs and to each other during installation. Use shims to level cabinets and fill any significant voids behind them before fastening. For existing cabinets, address the root cause if possible, such as securing loose cabinets. Using flexible caulk can also accommodate slight movement.
Q4: Is it better to use nails or glue for attaching trim? A4: For attaching trim, using both nails and wood glue offers the strongest hold. Nails provide immediate holding power while the glue dries, preventing the trim from shifting. Once the glue cures, it creates a permanent bond. For smaller, lighter trims, a strong construction adhesive might be sufficient on its own.
Q5: Can I turn a gap into a functional space without professional help? A5: Yes, many functional gap solutions can be DIY projects. Building simple open shelves or a basic pull-out unit is achievable for a handy homeowner. Pre-made narrow shelving units are also available at home improvement stores. Always measure precisely and plan your design before purchasing materials or starting the build.
Q6: What is scribe molding and when should I use it? A6: Scribe molding is a thin, flexible piece of trim. It has one straight edge and one tapered edge. You use it when a cabinet meets an uneven wall. The tapered edge can be trimmed or sanded to perfectly match the wall’s contour. This creates a tight, seamless fit, hiding any irregularities between the cabinet and the wall.
Conclusion
Filling the gaps between your cabinets is a practical home improvement task that dramatically enhances the look and cleanliness of your space. We have explored various methods, from simple caulk applications for tiny cracks to creative functional solutions for larger voids. Whether you are dealing with a minor aesthetic flaw or a significant space challenge, there is a suitable approach for every situation. Remember, the key to a successful repair is careful measurement, choosing the right materials, and a precise application.
Taking the time to address these gaps will not only make your cabinets look more polished and intentional but also help keep your home cleaner and more organized. You can transform unsightly spaces into attractive, useful features. I hope this guide has given you the confidence and knowledge to tackle any cabinet gap project. So, grab your tools and start making your home’s cabinetry look its best. You will enjoy the seamless results.
- cabinet gaps
- kitchen renovation
- DIY home
- cabinet installation
- storage solutions

Todd Martin
Senior Writer
With over 15 years of experience in home renovation and design, I started HEG to share what I’ve learned with homeowners who want to create spaces that are both beautiful and functional. I’ve always believed in a hands-on approach, and over the years, I’ve picked up practical solutions that actually work. Through HEG, I aim to make home improvement more approachable, sharing real tips that help you create a home you truly love.