· Todd Martin · DIY & Home Improvement · 11 min read
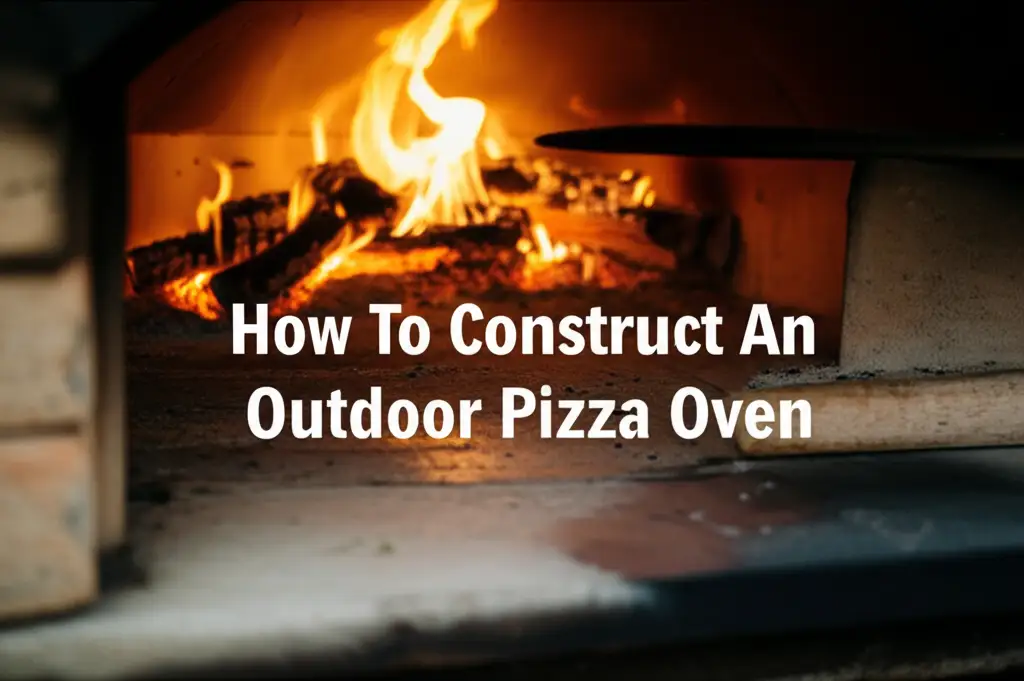
How To Construct An Outdoor Pizza Oven
Building Your Outdoor Pizza Oven: A Comprehensive Guide
Imagine biting into a crispy, wood-fired pizza, fresh from your backyard oven. This dream can become a reality. Many people desire a unique outdoor cooking experience. They want to enjoy gourmet pizzas at home. Learning how to construct an outdoor pizza oven offers a rewarding DIY project. It adds great value to your outdoor living space.
This article guides you through the entire process. We will cover planning, material selection, and step-by-step construction. You will learn how to build a durable and efficient pizza oven. Get ready to transform your backyard into a culinary hub.
Takeaway
- Plan Thoroughly: Select a suitable location, design, and gather all materials before starting.
- Build a Strong Foundation: A stable, level base prevents structural issues.
- Insulate Properly: Good insulation traps heat, making your oven efficient.
- Construct a Robust Dome: The oven chamber needs to withstand high temperatures.
- Cure Your Oven: Gradual heating prepares the oven for long-term use.
How to construct an outdoor pizza oven?
To construct an outdoor pizza oven, you must first plan your design and gather materials like refractory bricks and mortar. Then, build a strong, level foundation, followed by an insulated hearth. Construct the dome or arch for the cooking chamber. Finally, add a chimney and cure the oven with small fires before full use.
Planning Your Outdoor Pizza Oven Project
Building an outdoor pizza oven begins with careful planning. This initial phase sets the stage for success. Proper planning saves time and prevents future problems. Consider your budget, space, and desired oven size.
First, decide on the best location in your yard. Choose a spot that is level and has good drainage. It should be away from flammable structures like wooden fences or sheds. The location also needs easy access to fuel and cooking supplies. Ensure the ground can support the oven’s weight. A full brick oven is very heavy.
Next, select your oven design. Do you want a traditional dome, a barrel vault, or a different style? Dome ovens are popular for their even heat distribution. Barrel vaults can be easier for beginners to build. Research different designs to find one that fits your aesthetic and functional needs. Many resources provide how-to guides for building an outdoor pizza oven step-by-step.
Finally, make a comprehensive materials list. This includes refractory bricks for the cooking chamber, standard bricks for the base, and specific types of cement and insulation. Having all materials ready prevents delays. It also helps manage your budget effectively.
Gathering Essential Materials and Tools
Having the right materials and tools is crucial for building your outdoor pizza oven. High-quality materials ensure durability and safety. This part of the process requires careful attention. Do not compromise on material quality.
For the oven’s cooking chamber, you need refractory bricks. These bricks withstand very high temperatures. They are different from standard building bricks. Refractory mortar is also essential. It holds the refractory bricks together under intense heat. Standard mortar will crack and fail.
The oven base typically uses standard concrete blocks or bricks. These provide a stable and strong foundation. You will also need regular mortar for the base structure. Insulation materials are critical for heat retention. Ceramic fiber blankets or vermiculite are good choices. They keep the heat inside the oven.
A complete tool list includes a trowel, spirit level, measuring tape, and a brick hammer. You will also need a wheelbarrow for mixing concrete and mortar. Safety glasses and gloves are a must. A cutting tool for bricks, like an angle grinder with a diamond blade, will make your work much easier. Having all these items ready before you start construction ensures a smooth workflow. For those considering a wood-fired pizza oven build, specific tools for managing wood fuel might also be helpful.
Laying the Foundation and Base Structure
A strong foundation is the backbone of your outdoor pizza oven. It supports the entire structure’s weight. A poorly built foundation can lead to cracks or collapse. This step requires precision and patience.
First, prepare the site. Dig a trench for the foundation footings. This trench should be below the frost line in your area. This prevents ground movement from damaging your oven. Fill the trench with gravel for drainage, then pour a concrete slab. Ensure the slab is perfectly level. This creates a stable surface for your base.
Once the concrete cures, begin building the base structure. This is often made from concrete blocks or standard bricks. You will stack these blocks to form a sturdy table-like structure. This base lifts the oven to a comfortable working height. Use a strong mortar mix for these blocks. Each course of blocks must be level. Use your spirit level frequently.
Consider adding a storage area under the oven. This can be useful for storing firewood. It keeps your fuel dry and readily accessible. A well-constructed base provides the necessary support and stability. It prepares the way for the oven hearth. Some builders also choose to build a specific table for their pizza oven at this stage. This integrated base provides a stable and convenient workstation.
Building the Oven Hearth and Insulation
The oven hearth is the floor of your cooking chamber. This surface must be flat, smooth, and able to withstand intense heat. It also needs proper insulation beneath it to prevent heat loss downwards. This step is critical for efficient cooking.
First, lay a layer of insulation on top of your finished base structure. Common insulation materials include ceramic fiber board or a mixture of vermiculite and cement. This layer traps heat within the oven. It prevents heat from escaping into the base. This makes your oven more efficient and reduces fuel consumption. The insulation layer should be thick enough to provide adequate thermal break.
Next, place the refractory firebricks for the hearth. These bricks form the actual cooking surface. Lay them flat and tightly together. Use a thin layer of refractory mortar between them. This creates a smooth, continuous surface. Ensure the hearth is perfectly level. A level hearth allows pizzas to cook evenly. It also makes moving pizzas in and out easier.
Some builders add a slight slope towards the oven door for drainage, but a flat surface is usually preferred for pizza cooking. The hearth should extend slightly beyond the oven opening. This creates a landing space for pizzas. A well-insulated and properly laid hearth ensures your oven holds heat efficiently. It provides a perfect surface for baking delicious pizzas.
Constructing the Oven Dome or Arch
The dome or arch forms the actual cooking chamber of your pizza oven. This is where the magic happens. It holds and reflects heat, ensuring even cooking. Building the dome requires precision and careful bricklaying. This is often the most visually impressive part of the construction.
Start by laying the first course of refractory bricks around the hearth perimeter. These bricks form the base of your dome. Use refractory mortar for all dome construction. It withstands the extreme temperatures inside the oven. Ensure each brick is tightly joined.
You will gradually angle the bricks inward as you build upwards. This creates the curved shape of the dome. Many builders use a wooden form or a sand mold to support the bricks during construction. The form provides a guide for the curve. Once the mortar sets, you remove the form. The dome becomes self-supporting. If you are specifically looking to build an outdoor pizza oven with bricks, this section is especially important.
The oven opening, or mouth, needs careful planning. It should be tall enough to insert pizzas easily but not too tall. A smaller opening helps retain heat. Consider the “golden ratio” for oven openings, which is typically 63% of the interior dome height. This ratio promotes proper airflow and heat retention. Building the dome is a rewarding challenge. It transforms your base into a functional oven chamber.
Adding the Chimney and External Insulation
Once the oven dome is complete, adding the chimney is the next crucial step. The chimney ensures proper smoke evacuation. It also helps create a strong draw, pulling air through the oven for combustion. Without a chimney, your oven would fill with smoke, making it unusable.
The chimney is typically built directly above the oven’s mouth. This position helps draw smoke efficiently from the cooking chamber. The size and height of the chimney matter. A chimney that is too short may not create enough draw. One that is too wide can allow too much heat to escape. Use refractory bricks or a pre-fabricated chimney pipe for this section. Secure it firmly to the oven structure.
After the chimney is in place, apply external insulation to the entire dome. This is a vital step for heat retention. Ceramic fiber blankets are commonly used. Wrap the entire dome with several layers of this insulation. Secure it with wire mesh or straps. This layer dramatically improves the oven’s efficiency. It keeps the exterior cool while the interior reaches extreme temperatures.
Finally, apply an outer protective layer. This layer covers the insulation and provides weather protection. It can be a render mix of lime, sand, and cement, or a decorative finish. This outer layer also enhances the oven’s aesthetic appeal. It completes the structural phase of your outdoor pizza oven.
Curing and Finishing Your Pizza Oven
Congratulations, your outdoor pizza oven is almost ready! The final steps involve curing the oven and adding finishing touches. Curing is a critical process. It slowly removes moisture from the oven’s materials. This prevents cracking and ensures the oven’s longevity.
Curing involves a series of small, low-temperature fires. Start with a very small fire for a few hours on the first day. The next day, make the fire a little larger and hotter. Repeat this process for several days, gradually increasing the heat. This slow drying allows any moisture in the bricks and mortar to escape gently. Rushing this process can cause severe damage. Follow the manufacturer’s guidelines for your specific refractory materials regarding curing times. This typically takes 5-7 days.
After curing, you can apply any desired exterior finishes. This might include a final stucco layer, tiles, or decorative stone. These finishes protect the oven from the elements. They also personalize its appearance. Consider adding a small door to the oven opening. This helps retain heat between firings.
Now, your outdoor pizza oven is ready for its first high-temperature bake! Remember to always preheat your oven properly before cooking. With proper care and maintenance, your homemade pizza oven will provide countless hours of culinary enjoyment. It is a fantastic addition to any outdoor space.
FAQ Section
How long does it take to build a DIY outdoor pizza oven?
Building a DIY outdoor pizza oven typically takes several weeks. This includes time for planning, material gathering, and construction. You also need to account for drying and curing times for concrete and mortar. Active building time might be 5-10 full days. Curing usually takes an additional 5-7 days.
What are the best materials for a durable outdoor pizza oven?
The best materials for a durable outdoor pizza oven include refractory bricks for the cooking chamber and hearth. Use refractory mortar to bind these bricks. Standard concrete blocks or bricks work well for the base. Ceramic fiber blankets or vermiculite provide excellent insulation. A strong concrete slab forms the foundation.
Can I cook other things in my outdoor pizza oven besides pizza?
Yes, you can cook many other dishes in your outdoor pizza oven besides pizza. The high, even heat is excellent for baking bread, roasting vegetables, and cooking meats. You can also bake casseroles or even desserts. The versatile heat allows for various culinary creations.
How do I maintain my outdoor pizza oven for longevity?
Maintain your outdoor pizza oven by keeping it covered when not in use. This protects it from rain and snow. Clean out ash regularly. Inspect the oven periodically for cracks and make minor repairs promptly. Perform gentle, slow re-curing fires after long periods of disuse or major repairs.
Is it cheaper to build or buy an outdoor pizza oven?
Building an outdoor pizza oven can often be cheaper than buying a pre-fabricated one, especially for larger, custom designs. However, this depends on the cost of materials and your ability to do the labor yourself. Smaller, portable ovens might be more cost-effective to buy. DIY provides customization and a sense of accomplishment.
How hot does an outdoor pizza oven get?
An outdoor pizza oven can reach very high temperatures, typically between 700°F and 900°F (370°C to 480°C) when properly heated. This intense heat is essential for cooking pizzas quickly, often in 90 seconds to 2 minutes. The high temperature creates a crispy crust and perfectly cooked toppings.
Conclusion
Building your own outdoor pizza oven is a deeply satisfying project. It brings the authentic taste of wood-fired pizza right to your backyard. We covered every stage, from initial planning to the final curing process. You now have the knowledge to embark on this journey. Remember to prioritize safety and precision throughout your build.
The effort you put into learning how to construct an outdoor pizza oven will reward you for years to come. Imagine gathering friends and family around your custom-built oven. You will create unforgettable meals and memories. Take the first step today. Start planning your very own backyard pizzeria. Enjoy the amazing flavors that only a homemade pizza oven can provide.

Todd Martin
Senior Writer
With over 15 years of experience in home renovation and design, I started HEG to share what I’ve learned with homeowners who want to create spaces that are both beautiful and functional. I’ve always believed in a hands-on approach, and over the years, I’ve picked up practical solutions that actually work. Through HEG, I aim to make home improvement more approachable, sharing real tips that help you create a home you truly love.