· Todd Martin · DIY & Home Improvement · 19 min read
How To Build A Floating Bathroom Vanity

How to Build a Floating Bathroom Vanity: A DIY Guide
Want to give your bathroom a sleek, modern look? A floating bathroom vanity offers a beautiful, minimalist design. It creates an open, airy feel in any space. This type of vanity also makes cleaning your bathroom floor much easier. You do not need to move heavy furniture.
Learning how to build a floating bathroom vanity is a rewarding DIY project. It lets you customize the design, materials, and storage for your exact needs. This guide will walk you through each step. We cover everything from initial planning to the final installation. Get ready to transform your bathroom into a stylish and functional oasis.
Takeaway
- Plan your vanity’s design, dimensions, and materials carefully before you start.
- Gather all necessary tools and supplies to ensure a smooth building process.
- Construct a sturdy internal frame that can bear the vanity’s weight and contents.
- Securely mount the frame to wall studs for maximum stability and safety.
- Install plumbing correctly and seal all surfaces to protect against moisture damage.
Building a floating bathroom vanity involves constructing a sturdy frame, creating the cabinet box, and securing it to wall studs. You then add the countertop, sink, and plumbing. This process requires precise measurements and proper wall anchoring to ensure stability and a professional finish.
Planning Your Floating Bathroom Vanity Project
Every successful DIY project begins with thorough planning. Planning your floating bathroom vanity ensures a smooth build. It helps you avoid mistakes and saves time and money. Think about the space you have available.
Consider the style you want for your bathroom. A modern floating vanity can greatly enhance your bathroom’s appearance.
Design and Dimensions
First, decide on the size and shape of your vanity. Measure the wall space where the vanity will go. Also, consider the height you want the vanity to float above the floor. Standard vanity heights are usually around 32 to 36 inches from the floor to the top of the countertop. A floating vanity offers flexibility here.
Think about how many sinks you need. Will it be a single or a double vanity? You must also account for the plumbing location inside the wall. Ensure your design allows access for sink drains and water supply lines. Sketch out your design with detailed measurements.
Material Selection
Choosing the right materials is important for a floating vanity. Wood is a common choice. Plywood is excellent for the cabinet carcass because it is stable and strong. Moisture-resistant MDF or marine-grade plywood are good options for bathrooms. This is because they withstand humidity well. For the face frame and doors, solid wood gives a beautiful finish.
Consider the countertop material. Quartz, granite, or solid surface materials are durable and water-resistant. The vanity’s weight also matters. Lighter materials are easier to install and put less stress on wall mounts. You can learn more about building different types of cabinets and their components, such as how to build face frames for cabinets, which are crucial for a professional finish.
Storage Needs
Think about your storage needs. Do you want drawers, open shelves, or closed cabinets? Drawers offer organized storage for small items. Open shelves display decorative items or towels. Closed cabinets hide clutter. Design your storage solutions to fit your daily routine.
Consider the depth of your vanity. Deeper vanities offer more storage but take up more floor space. Shallow vanities save space in smaller bathrooms. Plan for internal dividers or pull-out shelves if you want maximum organization. This careful planning ensures your floating vanity is both beautiful and functional.
Gathering Tools and Materials for Your DIY Vanity
Having the right tools and materials ready before you start is crucial. This step ensures efficiency and safety throughout your project. Building a floating vanity requires both common hand tools and some power tools. A well-prepared workspace also makes the job much easier.
It prevents interruptions once you begin the actual construction. I always make a checklist to avoid forgetting anything important.
Essential Tools
You will need a variety of tools to build your floating bathroom vanity. A circular saw or table saw is necessary for cutting large sheets of plywood accurately. A miter saw helps with precise angle cuts for face frames and trim. You will also need a drill for pre-drilling holes and driving screws. A stud finder is vital for locating wall studs, which are critical for mounting.
Other hand tools include a tape measure, level, speed square, and clamps. Clamps hold pieces together while glue dries or screws are driven. Safety gear like safety glasses, hearing protection, and gloves are important. Investing in good quality tools can make the building process smoother and more enjoyable. Remember, a sturdy build requires accurate cuts and strong fastenings.
Lumber and Sheet Goods
The primary materials for your vanity will be lumber and sheet goods. High-quality plywood is ideal for the vanity’s carcass. Look for furniture-grade plywood or marine-grade plywood for extra moisture resistance in the bathroom. The thickness often ranges from 3/4 inch for the main structure to 1/2 inch for drawer boxes. You will also need solid wood for face frames, doors, and drawer fronts. Hardwoods like maple, oak, or cherry are durable and take stains well.
Softwoods like pine are more affordable but might dent easier. Purchase enough material to account for any mistakes or design changes. Always buy a little extra to be safe. This prevents inconvenient trips to the lumberyard mid-project. You can find inspiration for building various cabinet types, such as how to build your own closet cabinets, to help visualize the construction.
Hardware and Fasteners
You need specific hardware and fasteners to assemble and install your floating vanity. Wood screws are essential for joining plywood and solid wood pieces. Use appropriate lengths to ensure strong connections without poking through. Pocket hole screws work well with a pocket hole jig for strong, hidden joints. Heavy-duty lag screws or structural screws are critical for mounting the vanity to wall studs. These screws must be long enough to penetrate the vanity frame, drywall, and at least 1.5 inches into the studs.
Drawer slides and hinges are necessary for drawers and doors. Choose soft-close options for a premium feel. You will also need wood glue for strong, lasting joints. Sandpaper, wood filler, and desired finishing products like paint or stain complete your material list. Having all these items ready before you start cuts down on project time. It also ensures a professional-looking finished product.
Building the Vanity Frame and Carcass
Now that you have your design and materials, it’s time to start building. The frame and carcass form the backbone of your floating vanity. A sturdy construction here ensures the vanity can support the countertop, sink, and all its contents. Precision in cutting and assembly is key for a good fit and strong structure. I find that taking my time with each step pays off in the long run.
Cutting Plywood Panels
Start by accurately cutting all your plywood panels according to your design plans. You will need panels for the top, bottom, sides, and any internal dividers or shelves. Use a circular saw with a straight edge guide or a table saw for clean, straight cuts. Double-check all measurements before cutting to avoid waste. This is the foundation of your vanity.
Label each piece as you cut it. This makes assembly much easier later on. Ensure all edges are smooth and free of splinters. Take your time during this stage. Accuracy here directly affects the quality of your finished vanity.
Assembling the Carcass
Once all panels are cut, it’s time to assemble the main carcass. Start with the sides, top, and bottom panels. Use wood glue and screws to join the pieces. Pocket hole joinery is an excellent method for strong, hidden joints. It creates a clean appearance. Apply glue to all mating surfaces before driving screws. This provides extra strength.
Clamps are invaluable during assembly. They hold pieces tightly together while the glue sets. Make sure the carcass is square as you assemble it. Use a large carpenter’s square to check all corners. An out-of-square carcass will cause problems with door and drawer alignment later. You might consider looking at guides on how to build a pantry cabinet with doors or how to build floor-to-ceiling cabinets for more general cabinet assembly tips.
Creating Internal Supports
For a floating vanity, internal supports are essential for mounting. These supports will bear the weight and secure the vanity to the wall. Build a sturdy sub-frame or cleat system from solid wood lumber. This frame will attach to the back of the vanity carcass and directly to the wall studs. The thickness of this lumber depends on the vanity’s size and weight. Typically, 2x4s or 2x6s work well.
These supports must be perfectly level and square with the vanity box. Reinforce them with plenty of wood glue and long screws. I often add a plywood back panel to the carcass for added rigidity. This also gives me more surface area for mounting points. A strong internal support system is non-negotiable for a safe and durable floating vanity.
Installing the Floating Vanity Frame on the Wall
Installing the floating vanity frame correctly is the most critical step for safety and stability. The vanity needs to be perfectly level and securely anchored to the wall studs. Improper installation can lead to the vanity detaching, causing significant damage or injury. This is a step where precision and patience are rewarded.
Locating Wall Studs
Before doing anything, use a reliable stud finder to locate and mark the wall studs. Studs are the vertical wooden or metal beams inside your walls. They provide the necessary support for heavy objects like a floating vanity. Mark the center of each stud clearly with a pencil line. Measure and mark the height where the top of your vanity will sit. Draw a level line across the wall at this desired height.
This line will guide your installation. Remember, your internal support frame must align perfectly with these studs. If your vanity is wider than two studs, you might need to add blocking between studs for additional support. However, for most vanities, two to three studs offer enough anchoring points.
Attaching the Mounting Cleat
Many floating vanity designs use a heavy-duty mounting cleat. This is a robust piece of wood, often 2x4 or 2x6, that attaches directly to the wall studs. Cut the cleat to the length of your vanity. Pre-drill pilot holes through the cleat where it will align with the center of each stud. Use a level to ensure the cleat is perfectly horizontal.
Then, attach it to the studs using long, strong lag screws or structural screws. These screws must penetrate at least 1.5 inches into the studs. This cleat will support the bulk of the vanity’s weight. It makes the final installation easier and more secure. Ensure the screws are tightened firmly.
Mounting the Vanity Carcass
With the mounting cleat securely in place, lift the vanity carcass onto the cleat. This often requires two people due to the weight. Align the top of the vanity’s internal support frame with the top of the cleat. Use clamps to temporarily hold the vanity in place against the wall. Double-check that the vanity is level both horizontally and vertically. Adjust as needed.
Once perfectly aligned, drive long screws through the back of the vanity’s internal support frame, directly into the wall studs. These screws should be offset from the screws holding the cleat. Use multiple screws per stud for maximum strength. The more secure connection points you have, the better. This ensures your floating vanity remains stable and safe for years to come.
Adding Doors, Drawers, and Finishes
Once the main carcass is securely mounted, you can focus on making your vanity functional and beautiful. Adding doors, drawers, and applying the chosen finish brings your floating vanity to life. This stage requires attention to detail for a professional, polished look. I enjoy this part the most, as I see the design truly come together.
Building and Installing Doors and Drawers
Start by building your cabinet doors and drawer boxes. If your design includes face frames, attach them to the vanity carcass first. Face frames hide plywood edges and provide a traditional look. Use pocket holes or biscuits for strong, clean joints. For doors, measure carefully and cut your stiles and rails. Assemble them using wood glue and clamps. For drawers, build sturdy boxes from plywood.
Ensure they are perfectly square for smooth operation. Install drawer slides to the vanity interior and the drawer boxes. Then, attach hinges to the doors and the vanity frame. Adjust hinges and slides until doors open and close smoothly. Drawers should glide in and out without sticking. You can find detailed instructions on similar projects, such as how to build wood shelves in a closet or how to build a built-in desk, which share common joinery and assembly principles.
Applying Your Chosen Finish
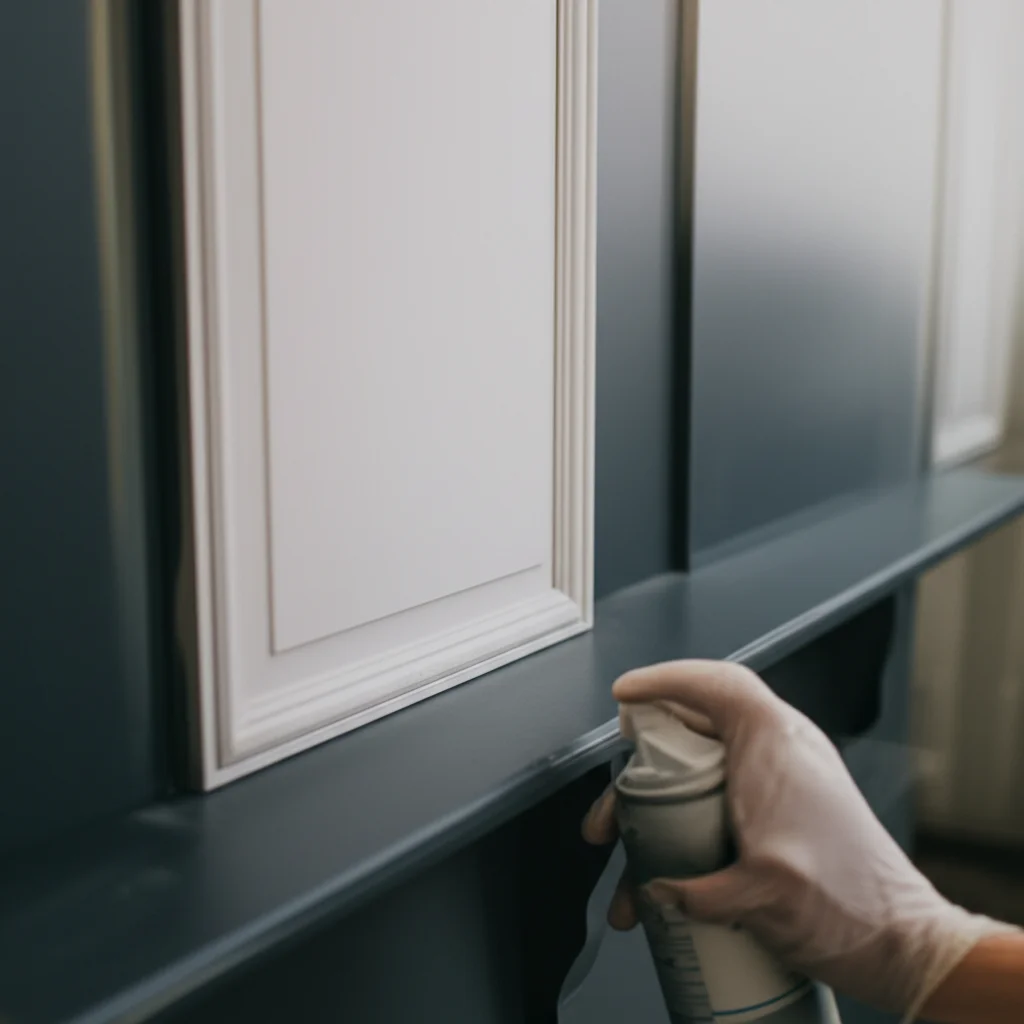
Before attaching doors and drawer fronts, apply your chosen finish to the vanity carcass. This could be paint, stain, or a clear coat. Sand all surfaces thoroughly before applying any finish. Start with a coarse grit and move to finer grits for a smooth surface. Clean off all dust. Apply primer if you are painting. Then, apply thin, even coats of your chosen paint or stain. Follow the manufacturer’s instructions for drying times between coats.
If staining, apply a protective clear coat, such as polyurethane, for durability and moisture resistance. The bathroom environment is humid, so a good protective finish is essential. Also, consider painting bathroom cabinets without sanding for a quicker method if your chosen paint allows it. Finish the doors and drawer fronts separately. This ensures full coverage and a cleaner final look.
Attaching Drawer Fronts and Hardware
Once the carcass and doors/drawers are finished, attach the drawer fronts. Position each drawer front evenly on the drawer box. Use double-sided tape or clamps to temporarily hold them in place. Then, secure them from the inside of the drawer box with screws. This allows for fine adjustments before final tightening. Attach knobs or pulls to all doors and drawer fronts. Measure carefully to ensure they are consistent in placement.
This hardware adds to the overall aesthetic and functionality of your floating vanity. Step back and admire your handiwork! The careful attention to these final details makes all the difference in the finished product. Your customized floating vanity is almost ready for use.
Installing Plumbing and Countertop
With the vanity structure complete and finished, the next crucial steps are installing the plumbing and setting the countertop. These tasks require careful attention to detail to prevent leaks and ensure proper function. This is where your floating vanity transitions from a piece of furniture into a fully operational bathroom fixture. I always take extra precautions with plumbing to avoid future headaches.
Rough-In Plumbing Considerations
Before installing the countertop, ensure your rough-in plumbing is correctly positioned. The water supply lines and drain pipe must align with your chosen sink’s specifications. If you built the vanity, you would have accounted for this in your design. If not, you might need to adjust the vanity or plumbing. Test the water supply lines for any leaks at this stage. Ensure shut-off valves are accessible beneath the sink for future maintenance.
The drain pipe should be at the correct height and centered for your sink. Make sure there is enough space inside the vanity for the P-trap and all connections. This foresight prevents problems when you install the sink itself. Proper rough-in is key to smooth final plumbing installation.
Setting the Countertop
Carefully lift the countertop onto the vanity carcass. This usually requires two people, as countertops can be very heavy. Position it precisely, ensuring it is centered and flush with the vanity edges. Most countertops are attached to the vanity using silicone caulk. Apply a continuous bead of silicone along the top edges of the vanity carcass. Then, gently lower the countertop into place.
Press down firmly to ensure a good bond. Some countertops may also require screws from underneath the vanity into support blocks attached to the countertop. Clean up any excess silicone immediately with a damp cloth. Allow the silicone to cure for at least 24 hours before installing the sink or using the vanity. This ensures a strong, watertight seal.
Installing the Sink and Faucet
Once the countertop is secure, install the sink and faucet. If you have an undermount sink, attach it to the underside of the countertop first, often with clips and silicone sealant. For a drop-in or vessel sink, place it into the cutout or on top of the countertop. Apply a bead of silicone around the rim for a watertight seal. Connect the drain assembly to the sink.
Install the faucet onto the countertop or sink, following the manufacturer’s instructions. Connect the hot and cold water supply lines from the faucet to the shut-off valves. Finally, connect the sink’s drain to the wall’s drain pipe using a P-trap. Double-check all connections for tightness. Turn on the water slowly and inspect for any leaks. Learning how to clean bathroom sink, how to clean bathroom faucet, and how to clean bathroom drain are good skills to have for ongoing maintenance.
Final Touches and Maintenance Tips
Congratulations, your floating bathroom vanity is almost complete! This final stage focuses on perfecting the look and ensuring long-term durability. Attention to these details ensures your vanity not only looks great but also performs well for years. A little ongoing care will keep it looking new.
Sealing and Caulking
Once all the major components are in place, apply caulk where the countertop meets the wall and around the sink. Use a high-quality, mold-resistant silicone caulk for these areas. This creates a waterproof seal, preventing water from seeping into gaps. Water damage can ruin your vanity over time. Apply a smooth, continuous bead of caulk.
Use a caulking tool or your finger (dampened with water or mineral spirits) to smooth the bead. Allow the caulk to cure fully before exposing it to water. This step is critical for protecting your vanity from moisture in the humid bathroom environment. A good seal ensures longevity.
Mirror and Lighting Installation
Now consider your mirror and lighting. A mirror above the floating vanity enhances the space and is functional. Choose a mirror that complements the vanity’s style and size. Install it securely to wall studs using appropriate hardware. Good lighting is also essential for a bathroom vanity.
Install vanity lights above or beside the mirror. These lights should provide adequate, even illumination for grooming tasks. Ensure all electrical work is done safely. If you are unsure, hire a qualified electrician. Proper lighting makes your new vanity truly shine.
Decor and Organization
Add decorative elements and organize your new vanity. Place a few well-chosen accessories on the countertop. This could be a soap dispenser, a small plant, or a decorative tray. Inside the drawers and cabinets, use organizers to keep items tidy. Drawer dividers, small bins, and shelf organizers maximize storage efficiency.
Keeping your vanity organized reduces clutter and makes the bathroom feel more inviting. Think about how to decorate a bathroom with dark cabinets if your vanity is a darker shade, to create a cohesive look. A clean and organized vanity enhances the overall appeal of your bathroom.
Maintenance for Longevity
To ensure your floating bathroom vanity lasts, regular maintenance is important. Wipe down the countertop and vanity surfaces regularly with a soft cloth and mild cleaner. Clean up spills immediately to prevent water damage or stains. Inspect plumbing connections periodically for any signs of leaks. Address small leaks promptly before they become major problems.
If you notice any signs of water damage, such as swelling wood, address it quickly. For instance, knowing how to repair water damaged bathroom cabinet can save you from a full replacement. Re-caulk around the sink and countertop if you notice any gaps or cracks forming. Proper care keeps your DIY floating vanity looking beautiful and functioning perfectly for many years.
FAQ Section
How much weight can a floating bathroom vanity hold?
A properly installed floating bathroom vanity can hold a significant amount of weight. The capacity depends on how securely it is mounted to wall studs and the strength of its internal frame. When mounted into at least two or three studs with strong lag screws, most custom floating vanities can safely support hundreds of pounds, including the countertop, sink, and contents.
What materials are best for a floating vanity?
High-quality plywood, especially marine-grade or furniture-grade, is excellent for the carcass due to its stability and resistance to moisture. Solid wood is ideal for face frames, doors, and drawer fronts. For countertops, durable and water-resistant materials like quartz, granite, or solid surface are top choices. These materials ensure longevity in a humid bathroom environment.
Can I install a floating vanity myself?
Yes, building and installing a floating vanity is a popular DIY project. It requires basic woodworking skills, a good set of tools, and careful attention to detail, especially for wall mounting and plumbing. Many people successfully complete this project. Follow detailed instructions and do not rush critical steps to ensure a safe and sturdy installation.
How do you secure a floating vanity to the wall?
You secure a floating vanity to the wall by attaching its internal support frame directly to wall studs. This often involves a heavy-duty mounting cleat first screwed into the studs. Then, the vanity carcass is lifted onto the cleat and secured with long lag screws or structural screws driven through the vanity’s back into the studs. Precise stud location and leveling are crucial.
What tools do I need for a DIY floating vanity?
Essential tools include a circular or table saw for cutting, a drill for screws, a miter saw for precise cuts, and a stud finder. You will also need a tape measure, level, clamps, and various hand tools. Safety glasses and hearing protection are also necessary. Having the right tools ensures accurate cuts and a strong, safe assembly.
How do I prevent water damage in a floating vanity?
Prevent water damage by using moisture-resistant materials like marine-grade plywood. Apply a durable, water-resistant finish to all surfaces, such as polyurethane. Crucially, caulk all seams where the countertop meets the wall and around the sink with mold-resistant silicone. Regularly inspect for leaks and wipe up spills immediately.
Conclusion
Building a floating bathroom vanity is a truly rewarding home improvement project. You have learned how to plan your design, select the right materials, and construct a sturdy carcass. We covered the critical steps of mounting the vanity securely to your wall and installing the essential plumbing and countertop. Finally, we looked at how to add those crucial finishing touches and maintain your new vanity for years to come.
This comprehensive guide gives you the knowledge to create a custom piece. Your new floating bathroom vanity will add a touch of modern elegance and efficient functionality to your bathroom. Take pride in your work. Embrace the journey of transforming your space with your own hands. Get started on your DIY floating vanity today and enjoy the beauty and convenience it brings.
- floating vanity DIY
- bathroom renovation
- DIY vanity
- modern bathroom design
- space-saving bathroom


