· Todd Martin · DIY · 12 min read
How To Build Round Coffee Table

Build Your Own Round Coffee Table: A Complete DIY Guide
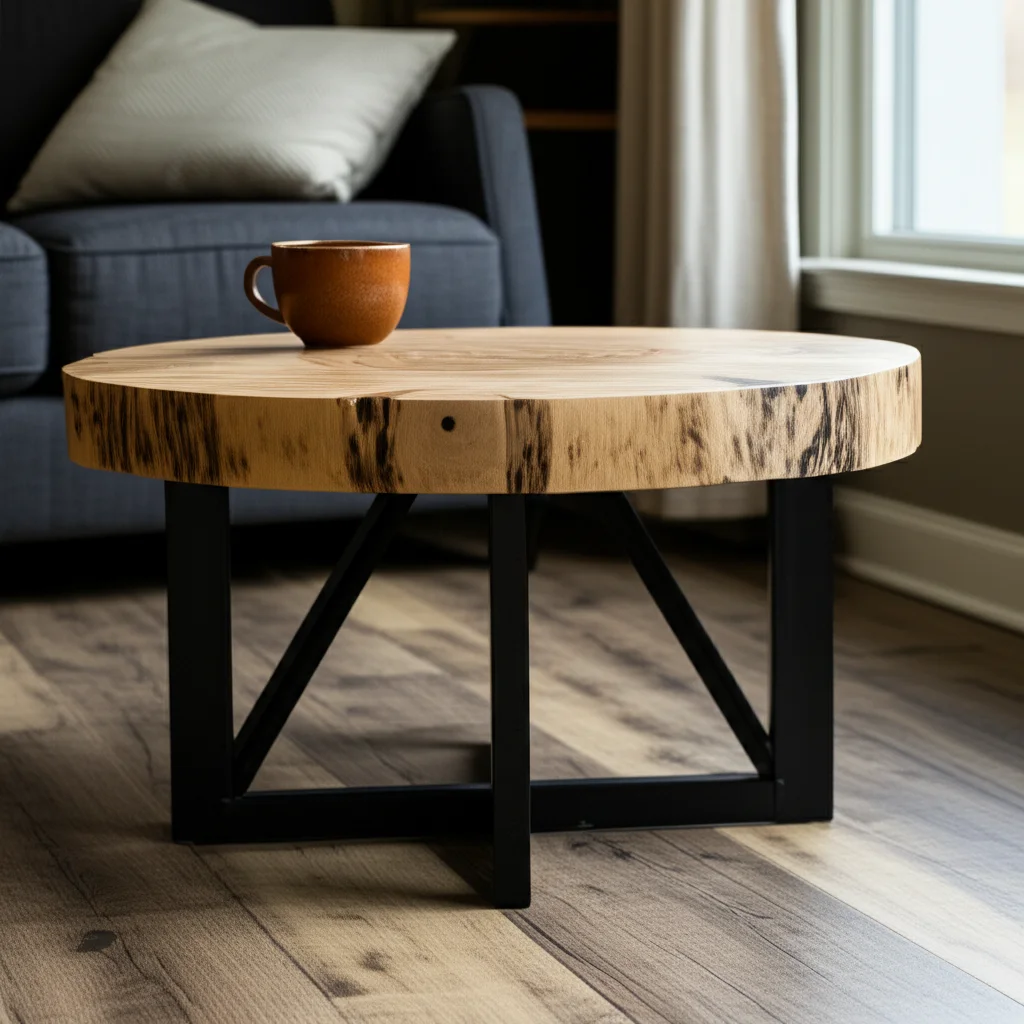
Do you dream of a beautiful, custom furniture piece for your living room? Building your own round coffee table offers a rewarding experience. It gives you a unique item that matches your home’s style. Creating a round coffee table lets you control every detail, from wood type to finish.
This project is satisfying for both new and experienced woodworkers. It helps you develop valuable skills. We will guide you through planning, cutting the tabletop, attaching legs, and applying the perfect finish. You will learn how to build a durable and attractive piece. Prepare to transform your living space with a handmade round coffee table.
Takeaway
- Plan your design and gather materials before starting.
- Use a router jig for a perfectly round tabletop.
- Choose leg styles that match your table’s design.
- Apply multiple coats of finish for durability.
- Customize your table with unique features.
Building a round coffee table involves selecting materials, cutting a circular top, attaching stable legs, and applying a protective finish. This DIY project allows you to create a personalized centerpiece for your living space, combining functionality with a custom aesthetic.
Planning Your Round Coffee Table Project
Starting any woodworking project requires good planning. When you decide to build a round coffee table, clear steps ensure success. Consider the size of your living room first. A well-sized coffee table enhances the room’s flow. Measure the space where the table will sit. Think about the height that works best with your sofa. Generally, coffee tables are the same height as your couch cushions or slightly lower.
Choosing the Right Materials
Selecting the right wood is important. Hardwoods like oak, maple, or walnut offer strength and beauty. Softwoods such as pine are easier to work with and cost less. Plywood can also form a sturdy tabletop, especially if you plan to veneer it. You also need wood for the legs or choose pre-made metal legs. Consider the final look you want to achieve with the wood grain and color.
Essential Tools You’ll Need
Gathering your tools before you begin saves time. You will need a circular saw or jigsaw for cutting the tabletop. A router with a circle cutting jig is highly recommended for perfect circles. Sandpaper of various grits prepares the wood for finishing. A drill is necessary for attaching legs. You also need measuring tape, pencils, and safety gear like glasses and gloves. Having all tools ready makes the process smooth and efficient. It prevents interruptions once you start building.
Creating the Round Tabletop
The tabletop is the most important part of your round coffee table. Making a perfectly round top can seem difficult, but the right methods make it simple. Start with a square piece of wood or plywood large enough for your desired diameter. Mark the center point of the board accurately. This center point guides your circle cutting jig.
Methods for Perfect Circles
A router with a circle cutting jig is the best way to cut a precise circle. You attach one end of the jig to your router. The other end pivots on a nail or screw placed at your marked center point. You make shallow passes with the router, slowly deepening the cut. Each pass removes more material, creating a smooth, even curve. Alternatively, you can use a string and pencil to draw a circle. Then, cut carefully with a jigsaw. A jigsaw cut may require more sanding to achieve a smooth edge. For details on how to measure accurately for round surfaces, you might find this guide helpful: how to measure a round table.
Sanding and Finishing the Top
After cutting, the edge of your tabletop needs careful sanding. Start with a coarse grit sandpaper, like 80 or 100 grit, to remove any rough spots or saw marks. Gradually move to finer grits, such as 150, 220, and even 320 grit. This progression makes the wood surface incredibly smooth. A smooth surface is important for good finish absorption. Pay special attention to the edges to ensure they are consistent and free of splinters. Proper sanding prepares the wood for a beautiful, long-lasting finish.
Selecting and Attaching Legs
The legs define the style and stability of your round coffee table. There are many options, from traditional wood to modern metal. Your choice impacts the table’s overall look. Consider the weight of your tabletop and how much support it needs. Proper attachment ensures the table remains sturdy for years.
Exploring Leg Styles
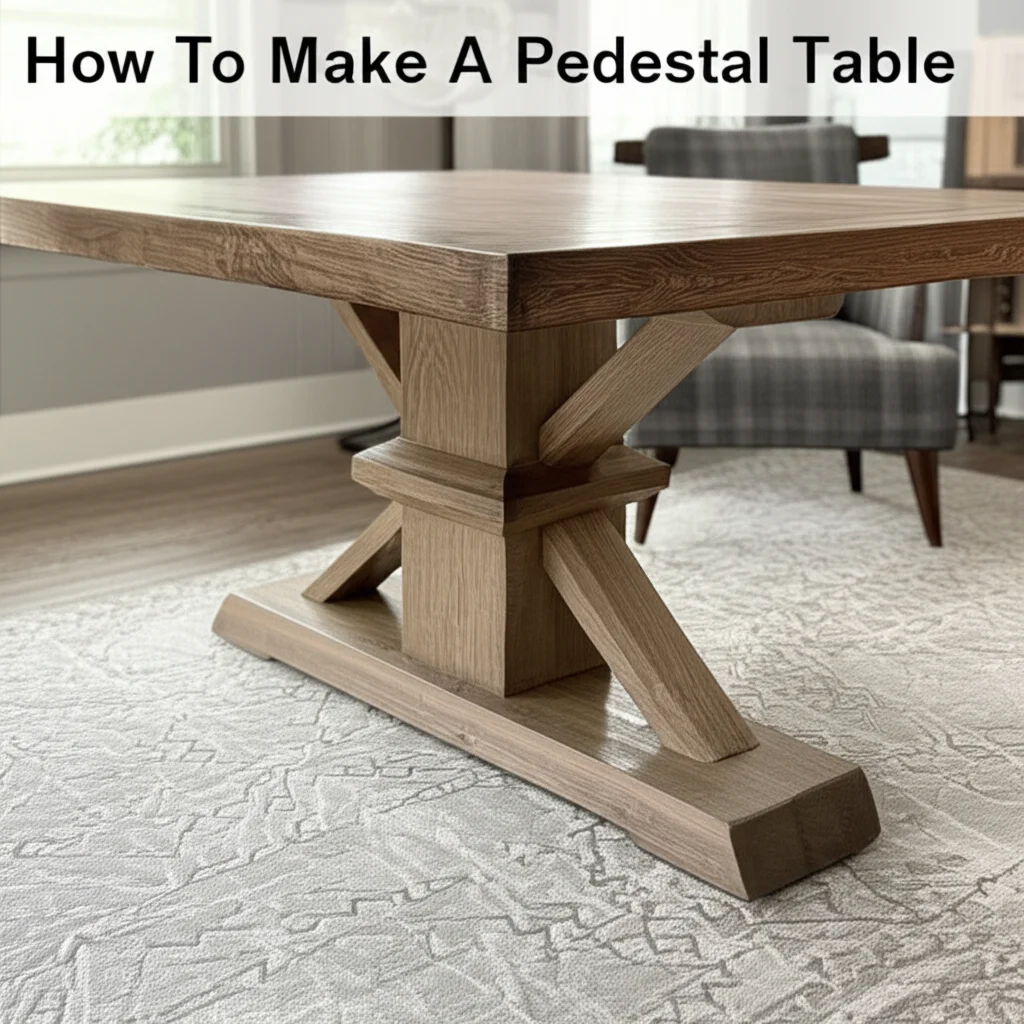
Wooden legs offer a classic and warm look. You can buy them pre-made or turn them on a lathe. Tapered legs provide a mid-century modern feel. Hairpin legs, usually metal, give a sleek, industrial touch. A single pedestal base offers a solid, sculptural appearance. Each style creates a different aesthetic. Match the leg style to your home’s existing furniture. This creates a cohesive design. If you are interested in various table building projects, you might like to explore how to build a side table for more ideas.
Securely Attaching the Legs
Attaching legs requires strong connections. For wooden legs, consider using mortise and tenon joints for maximum strength. For simpler attachments, use heavy-duty screws or bolts. Pre-drill pilot holes to prevent wood splitting. For metal hairpin legs, screw them directly into the underside of the tabletop. Ensure the legs are evenly spaced for balance. A common practice is to attach legs using mounting plates, which provide extra stability. After attachment, check the table for wobbles. Make any necessary adjustments. This step ensures your round coffee table is safe and functional. If you plan to sand wooden legs, this guide on how to sand round table legs can be helpful.
Finishing Touches: Staining and Sealing
The finish you apply protects your round coffee table and enhances its beauty. This step transforms raw wood into a finished piece of furniture. Proper application ensures durability and a professional look. Take your time with this part of the process.
Choosing the Right Finish
Stains come in many colors, from light natural tones to dark ebony. Choose a stain that complements your home decor. Water-based stains dry faster and clean up easily. Oil-based stains penetrate deeper and offer richer colors. After staining, apply a protective topcoat. Polyurethane, lacquer, or varnish provide excellent protection against spills and wear. Water-based polyurethanes are durable and low-odor. Oil-based polyurethanes offer a harder, more amber finish. Your choice depends on the desired look and level of durability. For specific considerations on table dimensions, reviewing how to size a coffee table can help guide your planning.
Application Techniques
Apply stain with a clean cloth or foam brush. Wipe off excess stain after a few minutes to prevent blotching. Let the stain dry completely according to product instructions. Then, apply your chosen topcoat. Use a high-quality brush for smooth application. Apply several thin coats rather than one thick coat. Lightly sand between coats with a very fine grit sandpaper (e.g., 320 or 400). This creates a smoother surface for subsequent coats. Always wipe away dust before applying the next coat. Follow manufacturer drying times between coats. This careful approach results in a beautiful, durable finish for your round coffee table. Remember, proper care also extends the life of your table; you can learn more about how to clean a wood table for future maintenance.
Adding Personalization and Functionality
Building your own round coffee table means you can add unique touches. Personalization makes your table truly yours. You can also add features that improve its usefulness. Think about how you use your coffee table daily. This helps you decide on practical additions.
Customizing Your Design
Beyond wood type and finish, many ways exist to personalize your table. You can inlay contrasting wood pieces into the tabletop. This creates interesting patterns. Painting the legs a bold color can add a modern flair. If you enjoy pyrography, you could burn a design into the wood. Consider adding a glass top over a finished wooden surface for protection and a sleek look. These small details make your round coffee table stand out. For more inspiration on styling, consider guides like how to style a round coffee table.
Incorporating Storage Solutions
A coffee table can offer more than just a surface. Think about adding storage. You can design a tabletop that lifts up to reveal a hidden compartment. This is perfect for blankets or remotes. A small shelf underneath the main top provides space for books or magazines. You could even integrate drawers into the apron beneath the tabletop. These storage solutions keep your living room tidy. They also add great value to your handmade piece. If you are interested in incorporating storage, you might find ideas from projects like how to build coffee table with storage.
Troubleshooting Common DIY Challenges
Even with careful planning, DIY projects can present unexpected issues. Knowing how to handle common problems saves frustration. Staying calm and methodical helps you overcome challenges. Most issues have simple solutions.
Dealing with Imperfections
Wood often has natural imperfections. Knots or small cracks can appear. You can fill these with wood filler that matches your stain. Apply the filler, let it dry, then sand it smooth. Uneven cuts or sanding marks require more attention. Re-sand areas with coarser grit if needed. Then, gradually work to finer grits. If your tabletop isn’t perfectly round, a router jig can fix minor deviations. Take your time to correct flaws before finishing. This ensures a professional result.
Ensuring Stability
A wobbly coffee table is not safe or functional. If your table wobbles, first check all leg attachments. Tighten screws or bolts if they are loose. If one leg is shorter, you can add shims under the short leg. For wooden legs, trimming the longest leg slightly can fix the wobble. Sometimes, the floor itself is uneven. Using adjustable feet on the legs can solve this issue. Test the table’s stability frequently during assembly. This lets you address problems early. A sturdy table provides lasting enjoyment.
Maintenance for Longevity
Building a round coffee table is an investment of your time and effort. Proper maintenance ensures it remains beautiful and functional for many years. Regular care protects the wood and its finish. This keeps your handmade piece looking new.
Routine Cleaning Tips
For daily cleaning, simply wipe your coffee table with a soft, dry cloth. This removes dust and light smudges. For spills, wipe them immediately with a slightly damp cloth. Avoid harsh chemical cleaners, as they can damage the wood finish. Use coasters for drinks to prevent water rings and stains. Placing a trivet under hot items also protects the surface. Gentle, consistent cleaning keeps your table’s finish intact.
Addressing Wear and Tear
Over time, your coffee table may show signs of wear. Minor scratches can often be buffed out with a furniture polish. Deeper scratches might require touch-up pens or furniture crayons that match your stain color. If the finish starts to look dull, a fresh coat of clear polycrylic or wax can restore its luster. For significant damage, a light sanding and reapplication of stain and topcoat may be necessary. Protecting your table from direct sunlight helps prevent fading. With a little care, your round coffee table will be a cherished part of your home for decades.
FAQ Section
What wood is best for building a DIY round coffee table? Hardwoods like oak, maple, or walnut offer excellent durability and a beautiful grain. Pine or plywood are good choices for beginners or budget-conscious projects. Your choice depends on desired aesthetics, durability, and skill level. Always select kiln-dried wood to prevent warping.
How do you cut a perfect circle for a tabletop? The most accurate method is using a router with a specialized circle cutting jig. This setup allows you to pivot the router around a central point, making precise, smooth cuts. Alternatively, you can use a string and pencil to draw the circle, then cut with a jigsaw, requiring more sanding.
What height should a coffee table be? A coffee table should generally be the same height as your sofa cushions or slightly lower, usually between 16 and 18 inches. This height ensures comfortable access to drinks and snacks. Measure your sofa’s cushion height to determine the ideal table height for your space.
Can I use reclaimed wood for this project? Yes, reclaimed wood is an excellent choice for a unique, rustic look. Ensure the wood is structurally sound, free of pests, and properly dried. You may need to remove nails or other debris. Reclaimed wood adds character and a story to your handmade round coffee table.
What tools are absolutely essential for this build? Essential tools include a saw (circular or jigsaw), a router with a circle jig, a drill, sandpaper (various grits), a tape measure, and safety glasses. These tools cover the basic requirements for cutting, shaping, and assembling your round coffee table.
Conclusion
Building your own round coffee table is a project that brings great satisfaction. You create a functional piece of art for your home. We covered everything from planning your design to applying the final protective layers. You learned about choosing materials, cutting perfect circles, and attaching sturdy legs. This guide also showed you how to personalize your table and keep it looking great.
A custom-built round coffee table is more than just furniture. It represents your creativity and effort. It becomes a conversation piece in your living room. The skills you gain from this project will empower you for future DIY endeavors. Now, take the first step. Gather your tools and materials. Start building your own round coffee table today. Enjoy the process and the beautiful result!


