· Todd Martin · DIY Home Improvement · 15 min read
How To Redo A Kitchen Table Farmhouse Style
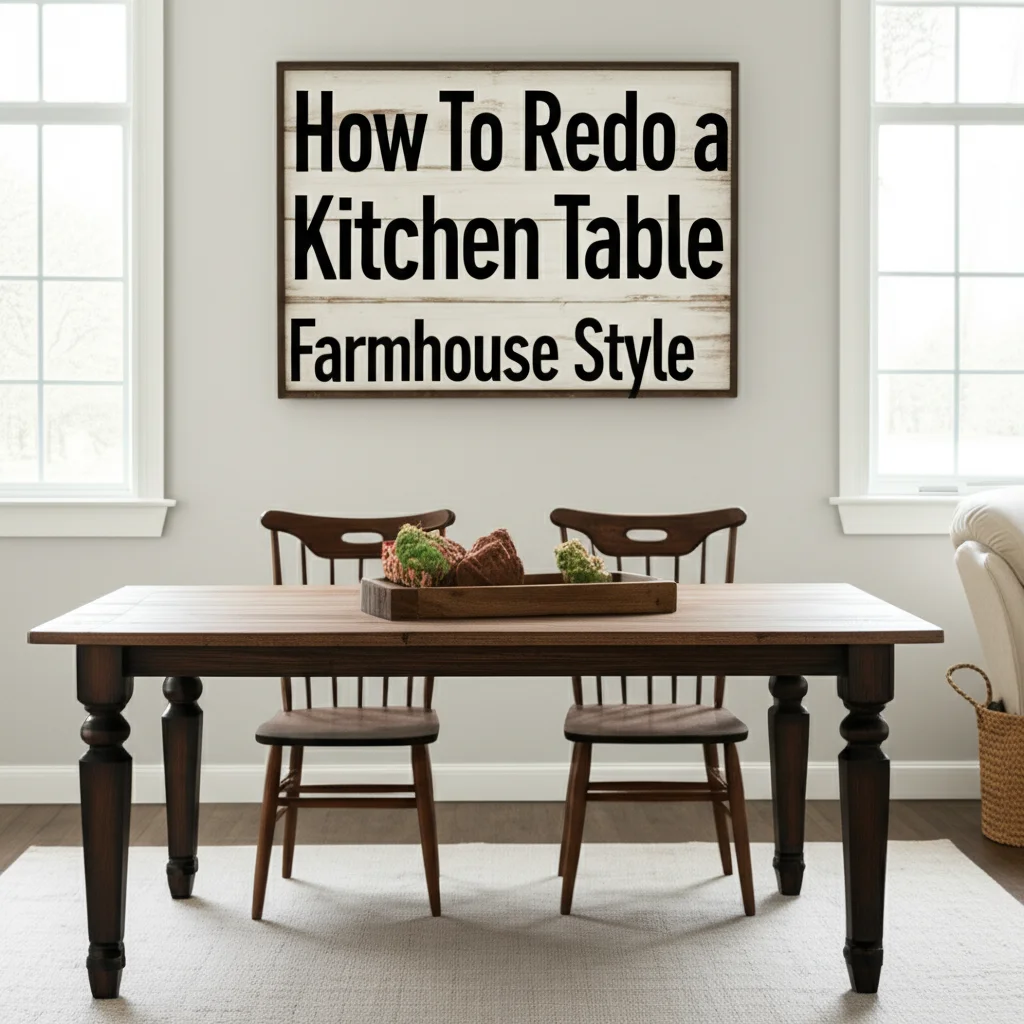
Redo Your Kitchen Table: Farmhouse Style Guide
Are you dreaming of a kitchen that feels warm, inviting, and full of character? Many people want to update their living space without buying new furniture. An old kitchen table often holds sentimental value, but its look might not fit your current style. Happily, you can give your old table a fresh, timeless appeal. Learning how to redo a kitchen table farmhouse style offers a budget-friendly way to achieve this dream. It gives your dining area a charming, rustic touch. This project is rewarding, and it lets your creativity shine. We will guide you through every step. You will learn about preparing the surface. You will explore various painting and distressing techniques. Finally, you will discover how to protect your new farmhouse masterpiece. Let’s bring that cozy, welcoming vibe into your home.
Takeaway:
- Preparation ensures lasting results. Clean, sand, and repair your table properly.
- Choose the right paint. Chalk paint or milk paint work well for farmhouse style.
- Learn distressing methods to create a rustic, aged appearance.
- Apply a durable topcoat to protect your finish.
- Maintain your table with gentle cleaning for long-term beauty.
To redo a kitchen table in farmhouse style, you clean and sand the surface. Then you apply paint, often chalk or milk paint, in a light color. Next, you distress the edges for a worn look. Finally, you seal the table with a protective topcoat. This process gives a rustic, charming finish.
Understanding the Farmhouse Aesthetic & Planning Your Vision
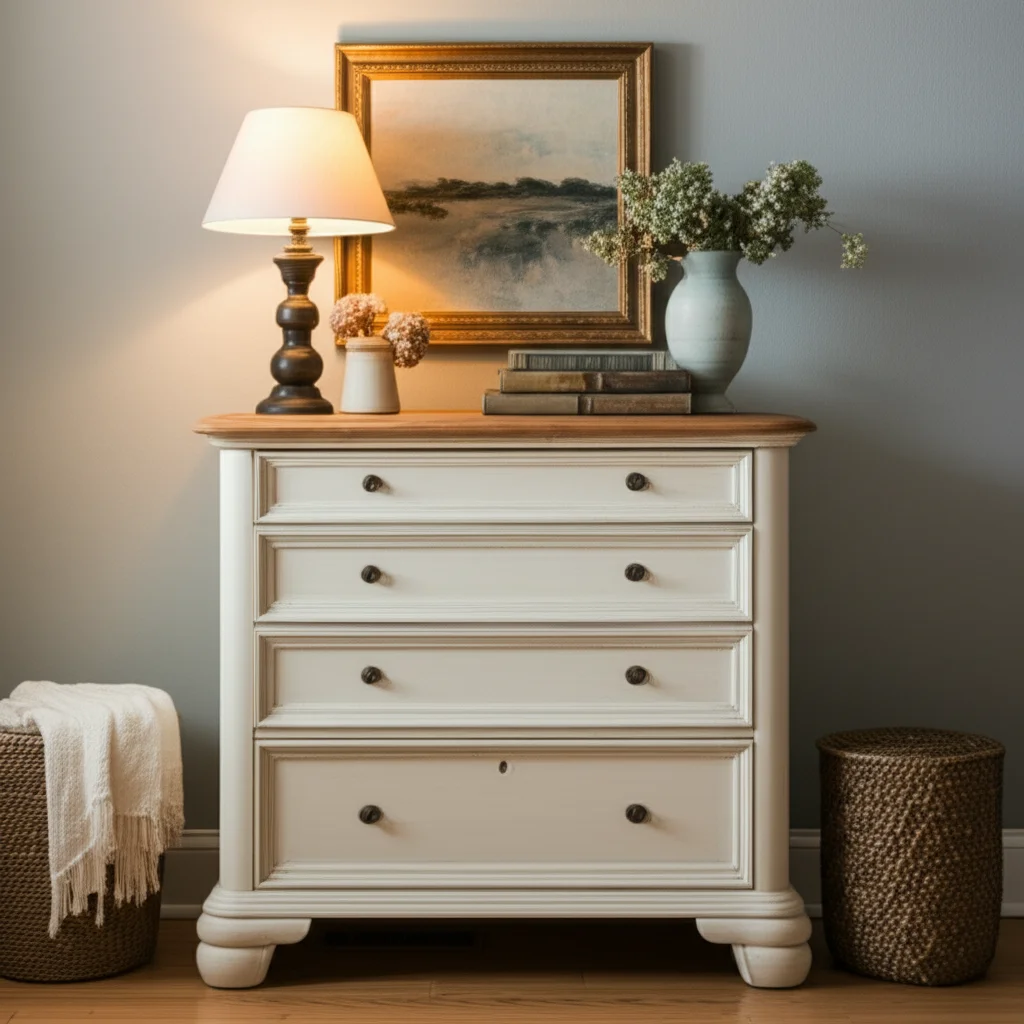
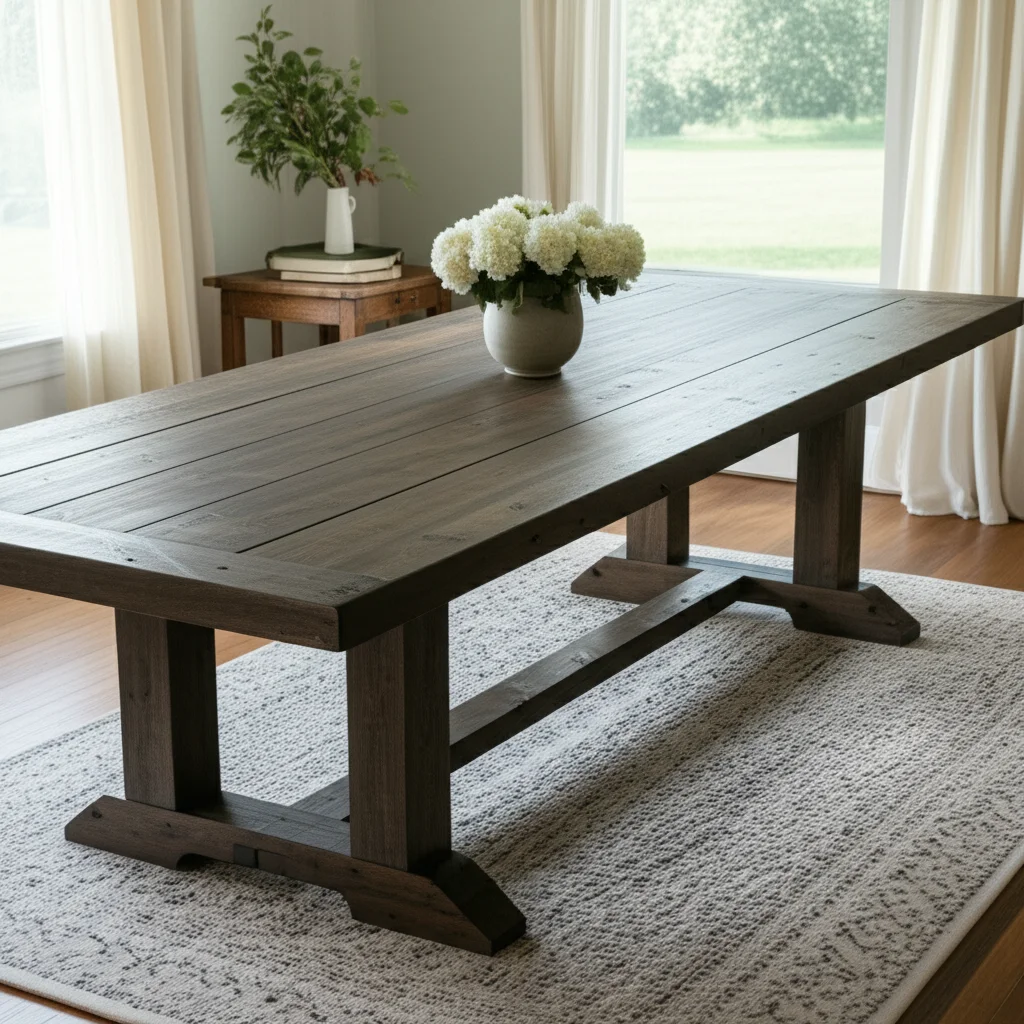
The farmhouse style brings warmth and comfort into your home. It blends rustic elements with a clean, classic feel. This style celebrates simplicity, practicality, and natural materials. When you redo a kitchen table farmhouse style, think about its core elements. These include distressed finishes, soft, muted colors, and a sturdy, welcoming presence.
Your vision for the table starts here. Consider the existing decor in your kitchen or dining room. Will your table be the centerpiece, or will it blend seamlessly with other elements? Popular color choices for farmhouse tables include whites, creams, light grays, and muted blues. You can also choose natural wood tones for the tabletop with painted legs. This contrast adds visual interest. This planning stage helps you visualize the final outcome. It ensures your newly redone table truly enhances your home.
Choosing the right finish is also part of your vision. Do you want a heavily distressed, antique look? Or do you prefer a subtle, gently worn appearance? Different distressing methods create different effects. Knowing your preference early saves time later. It guides your choices for paint and tools. Visualize the texture and feel of the table surface. This helps you select the best topcoat. This initial planning makes the entire process smoother and more enjoyable. It sets the stage for a successful transformation.
Gathering Essential Tools and Materials for Your Table Makeover
Before starting any project, having all your supplies ready is important. This prevents interruptions and keeps your workflow smooth. To redo a kitchen table farmhouse style, you will need a specific set of tools and materials. Choosing quality products can make a big difference in your final result. This list covers everything from surface preparation to the final protective layer.
First, you need cleaning supplies. A good degreaser and clean cloths prepare the surface. Sandpaper is essential for smooth results. Have various grits on hand, such as 80-grit for rough areas, 150-grit for general sanding, and 220-grit for a smooth finish. You might also need a sanding block or an electric sander for larger surfaces. For minor repairs, wood filler and a putty knife are useful.
Next, consider your paint. Chalk paint is very popular for farmhouse looks because it adheres well and provides a matte finish. Milk paint also works, offering a naturally chippy look without much effort. You can also use latex paint designed for furniture. Choose high-quality brushes and rollers to avoid brush marks. A primer might be necessary if your table has a dark finish or stains. For distressing, a small sanding block or fine-grit sandpaper is perfect. For the topcoat, choose a durable clear sealer like polyurethane or a soft wax. Ensure you have safety gear, including gloves and a mask, especially when sanding or using strong chemicals. Having these items organized before you begin will make your table makeover efficient and fun.
Step-by-Step Preparation: Getting Your Table Ready to Redo
Proper preparation is the foundation of any successful furniture makeover. Skipping steps here can lead to a less durable or professional-looking finish. When you redo a kitchen table farmhouse style, preparing the surface ensures paint adheres well and lasts longer. This part of the process requires patience and attention to detail.
Begin by thoroughly cleaning the table. Kitchen tables see a lot of use. They often have grease, food residue, and dirt built up over time. Use a strong degreaser or a mixture of warm water and dish soap. Scrub the entire surface, including legs and underside. Rinse it well with clean water and allow it to dry completely. A clean surface is vital for paint adhesion. For more detailed cleaning advice, you can learn how to clean a wood table. Additionally, you can find tips on how to clean wooden table or for larger surfaces, how to clean dining table.
After cleaning, inspect the table for any damage. Fill cracks or gouges with wood filler. Apply the filler with a putty knife, ensuring it is slightly proud of the surface. Let it dry completely according to product instructions. Once dry, sand the filled areas smooth. Next, you need to sand the entire table. Lightly sand all surfaces to create a profile for the paint to grip. If your table has a thick, glossy finish, you may need to sand more aggressively with a coarser grit first (e.g., 80 or 120 grit). Then follow up with a finer grit (150 or 220). This removes the gloss and roughs up the surface. For efficient sanding, consider using an electric sander. Learn how to sand a table with an electric sander for best results. After sanding, wipe away all dust with a tack cloth or a damp cloth. Some paints, like chalk paint, claim to require no sanding. However, a light scuff sand always improves adhesion and durability. If you prefer to avoid sanding, you can explore options like how to paint a dining room table without sanding for certain paint types. Proper preparation ensures your farmhouse table looks beautiful and stands up to daily use.
Mastering the Art of Painting Your Farmhouse Table
Painting is where your kitchen table farmhouse style truly comes to life. This step allows you to choose the perfect color and create a smooth, beautiful base. The key to a professional finish is applying thin, even coats. Avoid drips and uneven coverage.
Start by applying a primer if your table has a dark stain or is made of a material that bleeds through paint. Primer helps the topcoat adhere better and prevents discoloration. Let the primer dry completely. Now, it’s time for your chosen paint. If using chalk paint, stir it well. Apply the first thin coat using a quality brush or roller. Work in the direction of the wood grain. This helps create a smooth finish. Don’t worry if the first coat looks thin or streaky; this is normal.
Allow the first coat to dry completely. Drying times vary based on paint type and humidity. Read the manufacturer’s instructions. Once dry, apply a second thin coat. Two to three thin coats are usually better than one thick coat. This builds durability and provides even coverage. If you want a perfectly smooth finish, you can lightly sand between coats with a fine-grit sanding sponge. This removes any bumps or imperfections. Wipe away dust after each sanding.
For a classic farmhouse look, consider painting the base and legs one color, such as white or cream. Then leave the tabletop in a natural wood finish. This contrast adds visual interest. You can also paint the entire table a single color for a cohesive look. When you redo a kitchen table farmhouse style, think about the desired level of coverage. Some people prefer a slightly transparent look that shows glimpses of the original wood. Others aim for full opacity. Apply paint thoughtfully. This ensures your table looks inviting and charming.
Achieving the Authentic Distressed Look and Unique Patina
Distressing is the hallmark of the farmhouse style. It gives your table a lived-in, antique appearance. This step adds character and tells a story. When you redo a kitchen table farmhouse style, distressing creates the rustic charm everyone loves. There are several ways to achieve this aged look. Choose the method that best fits your desired outcome and comfort level.
One common method is wet distressing. Once your paint is dry but not fully cured, you can use a damp cloth or sponge to gently rub away paint from edges and raised areas. This works well with chalk paint. The paint softens when wet, allowing you to easily remove it. Start small and gradually increase the distressed areas. This ensures you do not remove too much paint.
Another popular technique is dry distressing, which uses sandpaper. After your paint has fully dried, use fine to medium-grit sandpaper (150-220 grit). Lightly sand the areas where natural wear would occur. Focus on edges, corners, and areas around hardware. This exposes the underlying wood or previous paint color, creating a beautiful contrast. You control how much paint you remove. For a truly vintage feel, you might explore techniques used to paint a coffee table to look vintage, as many of those distressing methods apply directly to a farmhouse style.
You can also use a “chippy” look. This is common with milk paint. Milk paint naturally chips as it dries, creating a unique, authentic aged look. If you desire this, research milk paint techniques. For added depth and patina, consider applying a dark wax or glaze after distressing. Apply a thin layer of dark wax with a brush. Wipe it back with a clean cloth. This settles into crevices, enhancing the distressed areas and creating an aged appearance. Practice on a scrap piece of wood first. This builds confidence and helps you master the technique. Distressing transforms a plain painted table into a piece with history and personality.
Protecting Your Farmhouse Finish: Topcoats and Curing
You have put in the effort to redo a kitchen table farmhouse style. Now, you must protect your beautiful work. A protective topcoat is crucial for durability. Kitchen tables endure daily wear and tear. They face spills, heat, and constant use. A good topcoat safeguards your paint and distressing. It ensures your table remains beautiful for years.
Several options exist for topcoats. Polyurethane is a very durable choice. It comes in water-based and oil-based formulas. Water-based polyurethane dries faster and cleans up with water. It offers a clear, non-yellowing finish. Oil-based polyurethane is extremely durable but can yellow over time. It also has a stronger odor. Apply polyurethane in thin, even coats with a quality brush. Allow each coat to dry completely before applying the next. Lightly sand with very fine-grit sandpaper (220+) between coats for a smoother finish. This creates better adhesion for subsequent layers.
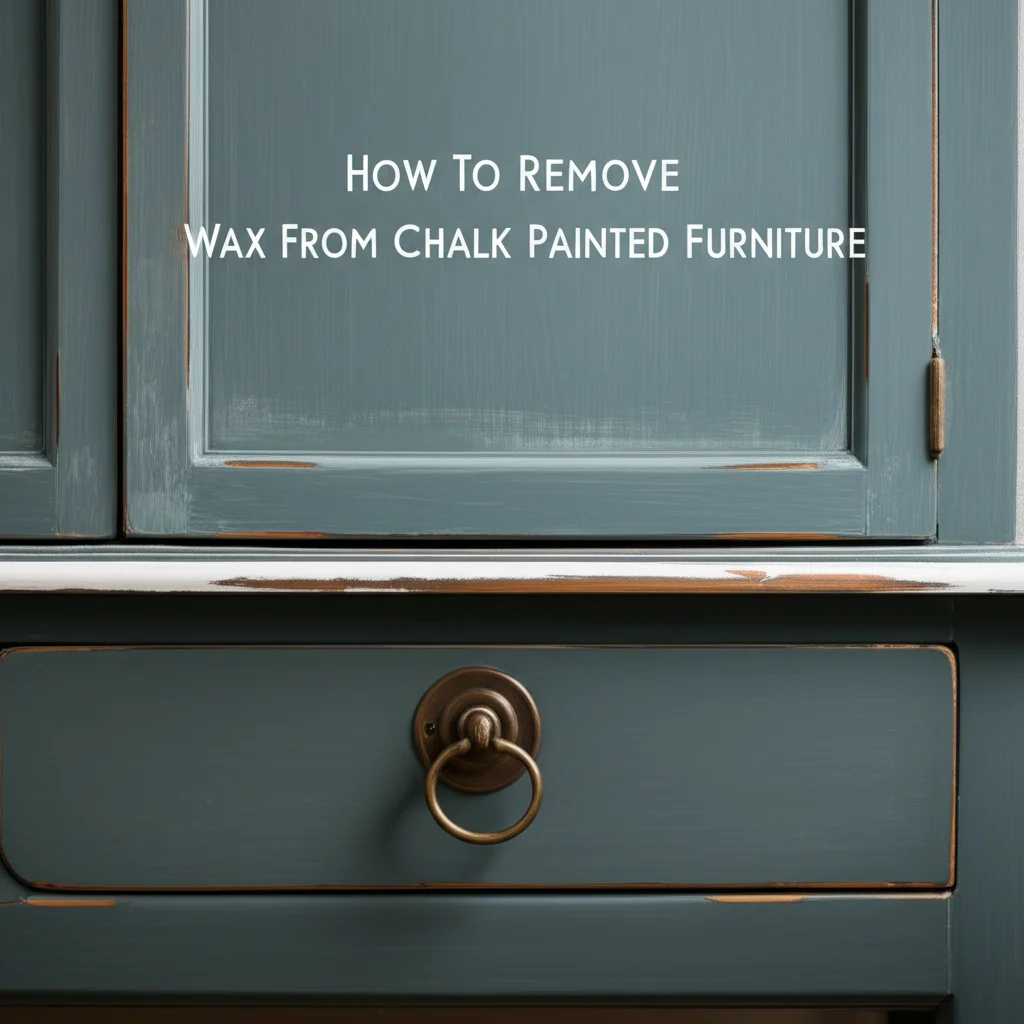
Wax is another popular topcoat, especially with chalk paint. Furniture wax provides a soft, matte finish that enhances the paint. It is easy to apply. Simply rub the wax onto the table surface with a clean cloth. Work in small sections. Buff the wax immediately with a clean, dry cloth until it shines softly. Wax offers good protection against light use. However, it is less durable against heat and moisture than polyurethane. You may need to reapply wax periodically, perhaps every 6-12 months.
Allow your chosen topcoat to cure fully. Curing time is different from drying time. Drying means the surface feels dry to the touch. Curing means the finish has hardened completely. This process can take several days or even weeks, depending on the product and humidity. Avoid heavy use during this time. Do not place hot items directly on the table. Do not allow spills to sit. This crucial step ensures the longevity of your farmhouse table. Your patience now will pay off with a durable and beautiful piece of furniture.
Maintaining Your Beautiful Farmhouse Kitchen Table
Your newly redone kitchen table is a focal point in your home. Keeping it looking its best requires simple, regular care. Proper maintenance protects the finish you worked hard to create. It also extends the life of your farmhouse kitchen table. A little attention goes a long way in preserving its charm.
For daily cleaning, use a soft, damp cloth. Wipe away spills immediately. Water can leave marks if left too long, especially on waxed finishes. Avoid harsh chemical cleaners. These can strip the protective topcoat or damage the paint. A mild soap and water solution is usually sufficient for tougher spots. Always dry the table thoroughly after cleaning. If you used a wax finish, reapply wax periodically. This helps maintain its protective layer and lustre. The frequency depends on how much you use the table.
Protecting the surface from heat and scratches is also important. Use coasters under drinks. Use trivets or hot pads under hot dishes. This prevents rings and heat damage. Felt pads under decorative items or serving bowls protect the finish from scratches. If your table experiences minor wear, you may need to touch up paint or topcoat. For example, if you notice white spots on your wood table, these might require specific repair techniques. Small scratches in the paint can be dabbed with a small brush. Then apply a new layer of your topcoat over the repaired area.
Regular inspection helps identify potential issues early. Check for loose joints or wobbly legs. Tighten screws as needed. This proactive approach prevents bigger problems later. Your farmhouse kitchen table is meant to be used and enjoyed. With proper care, it will remain a beautiful and functional piece in your home for many years. It will continue to provide that inviting, rustic feel you love.
FAQ Section
Can you paint any kitchen table farmhouse style?
Most kitchen tables can be painted farmhouse style. The material of the table matters less than proper preparation. Wood, laminate, or even metal tables can take on a farmhouse look. Surface cleaning and light sanding ensure good paint adhesion. Choose paints designed for furniture, like chalk paint or milk paint, for best results.
What is the best paint for a farmhouse table?
Chalk paint and milk paint are excellent choices for a farmhouse table. Chalk paint offers a matte, slightly textured finish that is easy to distress. It often requires minimal prep. Milk paint can create a naturally chippy, authentic antique look. For more durability, a good quality acrylic latex paint with a primer can also work.
How do you distress a table for a farmhouse look?
To distress a table, focus on areas that would naturally show wear. Use sandpaper (150-220 grit) to lightly rub paint off edges, corners, and raised details. Alternatively, for a softer look, use a damp cloth to wipe away paint on newly dried chalk paint. Start subtly and add more distressing gradually until you achieve the desired aged effect.
How long does it take to redo a kitchen table?
Redoing a kitchen table can take 2-4 days. This includes cleaning, sanding, painting multiple coats, distressing, and applying topcoats. Each step requires drying and sometimes curing time. Actual time depends on the table size, chosen materials, and drying conditions. Allow ample time for each layer to set correctly.
Do I need to sand before painting for farmhouse style?
While some paints, like chalk paint, advertise no-sanding properties, a light scuff sand is always recommended. Sanding creates a rough surface for paint to grip. This improves adhesion and durability. If your table has a glossy finish, more thorough sanding is necessary for the best, long-lasting results.
How do I protect my farmhouse table finish?
Protect your farmhouse table with a durable topcoat. Polyurethane is very strong against spills and heat. It offers excellent protection. Furniture wax provides a soft, natural look and is easy to reapply. Choose the topcoat based on how much traffic your table gets. Always use coasters and hot pads for daily use.
Conclusion
Transforming your old kitchen table into a charming farmhouse masterpiece is a truly satisfying project. You now understand the steps involved in how to redo a kitchen table farmhouse style. From careful preparation to applying the perfect distressed finish and protecting your work, each stage builds towards a beautiful outcome. This DIY journey allows you to create a piece that reflects your personal style. It adds warmth and character to your home.
Embrace the process; it is rewarding. You will save money and gain a unique piece of furniture. Your newly revamped table will become a beloved gathering spot. It will be a conversation starter. You have the knowledge and tools. Now, it is time to start. Gather your supplies and begin your farmhouse table makeover today. Your dream kitchen awaits its cozy centerpiece.
```json
{
  "publishDate": "2025-06-23T00:00:00Z",
  "title": "How To Redo A Kitchen Table Farmhouse Style",
  "excerpt": "Transform your old kitchen table into a charming centerpiece. This guide shows how to redo a kitchen table farmhouse style with simple steps.",
  "image": "https://res.cloudinary.com/dbcpfy04c/image/upload/v1750617444/generated_image_1750617443_duxlky.webp",
  "category": "DIY Home Improvement",
  "tags": [
    "farmhouse table",
    "kitchen table makeover",
    "DIY furniture",
    "chalk paint",
    "distressed finish",
    "rustic decor"
  ],
  "metadata": {
    "canonical": "https://www.homeessentialsguide.com/how-to-redo-a-kitchen-table-farmhouse-style"
  }
}
Todd Martin
Senior Writer
With over 15 years of experience in home renovation and design, I started HEG to share what I’ve learned with homeowners who want to create spaces that are both beautiful and functional. I’ve always believed in a hands-on approach, and over the years, I’ve picked up practical solutions that actually work. Through HEG, I aim to make home improvement more approachable, sharing real tips that help you create a home you truly love.