· Todd Martin · Vacuum Maintenance · 20 min read
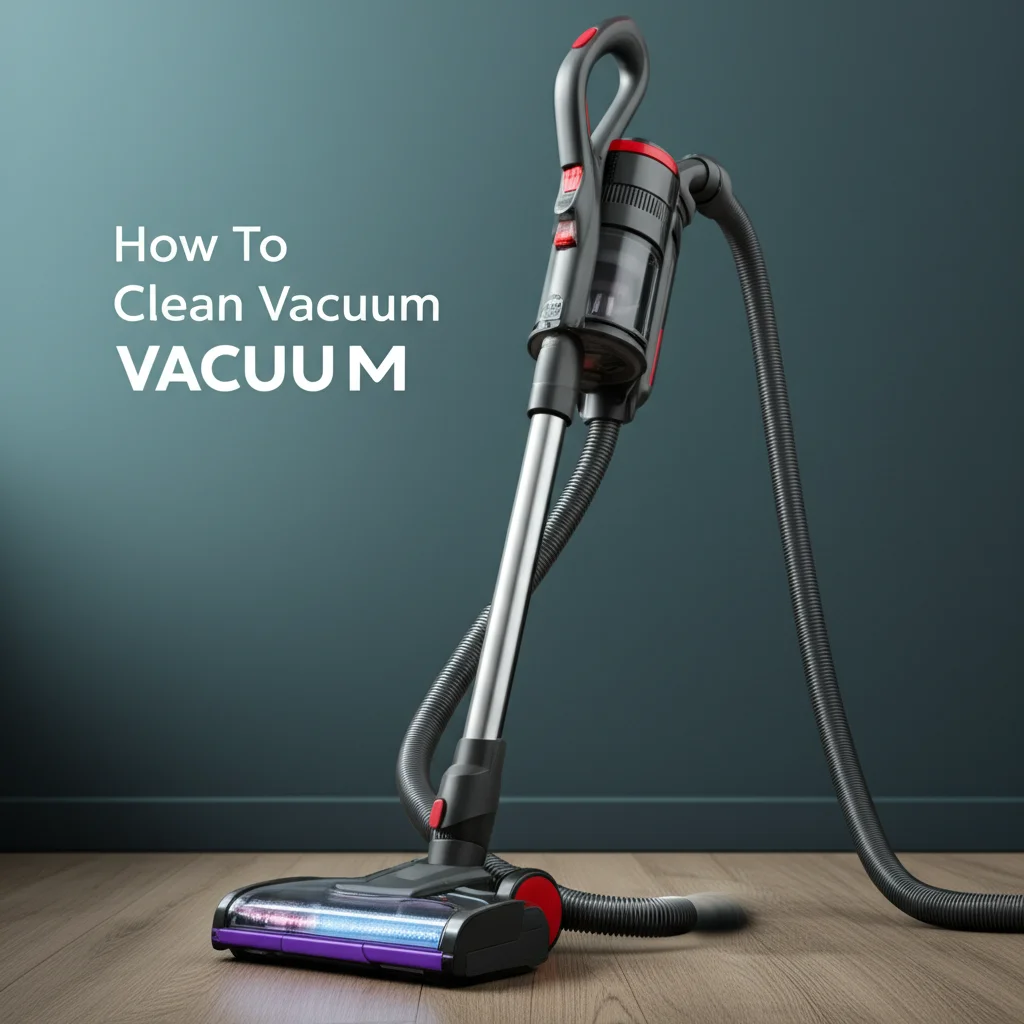
How To Clean Dyson Dc40
Optimize Your Home: How To Clean Your Dyson DC40
Your Dyson DC40 vacuum is a powerful tool for keeping floors spotless. Over time, however, dirt and debris build up inside it. This buildup reduces performance and can lead to unpleasant smells. Cleaning your Dyson DC40 regularly brings it back to full power.
This guide helps you understand each step. We cover filter cleaning, emptying the canister, and clearing the brush bar. I will walk you through the process, ensuring your vacuum works like new. You will learn easy ways to maintain your machine and extend its life.
Takeaway: Restore your Dyson DC40’s suction power and extend its life with these simple steps.
- Empty the dust bin after each use.
- Wash the pre-motor filter monthly and the post-motor filter every three months.
- Clear the brush bar of hair and fibers regularly.
- Check hoses and attachments for blockages.
- Allow all parts to dry completely before reassembly.
To clean your Dyson DC40, detach and wash its washable filters with cold water. Empty the dust bin and wipe it clean. Remove hair and debris from the brush bar. Check for blockages in the hose and attachments. Allow all washed parts to air dry fully before putting them back together.
Why Regular Cleaning Improves Dyson DC40 Performance
Keeping your Dyson DC40 clean is not just about hygiene. It directly affects the vacuum’s performance. A clean vacuum maintains strong suction power. This means it picks up more dirt and dust from your floors. Dirt buildup within the machine can slow it down. It makes your vacuum work harder than it should.
Think of your vacuum as a set of lungs. If the filters and airways are clogged, it cannot breathe properly. This leads to weaker suction and less effective cleaning. We want our homes truly clean, not just surface-level tidy. A well-maintained Dyson DC40 helps achieve that deep clean. It ensures proper airflow through the system.
Regular cleaning also extends the life of your appliance. When parts are free of blockages and excessive dirt, they wear down slower. This saves you money in the long run. You avoid costly repairs or the need to replace your vacuum sooner. Many people forget about vacuum maintenance. However, it is a key part of owning any appliance. Small steps now prevent big problems later.
I have found that a clean vacuum also improves air quality in your home. The Dyson DC40 has strong filtration systems. These systems trap allergens and fine dust. If filters are dirty, they cannot trap particles effectively. This allows dust to escape back into the air you breathe. This is especially important for households with pets or allergy sufferers. Taking the time to clean your Dyson DC40 helps everyone breathe easier. Regular cleaning of your vacuum’s filter is essential for optimal performance and air quality. You can find more detailed information on filter maintenance in our guide on how to clean Dyson vacuum filter.
Beyond function, a clean vacuum just feels better to use. It runs smoother and quieter. There are no strange smells coming from a machine packed with old dust. We all prefer using tools that work well and look good. Cleaning your Dyson DC40 is a simple task that offers many benefits. It keeps your home cleaner, your air fresher, and your vacuum running for years.
Gathering Your Tools for Dyson DC40 Cleaning
Before you start cleaning your Dyson DC40, gather all the necessary items. Having everything ready makes the process smoother. You do not want to stop mid-task to find something. A little preparation saves time and effort. It ensures you complete the cleaning thoroughly.
Here is a list of tools you will need:
- A soft brush or old toothbrush: This helps remove stubborn dirt and hair from tight spots. It is useful for bristles and crevices.
- A pair of scissors or a seam ripper: These are perfect for cutting away tangled hair from the brush bar. Be careful when using sharp tools near the bristles.
- Mild dish soap (optional): A small amount can be used for washing the dust bin or certain parts if they are very dirty. Only use it on components approved for washing.
- Running water: You will need cold water for rinsing filters and washing the dust bin. Make sure you have access to a sink or outdoor hose.
- A clean microfiber cloth or towel: This is for wiping down surfaces and absorbing excess water. It helps ensure parts are dry before reassembly.
- A flathead screwdriver or coin (optional): Some Dyson models have coin-slot locks for the brush bar. The DC40 might require this for its removal. Check your manual.
Always unplug your Dyson DC40 from the power outlet before you begin any cleaning. This is a crucial safety step. It prevents accidental starts and protects you from electric shock. Safety comes first when working with any appliance. We must ensure the machine is completely off and de-energized.
Choose a suitable work area. A garage, a laundry room, or even outdoors on a warm, dry day works well. You will be dealing with dust and debris. Picking a spot that is easy to clean afterward is smart. Lay down some old newspapers or a tarp to catch any mess. This helps keep your main living areas clean during the process.
Having the right tools makes the cleaning process efficient and effective. It prevents frustration and ensures you do the job right. I always make sure my tools are within reach. This helps me stay focused on the task. Once you have your supplies ready, you are set to start making your Dyson DC40 shine again. A clean brush head is vital for effective vacuuming, and you can find more tips on how to clean it in our guide on how to clean Dyson brush head.
Cleaning the Dyson DC40 Filters: A Crucial Step
The filters are the heart of your Dyson DC40’s suction system. They capture microscopic dust and allergens. Over time, these filters get clogged with fine particles. This clogging restricts airflow. When airflow is restricted, your vacuum loses suction. Cleaning the filters regularly is the most important maintenance step you can take.
The Dyson DC40 typically has two filters: a pre-motor filter and a post-motor filter. Both need attention.
Washing the Pre-Motor Filter
The pre-motor filter is usually located near the cyclone assembly or at the top of the dust bin. Dyson designs this filter to be washable. You should clean it at least once a month. If you vacuum frequently or have pets, clean it more often.
Here is how to clean it:
- Remove the filter: Twist or pull to detach it from the vacuum. Refer to your DC40 manual for the exact location and removal method.
- Rinse with cold water: Hold the filter under a cold water tap. Do not use hot water or detergents. Hot water can damage the filter material.
- Squeeze and rinse: Gently squeeze the filter to force water through it. Keep rinsing and squeezing until the water runs clear. You will see dirty water at first, but it will gradually become clean.
- Shake off excess water: Give the filter a few gentle shakes. This removes large water droplets.
- Air dry completely: This step is critical. Place the filter in a warm, dry place for at least 24 hours. A well-ventilated area works best. Do not use a dryer or heater. Heat can damage the filter. Reinstalling a damp filter can damage your vacuum and cause mold or mildew. It also puts strain on the motor.
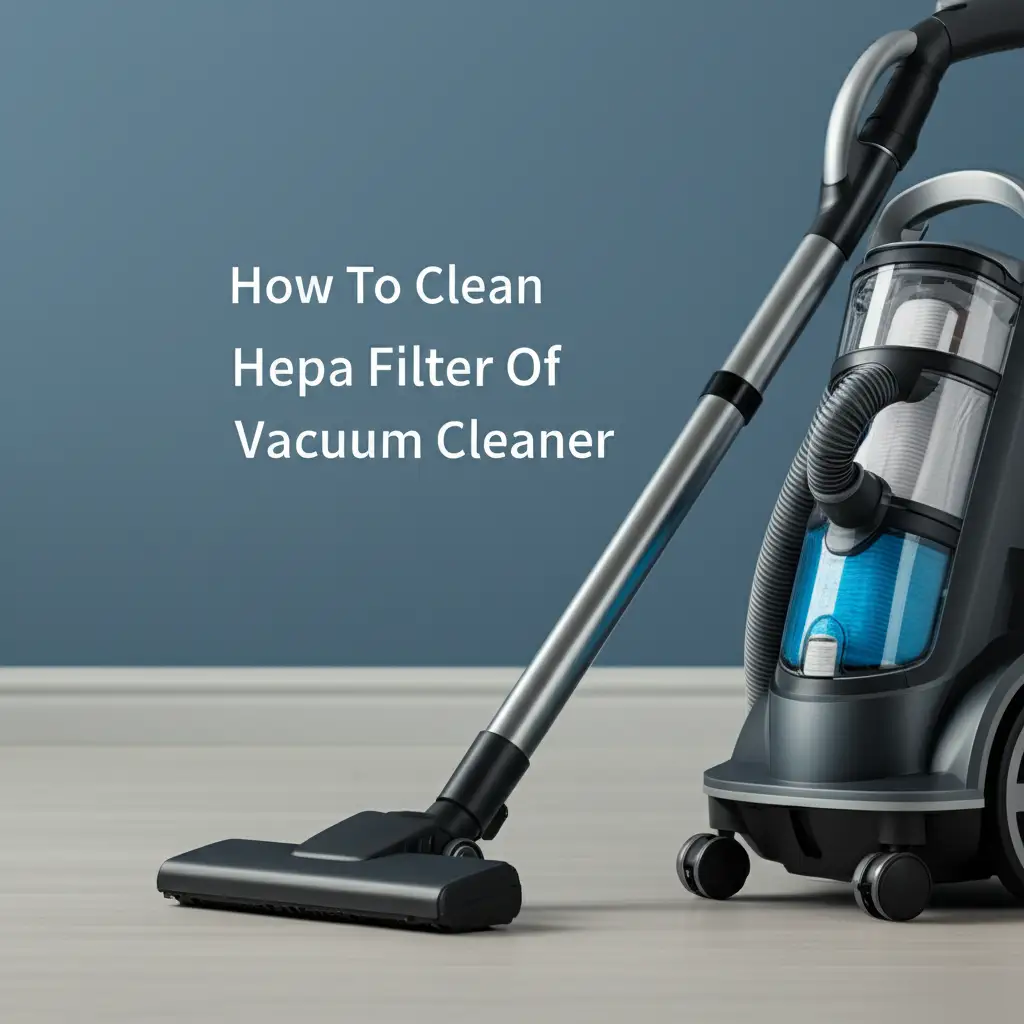
Cleaning the Post-Motor Filter (HEPA filter)
The post-motor filter, often a HEPA filter, is usually located near the ball or at the bottom of the vacuum. This filter traps tiny particles before air exits the machine. Dyson recommends cleaning this filter less frequently, typically every three months. Some DC40 models may have a non-washable post-motor filter. Check your manual. If it is washable, the process is similar to the pre-motor filter:
- Remove the filter: Locate and remove the post-motor filter.
- Rinse with cold water: Rinse it under cold water, gently squeezing if applicable.
- Air dry completely: Again, allow at least 24 hours for it to dry. Ensure it is bone-dry before reinserting.
A clean filter dramatically improves your Dyson DC40’s suction and air filtration. My vacuum always feels more powerful after a filter wash. It is a small effort for a big reward. Remember, allowing filters to dry completely is crucial for vacuum longevity and performance. If you want to know more about keeping other Dyson filters clean, check out our guide on how to clean Dyson air filter. For specific details related to the Dyson Ball series, you might find our article on how to clean filters on Dyson Ball helpful.
How to Clean the Dyson DC40 Canister and Cyclone
The dust canister and cyclone assembly are where all the magic happens. Dirt, dust, and debris are separated from the air here. Over time, a film of fine dust can build up on the inside walls. This film reduces the efficiency of the cyclone’s air separation. Cleaning these parts ensures maximum suction and prevents odors. It also makes your vacuum look much better.
Emptying the Dust Canister
This is the most frequent cleaning task. You should empty the dust canister after every use, or when the “MAX” fill line is reached.
- Detach the canister: Press the release button to remove the clear dust bin from the main body of the vacuum.
- Empty contents: Position the canister over a trash can. Push the red button to open the bottom flap. Allow all dirt to fall out. Shake it gently to ensure everything comes out.
- Close the flap: Once empty, close the bottom flap securely until it clicks.
Washing the Dust Canister
Periodically, you should wash the dust canister. This removes the fine dust film and keeps it hygienic.
- Separate components: If your DC40’s canister separates from the cyclone shroud, do so. Not all DC40 models allow for full separation. Check your manual.
- Rinse with cold water: Rinse the inside of the clear dust canister under cold water. Do not use hot water or soap on the cyclone assembly itself unless specified by your manual. Some models may allow for mild soap in the clear bin only.
- Wipe clean: Use a damp cloth to wipe down the inner and outer surfaces of the clear bin. This removes any clinging dust.
- Air dry completely: Just like with filters, this is crucial. Allow the dust bin to air dry for at least 24 hours. Make sure no water remains, especially in any crevices or seals. A damp bin can lead to mold and bad smells.
Cleaning the Cyclone Assembly
The cyclone assembly is the colorful part inside the dust bin. It uses centrifugal force to separate dust from the air. You cannot wash the entire cyclone assembly with water. Water can damage the delicate internal components and electrical parts.
- Wipe with a dry cloth: Use a dry microfiber cloth or a slightly damp (not wet) cloth to wipe down the exterior of the cyclone shroud. Remove any visible dust or debris.
- Use a brush for crevices: A small, soft brush or an old toothbrush can help dislodge dust from the internal fins and grooves of the cyclone.
- Remove stuck debris: If you see larger pieces of debris or fluff stuck inside the cyclone’s cone, gently pull them out. Do not push items further in.
By regularly emptying and cleaning the dust canister and cyclone, you ensure your Dyson DC40 operates at peak efficiency. This also prevents unpleasant odors that can develop from stagnant dust. A clean canister means cleaner air and a more effective vacuuming experience. I always feel a sense of accomplishment after seeing the clear bin sparkling clean. For more details on cleaning this component, refer to our comprehensive guide on how to clean Dyson canister. If you are specifically interested in the cyclone part, our article on how to clean Dyson cyclone provides further insights.
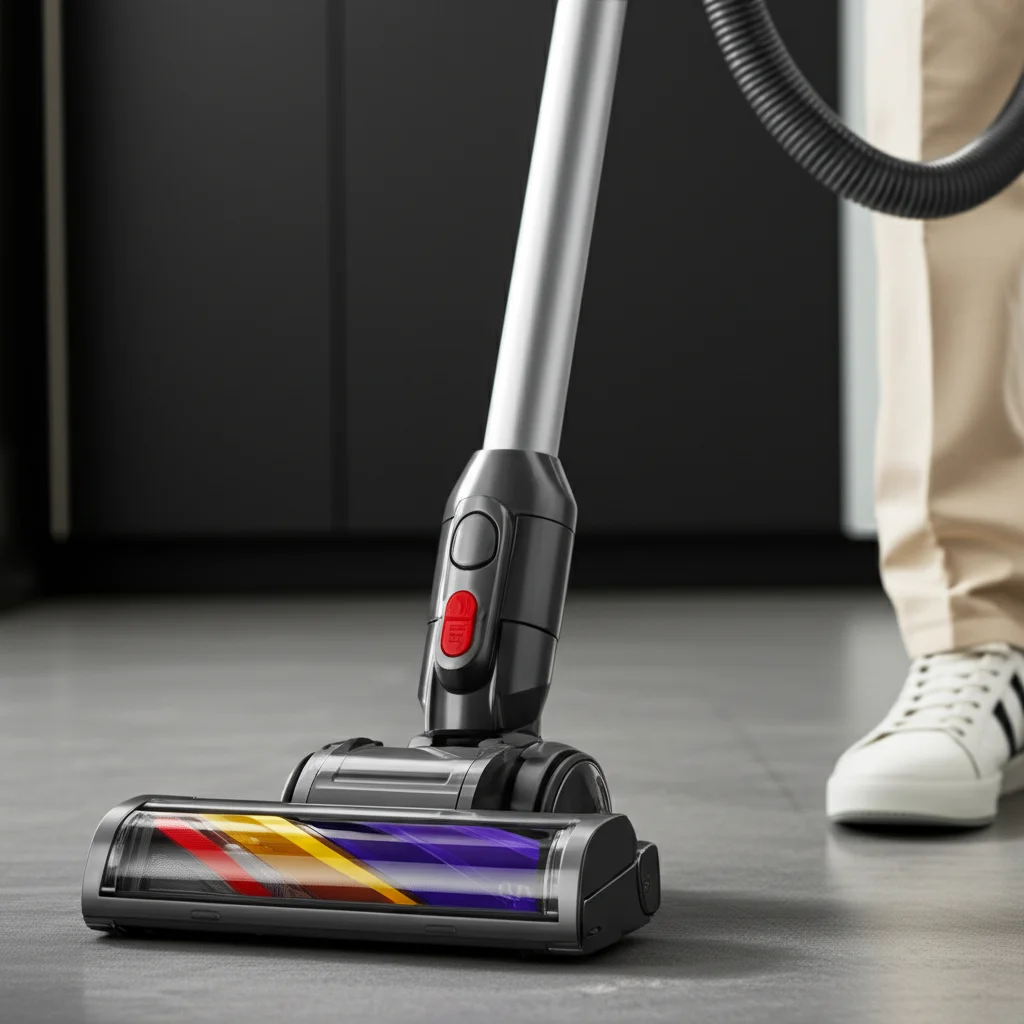
Maintaining Your Dyson DC40 Brush Bar and Vacuum Head
The brush bar and vacuum head are the parts that make direct contact with your floors. They pick up hair, fibers, and larger debris. Over time, hair, strings, and carpet fibers wrap around the brush bar. This prevents it from spinning freely. A tangled brush bar reduces cleaning effectiveness significantly. It can also strain the motor, leading to overheating or early failure.
Regular maintenance of these components is vital for your Dyson DC40’s performance. It ensures powerful cleaning across different floor types.
Removing and Cleaning the Brush Bar
The process to remove the brush bar can vary slightly by DC40 sub-model. Most DC40s have a simple mechanism.
- Turn off and unplug: Always ensure the vacuum is unplugged before attempting any work on the brush bar. Safety first.
- Tilt the vacuum: Lay the vacuum down on its back to access the cleaner head.
- Release the soleplate/end cap: Look for release clips, a latch, or coin-slot fasteners on the cleaner head. Use a coin or a flathead screwdriver to unlock it if needed. Remove the soleplate cover.
- Remove the brush bar: Carefully lift the brush bar out of its housing. It might have a belt attached. Note how it is positioned.
- Clear tangled debris: Use scissors or a seam ripper to cut away any hair, thread, or fibers wrapped around the brush bar bristles. Be careful not to cut the bristles themselves.
- Clean the end caps: Remove any debris from the brush bar’s end caps and the internal bearings. These areas often collect hair, which can cause friction.
- Inspect bristles: Check the bristles for wear or damage. If they are matted or heavily worn, they may need replacement eventually.
Cleaning the Cleaner Head Housing
While the brush bar is out, take the opportunity to clean the inside of the cleaner head.
- Wipe inside: Use a damp cloth to wipe down the inside of the cleaner head housing. Remove any dust, dirt, or stuck-on grime.
- Check air pathways: Look for any blockages in the air pathways leading from the cleaner head to the main vacuum body. Sometimes larger debris can get stuck here.
- Inspect wheels: Clean any hair or debris from the small wheels on the cleaner head. This helps the vacuum glide smoothly across floors.
Reassembling the Brush Bar
Putting the brush bar back correctly is important for proper function.
- Reinsert the brush bar: Carefully place the cleaned brush bar back into its housing. Ensure the belt (if present) is properly seated around the motor shaft and the brush bar.
- Secure the soleplate: Replace the soleplate cover and lock it securely. Make sure it clicks into place or is fastened properly.
- Test: Briefly turn on the vacuum (after plugging it in) to ensure the brush bar spins freely and quietly.
A clean brush bar makes a noticeable difference in how your Dyson DC40 picks up dirt. It also makes the vacuum easier to push. I always feel like I have a brand-new vacuum after cleaning the brush bar. This detailed guide for maintaining your vacuum head and brush bar helps prevent common performance issues. For more general advice on cleaning this component, you can refer to our article on how to clean Dyson vacuum head. Also, our guide on how to clean Dyson brush head offers additional tips.
Dyson DC40 Hose, Attachments, and Final Reassembly
After cleaning the core components of your Dyson DC40, it is time to check the less obvious parts. The hose and attachments can accumulate blockages. These blockages greatly reduce suction power. They often act as hidden culprits for poor performance. Ensuring these areas are clear brings your vacuum back to its best.
Inspecting and Clearing the Hose
The main hose on the Dyson DC40, connecting the cleaner head to the main body, can get clogged. Larger debris, socks, or even small toys can get stuck.
- Detach the hose: Remove the hose from both ends of the vacuum. The release points are typically near the cleaner head and the main body/canister.
- Visually inspect: Hold the hose up to a light source. Look for any visible blockages. You should be able to see through it clearly.
- Feel for blockages: Run your hand along the outside of the hose. You might feel a bump where a clog exists.
- Clear blockages: If you find a clog, try to push it through with a broom handle or a long, blunt object. Do not use anything sharp that could puncture the hose. If it is stubborn, try pushing from both ends. You might need to gently manipulate the hose to free the debris. Avoid excessive bending or twisting.
Cleaning Attachments and Tools
Your Dyson DC40 comes with various attachments like the crevice tool, stair tool, and combination tool. These too can get dirty or clogged.
- Remove debris: Use a soft brush or your hands to remove any visible dust, hair, or debris from the openings and bristles of the attachments.
- Wash if appropriate: Most plastic attachments can be washed under cold water. Use a mild soap if they are greasy. Rinse them thoroughly.
- Air dry: Allow all washed attachments to air dry completely before reattaching them to the vacuum. This prevents water from entering the vacuum’s motor or electrical parts.
Reassembly and Final Checks
Once all parts are clean and completely dry, it is time to put your Dyson DC40 back together.
- Reattach the filters: Carefully slide or twist the pre-motor and post-motor filters back into their positions. Ensure they are fully seated.
- Reattach the dust canister: Align the dust canister with the main body and push it until it clicks securely into place. Make sure the bottom flap is closed.
- Reattach the hose: Connect the hose back to both the cleaner head and the main vacuum body. Ensure all connections are firm.
- Attach tools: Snap any cleaned attachments back onto their storage points on the vacuum.
- Power test: Plug in your Dyson DC40. Turn it on briefly to ensure it powers up smoothly. Listen for any unusual noises. Check that the brush bar spins. Test the suction power at the hose.
A fully reassembled and clean Dyson DC40 will provide optimal performance. You will notice the difference in suction and overall cleanliness. This thorough cleaning process ensures no hidden clogs are stealing your vacuum’s power. My vacuum always feels ready for any cleaning challenge after this complete overhaul. If you own a Dyson Animal model, you may also find relevant cleaning tips in our guide on how to clean Dyson Animal vacuum.
Troubleshooting Common Dyson DC40 Cleaning Issues
Even after cleaning your Dyson DC40, you might encounter some common issues. Understanding these problems helps you fix them quickly. Most issues relate back to incomplete cleaning or overlooked areas. We want your Dyson to work perfectly after all your effort.
Low Suction After Cleaning
This is the most common complaint. If your Dyson DC40 still has low suction after a thorough cleaning, check these areas:
- Filters are damp: The number one reason for low suction after cleaning filters is incomplete drying. Even slight dampness blocks airflow. Always allow a full 24-48 hours for filters to dry completely.
- Hose blockage: Double-check the main hose and internal airways for hidden clogs. Sometimes a small piece of debris can act like a one-way valve, letting some air through but restricting overall flow.
- Canister seal: Ensure the dust canister is fully closed and properly latched. A loose seal allows air to escape, reducing suction.
- Brush bar obstruction: Though you cleaned it, a very stubborn tangle might remain, or the brush bar might not be seated correctly. Check that it spins freely when the vacuum is on (and off the floor).
Unpleasant Odors
A common issue with vacuums is bad smells. This usually happens when dirt, pet hair, or mold builds up inside.
- Dust bin: Even after emptying, fine dust and microscopic particles can cling to the inside of the dust bin, especially if you vacuum pet accidents or damp debris. Wash the dust bin thoroughly and let it dry completely.
- Filters: Damp or moldy filters are a major source of odor. Ensure filters are always bone dry. If an old smell persists, consider replacing them.
- Brush bar/hair: Hair and pet dander caught in the brush bar can smell over time. Ensure you have removed all hair. You can use a disinfectant spray on the brush bar (after cleaning and drying) if odors persist, but avoid getting it into the motor.
- Hose: Debris stuck in the hose can rot or mold, causing bad smells. Clear the hose completely.
Brush Bar Not Spinning
If your brush bar is not spinning, even after cleaning:
- Tangled hair: The most likely cause is still tangled hair or debris preventing free movement. Re-check thoroughly.
- Belt issue: The brush bar might be disconnected from its drive belt. Re-seat the belt if it has slipped. If the belt is broken, it needs replacement.
- Obstruction in motor area: Sometimes, something gets lodged near the motor that drives the brush bar. If you cannot easily remove it, consult your Dyson manual or customer support.
- Incorrect reassembly: Ensure all parts of the cleaner head are clicked back into place securely.
By systematically troubleshooting these common problems, you can quickly restore your Dyson DC40 to full working order. I have learned that patience and a methodical approach solve most issues. You can find more targeted troubleshooting for vacuum heads in our guide on how to clean Dyson vacuum head. Also, our comprehensive guide on how to clean Dyson Animal vacuum might offer additional relevant tips if you have an animal-specific model.
FAQ Section
How often should I clean my Dyson DC40 filters?
You should wash the pre-motor filter every month with cold water. The post-motor (HEPA) filter usually needs cleaning every three months. Always ensure filters dry completely for at least 24 hours before putting them back. This maintains strong suction and extends filter life.
Can I use soap or hot water to clean Dyson DC40 parts?
No, do not use hot water on filters. Use only cold water. Avoid soap on filters and the cyclone assembly unless your specific DC40 manual states otherwise for the dust bin. Soap can leave residue or damage the filter material.
What should I do if the brush bar on my DC40 is not spinning?
First, unplug the vacuum. Then, remove the brush bar and carefully cut away all tangled hair and debris. Check for any obstructions in the cleaner head. Ensure the brush bar is reinserted correctly and the soleplate is secured.
How long does it take for Dyson DC40 filters to dry?
Dyson filters require at least 24 hours to air dry completely. Some humid environments may require up to 48 hours. It is crucial they are bone-dry before reinsertion. Reinstalling a damp filter can damage the motor and cause mold.
My Dyson DC40 smells bad after cleaning, what is wrong?
Bad smells usually come from residual dirt, pet hair, or mold. Ensure the dust bin is thoroughly washed and completely dry. Re-check filters for dampness or persistent odors; they might need replacing if the smell remains. Clear any hidden debris in the hose or brush bar.
Is it normal for my Dyson DC40 to lose suction after years of use?
Yes, some suction loss is normal over time due to wear and tear. However, most significant drops in suction are due to clogs or dirty filters. Regular cleaning as outlined in this guide can restore much of the lost power and prolong your vacuum’s effective life.
Conclusion
Keeping your Dyson DC40 clean is a simple yet powerful way to ensure its top performance. We have covered every essential step, from washing filters to clearing the brush bar and inspecting hoses. By following this comprehensive guide, you can restore your vacuum’s suction power. You also extend its lifespan significantly. Remember, a well-maintained Dyson DC40 not only cleans your home better but also keeps your air fresher.
Regular maintenance avoids common issues like low suction and bad odors. It saves you money on repairs and replacements in the long run. I encourage you to set a schedule for cleaning your Dyson DC40’s filters monthly and performing a deeper clean every few months. Your home and your vacuum will thank you for it. Take action today to revitalize your Dyson DC40. Get ready for a noticeably cleaner home.

Todd Martin
Senior Writer
With over 15 years of experience in home renovation and design, I started HEG to share what I’ve learned with homeowners who want to create spaces that are both beautiful and functional. I’ve always believed in a hands-on approach, and over the years, I’ve picked up practical solutions that actually work. Through HEG, I aim to make home improvement more approachable, sharing real tips that help you create a home you truly love.