· Todd Martin · Home Appliances, Appliance Repair, GE Washer Repair · 14 min read
How To Replace Ge Washing Machine Tub Bearing
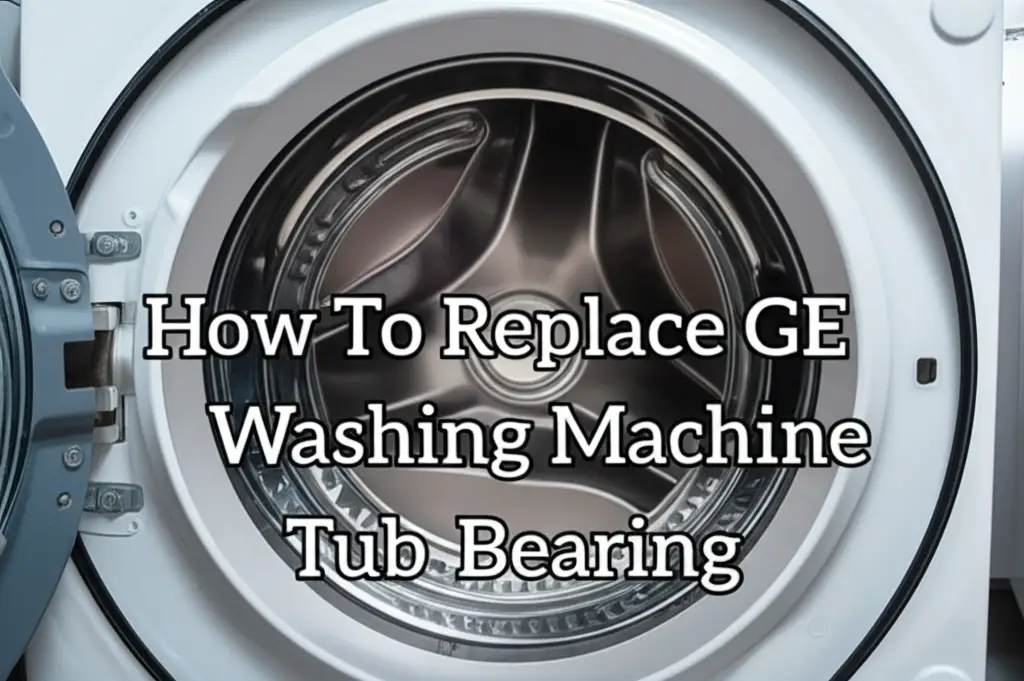
Replace GE Washing Machine Tub Bearing for Quieter Cycles
Has your GE washing machine started making a loud grinding or roaring noise during the spin cycle? A noisy washer can quickly become a major annoyance in your home. Often, the culprit behind these disturbing sounds is a worn-out tub bearing. This critical component allows the inner tub to spin smoothly. When it fails, laundry day becomes a headache.
Learning how to replace a GE washing machine tub bearing might seem daunting at first. However, it is a repair many homeowners can complete with the right tools and clear instructions. I have been there, facing a loud machine and wondering what to do. I learned that addressing this issue quickly can prevent further damage to your washer. This comprehensive guide provides step-by-step instructions. We will cover identifying the problem, gathering tools, and performing the replacement. You will get your GE washing machine back to quiet operation.
Takeaway: Restore Your Washer’s Quiet Operation
- Identify the Noise: Listen for grinding or roaring sounds during the spin cycle.
- Gather Tools: Collect specific wrenches, sockets, and a bearing puller.
- Prioritize Safety: Always unplug the machine and shut off water first.
- Disassemble Carefully: Follow steps to access the tub and old bearing.
- Install New Parts: Press in the new bearing and seal precisely.
- Test Thoroughly: Run a small load to ensure proper function.
How do I replace a GE washing machine tub bearing?
To replace a GE washing machine tub bearing, first disconnect power and water. Then, disassemble the machine to access the outer tub. Remove the old bearing and seal from the tub assembly. Clean the area thoroughly. Finally, install the new tub bearing and seal using appropriate tools, then reassemble and test the washer.
What a GE Washing Machine Tub Bearing Does and Why it Fails
The tub bearing in your GE washing machine is a small but crucial part. It allows the inner wash tub to spin freely and smoothly inside the stationary outer tub. Think of it as a low-friction pivot point for the spinning motion. When your washer enters the spin cycle, the motor turns the inner tub at very high speeds. The tub bearing ensures this rotation happens efficiently and quietly. It also helps keep the tub stable.
Over time, these bearings can wear out. Water or detergent can slowly seep past the tub seal and corrode the bearing. Excessive vibration from unbalanced loads also puts stress on the bearing. Using too much detergent creates excessive suds, which can also contribute to seal wear. As the bearing breaks down, the friction increases. This leads to loud noises and can eventually damage other parts of your washing machine.
Identifying a Failing Tub Bearing
You can often tell a GE washing machine tub bearing is failing through specific symptoms. The most common sign is a loud noise during the spin cycle. This noise might sound like grinding, roaring, or even an airplane taking off. I experienced this myself with a previously quiet machine. The noise started subtle, then got progressively louder.
Another sign is a wobbly inner tub. If you push down on the tub or try to move it side to side, it might feel loose. Sometimes, water might start leaking from the bottom of the washing machine. This happens if the failing bearing also damages the tub seal. A bad bearing can also cause your machine to vibrate excessively, especially during high-speed spins. If your GE washing machine is not spinning correctly, or making unusual noises, the tub bearing is a prime suspect. Why is my GE washing machine not spinning? This part is essential for proper spin function. If you notice any of these signs, it is time to inspect your tub bearing. Addressing leaks is also critical for appliance longevity. Why is my GE washing machine leaking from the bottom?
Essential Tools and Parts for Your GE Washer Bearing Replacement
Before you start any repair, having the right tools and parts makes the job much smoother. This repair requires specific items, beyond just a screwdriver. Gathering everything beforehand saves you time and frustration. I always make a checklist to ensure I have every item.
You will need a set of basic hand tools. These include screwdrivers (Phillips and flathead), a socket wrench set, and possibly an adjustable wrench. A pair of pliers, especially needle-nose pliers, can also be useful. For removing stubborn parts, a rubber mallet and a pry bar are often helpful. You might also need a spanner wrench for the tub nut, which is a specialized tool. Some models require a special bearing puller.
Finding the correct replacement tub bearing and seal kit is critical. GE washing machine models vary, so the exact parts needed will differ. I recommend looking up your washer’s model number. This number is usually on a sticker inside the door or on the back of the machine. Use this model number to search for the specific tub bearing kit online or at an appliance parts store. Many kits include both the bearing and the necessary tub seal. Ensure you get genuine GE parts or high-quality aftermarket equivalents. Having all parts ready before disassembly prevents delays.
Safety First: Preparing for Your GE Washing Machine Repair
Safety is the most important step before starting any appliance repair. Washing machines involve both electricity and water. Ignoring safety precautions can lead to serious injury or damage. I always make sure to put safety first in my DIY projects. This ensures a successful repair without incident.
First, you must completely disconnect power to the GE washing machine. Unplug the power cord from the wall outlet. Do not just turn off the machine; physically remove the plug. This eliminates any risk of electrical shock during the repair. Next, shut off the water supply to the washer. Locate the hot and cold water faucets behind the machine and turn them off completely. Then, disconnect the water inlet hoses from the back of the washer. You should also drain any remaining water from the hoses into a bucket.
Clear the area around your washing machine. You will need space to move the machine and lay out parts. Lay down old towels or blankets to protect your floor and prevent parts from rolling away. Wearing appropriate personal protective equipment is also wise. I recommend wearing work gloves to protect your hands from sharp edges or grease. Safety glasses protect your eyes from debris. Take your time with these initial steps. A well-prepared workspace contributes to a smooth repair process. It is important to know when to handle DIY projects yourself. Do It Yourself Washing Machine repairs are possible with careful preparation.
Step-by-Step Guide to Accessing the GE Washer Tub
Accessing the tub bearing requires significant disassembly of your GE washing machine. This process varies slightly between top-load and front-load models. Most GE top-loaders follow a similar pattern. Take photos at each stage if you are concerned about reassembly. I find this helps greatly.
Begin by removing the machine’s control panel. On many GE models, you can pry off the end caps and remove screws that hold the control panel in place. Carefully tilt it back or move it aside without disconnecting all wires. Next, remove the outer cabinet. This often involves releasing clips or screws around the top and sides. With the cabinet off, you will see the large outer tub.
Now, you need to remove the agitator or impeller from the center of the inner tub. For agitators, there is usually a cap on top that unclips, revealing a bolt underneath. Use a long extension and socket to remove this bolt. The agitator can then be pulled straight up. Impellers might have a single cap and bolt. With the agitator or impeller removed, you can usually lift the inner wash tub out of the outer tub. This exposes the outer tub and the transmission or drive shaft assembly underneath. The tub bearing is located within the outer tub’s housing, surrounding the drive shaft. This careful disassembly makes the bearing accessible.
Removing and Installing the New GE Washing Machine Tub Bearing
Once you have accessed the outer tub, the real work of removing and installing the tub bearing begins. This step requires precision and sometimes a bit of force. The old bearing might be seized in place due to corrosion. I remember struggling to get an old bearing out on my first attempt. Persistence is key here.
First, identify the pulley assembly at the bottom of the outer tub. This pulley is usually attached to the drive shaft with a large nut. Use a spanner wrench or large socket to remove this nut. Then, carefully remove the pulley itself. The drive shaft will now be exposed. The tub bearing and seal are pressed into the center opening of the outer tub. The old seal usually sits right on top of the bearing. Pry the old seal out using a flathead screwdriver or a pry bar. Be careful not to scratch the plastic tub.
After the seal is out, you need to remove the old bearing. This is often the most challenging part. Some models allow you to tap the bearing out from the inside of the tub using a hammer and a punch. For others, you might need a specialized bearing puller. Apply penetrating oil around the bearing if it is stuck. Once the old bearing is out, thoroughly clean the bearing housing inside the tub. Remove any rust, debris, or old grease. This ensures the new bearing fits snugly and properly. Now, you can install the new tub bearing. Apply a small amount of grease to the outer race of the new bearing. Carefully tap the new bearing into the housing using a rubber mallet or a bearing press tool. Ensure it sits flush and square. Finally, install the new tub seal on top of the bearing. This seal keeps water out and protects the bearing. Use a soft mallet to gently tap the seal into place until it is fully seated.
Challenges You Might Face
Replacing a tub bearing can present a few challenges. The tub nut, which holds the inner tub, can be very tight or corroded. You might need a specialized spanner wrench and a lot of leverage to remove it. Sometimes, the drive shaft is stuck to the inner tub, making it hard to separate. Applying heat or penetrating oil can help in these situations.
Another common issue is removing the old bearing itself. It might be seized tightly in the tub housing. A proper bearing puller makes this much easier. Without one, you might need to carefully tap it out from the opposite side. Be careful not to damage the tub. I have seen situations where the tub itself cracked due to excessive force. Always work slowly and methodically. If you face extreme difficulty, consider consulting an appliance repair professional. This ensures no damage to the machine.
Reassembling Your GE Washing Machine and Testing
After successfully installing the new tub bearing and seal, it is time to put your GE washing machine back together. This process involves reversing the disassembly steps. Take your time and make sure all connections are secure. I always double-check every bolt and wire before sealing the machine.
Start by reinserting the inner wash tub into the outer tub. Ensure it slides smoothly onto the new bearing. Then, reattach the pulley and tighten the nut securely. Next, reinstall the agitator or impeller, making sure its bolt is tightly fastened. After the tub components are in place, reattach the outer cabinet. Secure all clips and screws that hold it in place. Then, carefully put the control panel back in its original position. Reconnect any wires if you had to disconnect them. Fasten all screws that hold the control panel.
With the machine reassembled, reconnect the water inlet hoses to the hot and cold water faucets. Turn the water supply back on slowly and check for any leaks. Finally, plug the power cord back into the electrical outlet. Before running a full load, I suggest performing a test cycle. Add a small amount of laundry or simply run an empty wash cycle. Listen carefully for any unusual noises. Check for leaks underneath the machine. A successful test cycle means you have likely fixed the problem. If you encounter issues during reassembly, reviewing resources on similar GE repairs might help, such as understanding how to handle different components. How to replace GE washing machine drain pump guides can offer insights into appliance components.
Preventing Future GE Washer Tub Bearing Issues
Replacing a GE washing machine tub bearing is a significant repair. Once you have gone through the process, you will want to avoid doing it again soon. Proper maintenance and usage habits can significantly extend the life of your new tub bearing. I find that regular care makes a huge difference in appliance longevity.
One of the most common causes of tub bearing failure is unbalanced loads. When you overload the washer or wash very heavy items unevenly, it creates excessive vibration. This vibration puts immense stress on the tub bearing. Always distribute laundry evenly in the tub. Avoid washing one large, heavy item by itself. Consider breaking up large loads into smaller, more balanced ones. Ensure your washing machine is level. An unlevel machine can cause the tub to wobble, putting extra strain on the bearing. Use a level tool and adjust the machine’s feet as needed.
Regular cleaning also plays a role in protecting your tub bearing. Mineral deposits and detergent residue can build up around the tub seal. This can contribute to its wear and tear, allowing water to seep into the bearing. Run a tub clean cycle monthly or use a washing machine cleaner. This helps remove build-up and keeps the seal flexible. How to clean GE washing machine guides offer helpful tips for maintaining internal cleanliness. If you use liquid detergent, ensure you use the correct amount. Too much detergent can create excessive suds, which can also degrade seals over time. Following these simple tips helps keep your GE washing machine running smoothly and quietly for years.
FAQ Section
How long does a GE washing machine tub bearing last?
GE washing machine tub bearings typically last between 5 to 10 years. Their lifespan depends on usage frequency, load sizes, and maintenance. Overloading the machine or consistent imbalance can shorten its life. Regular cleaning and proper load management help extend bearing longevity.
Can I use a washing machine with a bad tub bearing?
Using a washing machine with a bad tub bearing is not recommended. It causes loud noise and excessive vibration. Continued use can lead to further damage to other components, such as the transmission or the inner tub itself. This will increase repair costs or necessitate a full machine replacement.
How much does it cost to replace a GE washing machine tub bearing?
The cost to replace a GE washing machine tub bearing varies. Parts alone can range from $50 to $150 for the bearing and seal kit. If you hire a professional, labor costs can add another $200 to $400. Doing it yourself saves significant money on labor charges.
Is replacing a tub bearing a DIY job?
Replacing a tub bearing can be a challenging DIY job. It requires significant disassembly of the washing machine. You need specific tools and some mechanical aptitude. If you follow instructions carefully and take safety precautions, many homeowners can complete this repair successfully.
What noises indicate a bad washing machine bearing?
A bad washing machine bearing often produces distinct noises during the spin cycle. These sounds typically include a loud grinding, roaring, or squealing. The noise usually gets louder as the spin speed increases. It might sound like a jet engine or airplane.
Conclusion
A noisy GE washing machine, especially one making grinding or roaring sounds during the spin cycle, often signals a failing tub bearing. While replacing a GE washing machine tub bearing is a significant repair, it is entirely manageable for many DIY enthusiasts. By following the steps outlined in this guide, you can confidently diagnose the issue, gather your tools, and systematically perform the replacement. I hope this guide empowers you to tackle this common appliance problem.
Remember, safety is paramount. Always disconnect power and water before starting work. Take your time during disassembly and reassembly. With a new tub bearing in place, your GE washing machine will return to its quiet, efficient operation. This repair saves you money compared to professional service or buying a new appliance. Embrace the satisfaction of a successful DIY repair. Get your laundry routine back on track with a smoothly spinning machine.
- GE Washing Machine
- Tub Bearing Replacement
- Washer Repair
- DIY Appliance Repair
- Noisy Washer Fix
- GE Appliance Parts

Todd Martin
Senior Writer
With over 15 years of experience in home renovation and design, I started HEG to share what I’ve learned with homeowners who want to create spaces that are both beautiful and functional. I’ve always believed in a hands-on approach, and over the years, I’ve picked up practical solutions that actually work. Through HEG, I aim to make home improvement more approachable, sharing real tips that help you create a home you truly love.