· Todd Martin · Home Repair · 12 min read
How To Repair A Torn Wool Rug
Revive Your Wool Rug: Simple Steps to Repair a Tear
It can be heartbreaking when you discover a tear in your beautiful wool rug. These rugs add warmth and character to any room. A torn spot, however, can quickly become a much larger problem. Fortunately, you can often learn how to repair a torn wool rug yourself.
This guide helps you fix those imperfections. We cover everything from assessing the damage to applying the right repair methods. You will learn the specific steps to bring your beloved wool rug back to its original charm. Let’s get started on saving your investment.
Takeaway
- Assess Damage: Determine if the tear is small or large to pick the right repair method.
- Gather Tools: Collect matching wool yarn, needles, and a strong rug adhesive.
- Clean Area: Always clean the torn spot before starting any repair work.
- Choose Method: Select between patching, reweaving, or backing repair based on the tear size.
- Reinforce: Add a patch or new backing to ensure the repair lasts.
- Maintain: Provide ongoing care to prevent future damage and preserve your rug.
To repair a torn wool rug, assess the damage, clean the area, and choose a method like patching, reweaving, or backing repair. Use matching wool yarn and strong adhesive or thread to secure the torn edges, restoring the rug’s integrity.
Understanding Your Wool Rug’s Construction
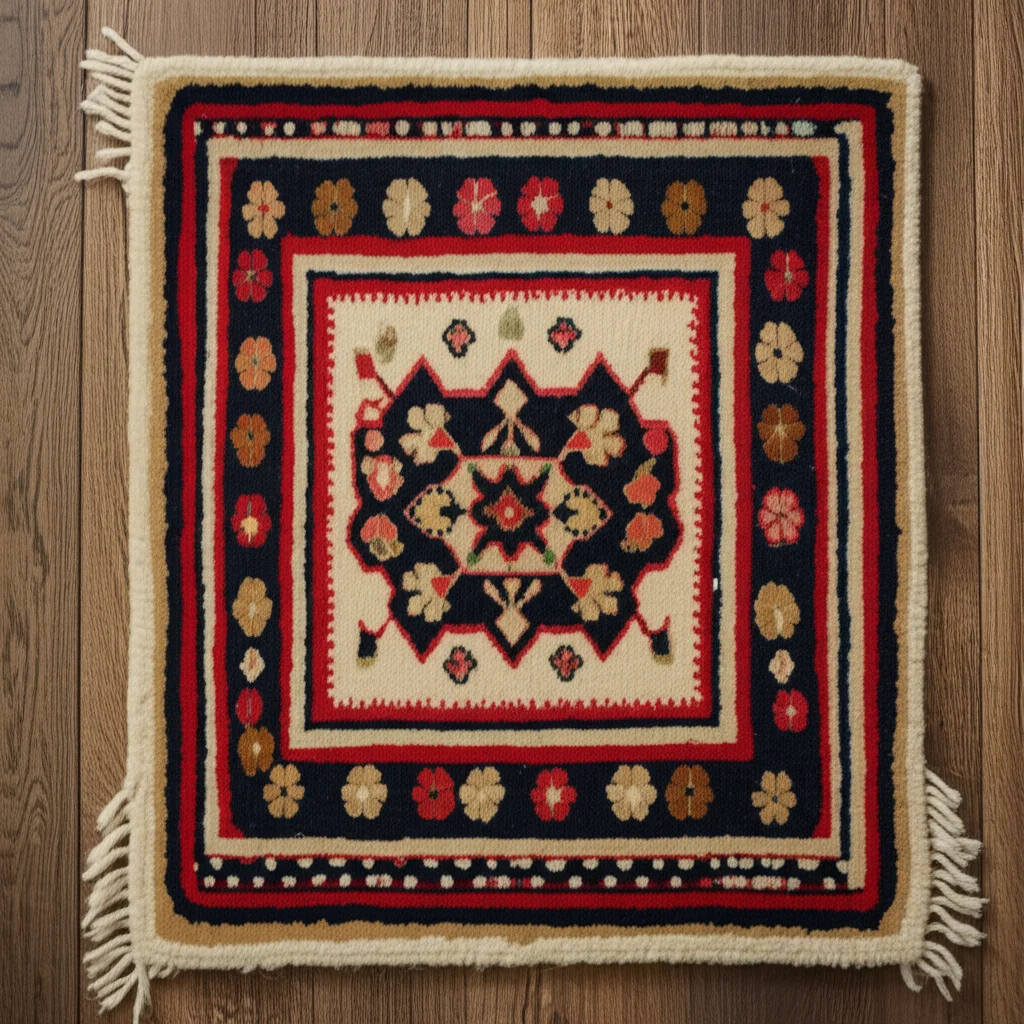
Wool rugs are durable but can still suffer damage from wear or accidents. Knowing how they are made helps you understand how to fix them. Most wool rugs have a foundation, which is the base structure. This foundation consists of warps and wefts.
The warps are long threads running the length of the rug. Wefts are threads woven across the warps. Together, they form a strong grid. The wool pile, the soft, visible part, is then knotted or looped onto this foundation. This creates the rug’s pattern and texture.
A tear often means the foundation threads have broken. If the tear affects only the wool pile, it might be a simpler fix. If the foundation is compromised, the repair becomes more involved. Identifying the type of tear guides your repair approach.
Common causes of tears include sharp objects, heavy furniture being dragged, or even pet damage. Understanding these basics is the first step. It helps you decide if you need a simple patch or a more complex reweaving process.
Assessing the Damage: Is Your Wool Rug Repairable?
Before you begin any repair, you need to look closely at the tear. Small tears, like a few pulled loops or a minor split, are often good candidates for DIY repair. These typically affect only the pile or a small part of the foundation. They do not threaten the rug’s overall structure.
Larger tears, especially those that run across a significant portion of the rug or involve the edges, can be more challenging. If the rug’s foundation is extensively damaged, professional help might be best. Professionals have specialized tools and skills for complex reweaving. They can often handle larger jobs that might be too much for a home repair.
Consider the rug’s value as well. A highly valuable or antique rug deserves expert attention for any tear. For everyday rugs, a DIY fix can be a cost-effective solution. Think about the size and location of the tear. Also, evaluate how much time and effort you are willing to invest. You can often repair existing carpet, and wool rugs are no different in this regard.
Essential Tools and Materials for Wool Rug Repair
Having the right tools makes a significant difference in the success of your wool rug repair. You will need a sharp pair of scissors to trim frayed edges. A sturdy upholstery needle or curved needle is essential for stitching. These needles can pass through thick rug material.
Matching wool yarn is crucial for an invisible repair. Try to get yarn that matches your rug’s color and texture as closely as possible. You might need several shades if your rug has multiple colors in the torn area. Consider looking for remnant pieces of similar wool rugs if you need a larger patch.
A strong, flexible fabric adhesive or rug-specific glue can help stabilize smaller tears. It also secures patches or backing material. Heavy-duty thread, such as carpet thread or dental floss (unwaxed), can also be useful for stitching. Lastly, you may need a piece of sturdy fabric for backing. This could be canvas or even a piece of old denim. It adds strength to the repaired area.
Preparing Your Torn Wool Rug for Repair
Proper preparation is key to a lasting rug repair. First, you must clean the area around the tear thoroughly. Dirt and debris can interfere with adhesion and stitching. You can use a mild wool-safe cleaner and a damp cloth to gently spot clean the area. Allow it to dry completely. A clean wool rug holds repairs better.
Next, carefully trim any loose or frayed threads around the tear. Use sharp scissors to make clean cuts. Be careful not to make the tear larger. This step helps create a neat edge for stitching or patching. It also prevents the damage from spreading.
Then, align the torn edges as perfectly as you can. For straight tears, this is straightforward. For irregular tears, try to piece them together like a puzzle. You might use masking tape on the back of the rug to temporarily hold the edges in place. This stabilization ensures the rug lies flat during repair.
Ensuring a stable, clean, and aligned tear before you start the actual repair work is vital. It creates the best foundation for a strong and invisible mend. I always take my time with this step.
Techniques for Repairing Small Tears and Frayed Edges
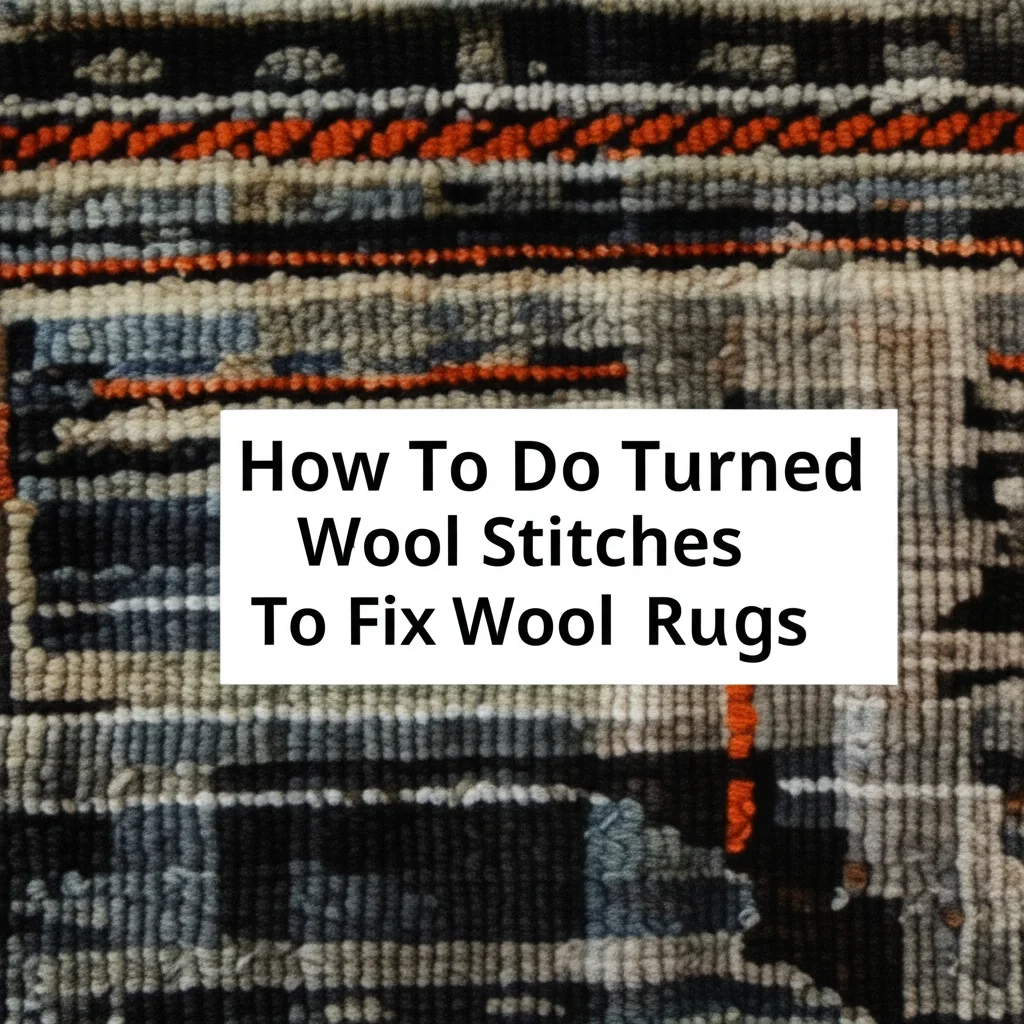
Small tears and frayed edges are often the easiest to fix at home. For small splits where the foundation is still mostly intact, simple hand stitching can work wonders. Use a strong, fine needle and a matching wool thread. You can use a whipping stitch, carefully bringing the two torn edges together. Pass the needle through the backing and around the edges.
For frayed edges, you might need to re-bind the edge. Carefully trim the loose threads first. Then, fold the edge under slightly if possible. Use a strong needle and thread to stitch along the folded edge. You can use a blanket stitch or a simple running stitch to secure it. This prevents further unraveling. Learning how to do turned wool stitches can be very helpful for these kinds of repairs.
Another method for small tears, especially those in the pile without significant foundation damage, is to use a fabric adhesive. Apply a thin line of adhesive along the tear’s edges on the back of the rug. Gently press the edges together. Hold them in place until the glue sets. This method is quick. It is best for areas that do not see heavy foot traffic. Always ensure the rug is clean before applying any adhesive.
Addressing Larger Tears and Holes: Patching and Reweaving Methods
Larger tears or holes require more substantial repair methods. Patching is a common solution. You will need a donor piece of wool rug that matches your damaged rug’s color and pile height. Look for an inconspicuous area on your rug, like under furniture, to cut a small sample for matching. If that’s not possible, consider a remnant from a rug store.
To patch, cut the donor piece slightly larger than the hole. Trim the edges of the hole in your rug to make them straight or a regular shape. Place the donor patch under the hole, aligning the pile direction. Use a strong rug adhesive or stitch the patch to the rug’s backing. For added durability, you can stitch around the perimeter of the patch from the top, blending the new pile with the old.
Reweaving is a more advanced technique best for high-value rugs or significant foundation damage. This involves reconstructing the rug’s foundation and pile. You would weave new warp and weft threads to bridge the gap. Then, you tie new wool knots onto this new foundation. This process requires skill and patience. If you are new to it, start with small, less visible areas. This technique aims to make the repair invisible.
Consider if you can repair existing carpet or rug damage by simply adding a new piece. For larger tears, a combination of methods might be needed. You might patch the hole and then stitch around the edges. This provides extra security.
Reinforcing the Backing: Stabilizing Your Repaired Wool Rug
Once you have repaired the tear in the wool rug’s pile or foundation, reinforcing the backing is crucial. This step ensures the repair holds up over time. It prevents the tear from reopening or spreading. A strong backing provides stability.
Cut a piece of sturdy fabric, such as canvas, denim, or a thick non-slip rug pad material, a few inches larger than the repaired area. This backing piece should extend beyond the tear’s edges. This provides ample surface for adhesion. You can use a strong, flexible fabric adhesive to attach this patch to the back of the rug. Apply the glue evenly to the backing material. Then, press it firmly onto the rug’s back, centering it over the repair.
For an even stronger repair, you can stitch the backing patch to the rug. Use a heavy-duty needle and strong thread. Stitch around the entire perimeter of the patch. You can also add a few stitches through the middle for extra security. This method is particularly useful for areas with heavy foot traffic. Let the adhesive cure completely before moving the rug.
Reinforcing the backing makes the repair much more durable. It distributes stress across a wider area. This protects the original repair from future strain. This simple step can significantly extend the life of your repaired wool rug.
Post-Repair Care and Maintenance for Wool Rugs
After successfully repairing your torn wool rug, proper care ensures its longevity. First, allow any adhesives or stitched areas ample time to fully cure and settle. Avoid placing heavy furniture or walking on the repaired spot immediately. Patience here means a stronger, more lasting mend.
Regular cleaning is vital for all wool rugs. Gently vacuum your rug regularly to remove dirt and dust. This prevents particles from wearing down the fibers. For spills, act quickly to blot them up. Use a wool-safe cleaner for spot treatments. Knowing how to clean a wool rug at home is a valuable skill. It helps keep your rug fresh and prevents new damage.
Consider using a rug pad underneath your wool rug. A good rug pad provides cushioning. It also prevents the rug from slipping and bunching. This reduces stress on the rug’s foundation and pile, which helps protect repaired areas. You can also learn how to attach a rug pad to a rug for optimal support.
Inspect your rug periodically for any new signs of wear or minor damage. Addressing small issues early prevents them from becoming large tears. By following these care steps, your repaired wool rug will look good and last for many years.
Frequently Asked Questions About Repairing Wool Rugs
Can I repair any size tear in a wool rug myself?
You can repair small to medium tears in a wool rug. These usually involve minor pile or foundation damage. Large tears, especially those affecting the rug’s structural integrity, often need professional reweaving. Assess the tear carefully to determine if it’s within your skill level.
What kind of thread should I use for wool rug repair?
For wool rug repair, use strong, durable thread. Upholstery thread or heavy-duty carpet thread works best. Choose a thread that matches your rug’s backing color or is neutral. This helps the stitches blend in. Using the right thread ensures the repair holds securely.
How do I find matching wool yarn for my rug?
Finding matching wool yarn can be challenging. You can try local yarn stores, online suppliers, or specialty rug repair shops. Sometimes, you can carefully snip a few strands from an inconspicuous part of your rug to use as a color sample. This helps you find the closest match possible.
Can I use super glue to fix a torn wool rug?
Avoid using super glue for wool rug repairs. Super glue is often too rigid and can make the rug stiff and brittle. This can lead to more damage over time. Instead, use a flexible fabric adhesive or rug-specific glue. These glues move with the rug fibers.
How do I prevent my wool rug from tearing again?
Preventing future tears involves careful handling and regular maintenance. Avoid dragging heavy furniture across your rug. Use rug pads to prevent slipping and bunching. Rotate your rug regularly to distribute wear evenly. Promptly address any small snags or loose threads.
Conclusion
Repairing a torn wool rug is a rewarding project that extends the life and beauty of your cherished piece. We explored how to repair a torn wool rug, starting with understanding its construction and assessing the damage. We covered essential tools, preparation steps, and various repair techniques for tears of different sizes. From simple stitching for small snags to patching and reinforcing for larger tears, you now have the knowledge to tackle common rug damage.
Remember that proper post-repair care, including regular cleaning and using a rug pad, is crucial for maintaining your rug’s integrity. By following these steps, you can restore your wool rug to its former glory. This saves you money and preserves a valuable part of your home decor. Give your rug the care it deserves, and it will continue to enhance your living space for years to come.
- wool rug repair
- torn rug fix
- DIY rug mending
- rug restoration
- home improvement

Todd Martin
Senior Writer
With over 15 years of experience in home renovation and design, I started HEG to share what I’ve learned with homeowners who want to create spaces that are both beautiful and functional. I’ve always believed in a hands-on approach, and over the years, I’ve picked up practical solutions that actually work. Through HEG, I aim to make home improvement more approachable, sharing real tips that help you create a home you truly love.