· Todd Martin · Home Improvement · 15 min read
How To Renew Wood Cabinets
Renew Wood Cabinets: A Step-by-Step Guide to a Fresh Look
Are your wood cabinets looking a little tired? Maybe they have lost their shine or show signs of daily wear. You might dream of a kitchen update without a full renovation. Renewing your wood cabinets can bring warmth and beauty back to your space. It is a rewarding project that greatly improves your home’s appearance and value.
I understand how a fresh set of cabinets can transform a room. This guide will walk you through everything needed to renew wood cabinets effectively. We cover assessing their condition, deep cleaning, and choosing the best renewal method. You will learn about refinishing, painting, and repairing common damage. My aim is to help you achieve beautiful, lasting results for your wood cabinets.
Takeaway
- Assess Condition: Determine if cabinets need cleaning, repair, refinishing, or painting.
- Prepare Properly: Thoroughly clean and prepare surfaces for any renewal method.
- Choose Method: Decide between natural wood restoration (refinishing) or a new color (painting).
- Address Damage: Fix water damage, scratches, and dents before applying new finishes.
- Maintain Regularly: Implement ongoing care to protect renewed cabinets and extend their life.
To renew wood cabinets, you first clean them thoroughly, then repair any damage. You then choose between refinishing them to restore their natural wood grain or painting them for a new color. Finally, you apply a protective topcoat and update hardware to complete the transformation.
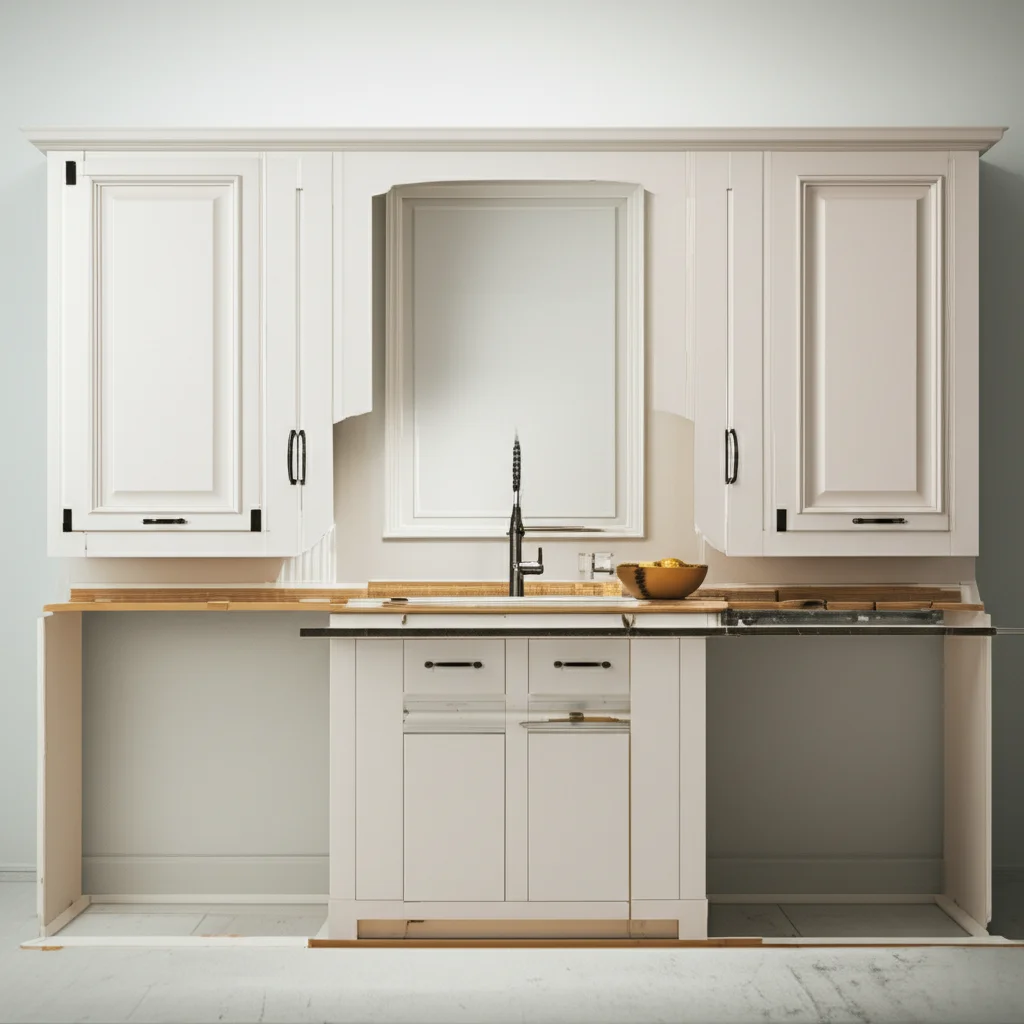
Assessing Your Cabinets: First Steps to Renewal
Before you start any work, take a good look at your wood cabinets. Do they have deep scratches, water damage, or just a dull finish? Understanding their current state helps you choose the right renewal method. This initial assessment saves time and ensures you get the results you want. I always find this step crucial for planning my projects.
Walk around your kitchen and inspect each cabinet door and drawer. Look for areas with worn-off finish, faded spots, or greasy build-up. Check for any loose hinges or handles. Note down every issue you find. This detailed list will guide your project and help you decide if you need to refinish, paint, or simply clean and condition the wood.
Identifying the Right Renewal Path
Your cabinets’ condition dictates the best renewal method. If the wood itself is in good shape but the finish is dull, a simple cleaning and re-coating might suffice. For deeper scratches or sun fading, refinishing the wood can bring back its original beauty. If you desire a completely new look, painting your wood cabinets offers a dramatic change.
- Surface Dullness/Minor Scratches: A good cleaning and a fresh coat of clear finish or polish may be enough. This is often the easiest path to renew wood cabinets.
- Faded Color/Moderate Scratches: Refinishing involves stripping, sanding, and re-staining or re-varnishing. This restores the wood’s natural look.
- Significant Damage/New Look Desired: Painting offers a complete overhaul. It covers imperfections and allows for a modern color update.
Consider the type of wood as well. Some woods take stain better than others. Always test your chosen finish on an inconspicuous area first. This ensures the color and look meet your expectations before you commit to the entire project.
Deep Cleaning and Preparation: The Foundation of Cabinet Renewal
No matter how you plan to renew your wood cabinets, thorough cleaning is essential. Grease, grime, and old finishes build up over time. These layers prevent new finishes from adhering properly. Skipping this step leads to poor results and a finish that peels or chips quickly. I learned early that prep work determines success.
Start by emptying all cabinets and drawers. Remove all hardware, including hinges, handles, and drawer pulls. Label everything carefully. This makes reinstallation much easier. Place small parts in labeled bags or containers.
Effective Cleaning for Wood Cabinets
Cleaning wood cabinets requires specific methods to remove dirt without damaging the wood. A strong degreaser works best for kitchen cabinets. Kitchen cabinets often collect sticky grease from cooking. You need to remove this before painting or staining. For stubborn sticky residue, learn how to clean sticky wood kitchen cabinets before painting.
Mix a solution of dish soap and warm water, or use a specialized wood cleaner. For very greasy surfaces, a mixture of vinegar and water can be effective. If your cabinets are particularly greasy, understanding how to clean greasy cabinets is crucial. Wipe down every surface, inside and out, with a soft cloth. Rinse with a damp cloth and dry immediately to prevent water damage.
- Remove Hardware: Take off all knobs, pulls, and hinges.
- Degrease Surfaces: Use a strong degreaser or a vinegar solution on all wood surfaces.
- Wipe Clean: Use a clean, damp cloth to remove all cleaning solution residue.
- Dry Thoroughly: Ensure cabinets are completely dry before the next step.
After cleaning, lightly sand the surfaces. Use fine-grit sandpaper (180-220 grit) to scuff the existing finish. This creates a rough surface for the new finish to grip. Always sand in the direction of the wood grain. Wipe away all dust with a tack cloth or a damp cloth before proceeding. For a full guide on preparing cabinets for painting, see how to clean cabinets for painting. This meticulous preparation ensures your efforts to renew wood cabinets result in a beautiful and durable finish.
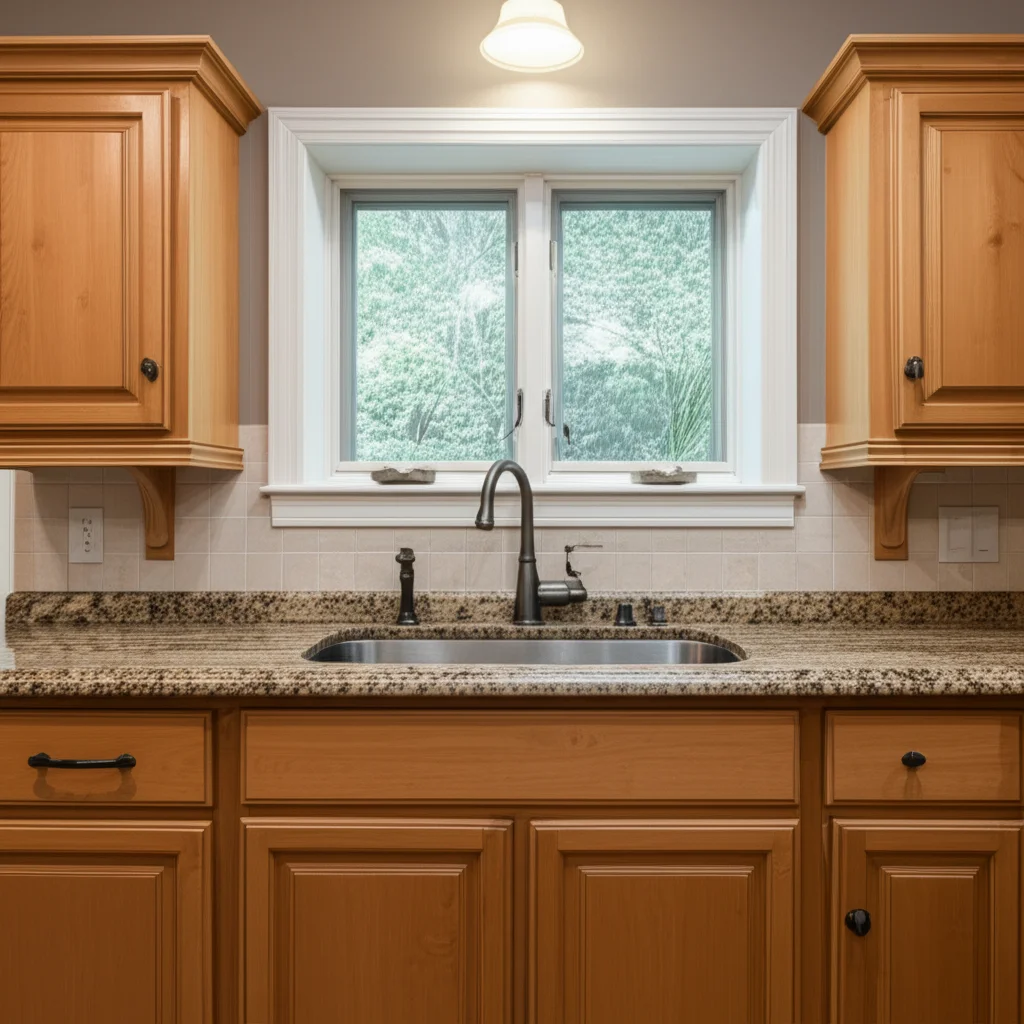
Option 1: Restoring Natural Beauty with Refinishing
Refinishing is the process of stripping off the old finish and applying a new one. This method truly allows you to renew wood cabinets by bringing back their original luster. It highlights the natural grain of the wood. Refinishing is ideal if you love the look of your wood and it is in good condition.
This process involves several steps: stripping, sanding, staining (optional), and applying a clear protective coat. It takes time and patience. However, the results are stunning. I find that revealing the wood’s true character is incredibly satisfying.
Stripping and Sanding for a Smooth Canvas
First, remove the old finish. You can use a chemical stripper or sand it off. For most projects, sanding is less messy and safer if done correctly. Start with a coarse-grit sandpaper (80-100 grit) to remove the bulk of the old finish. Move to medium-grit (120-150 grit), then fine-grit (180-220 grit) for a smooth surface. Always sand with the wood grain. This prevents unsightly cross-grain scratches.
After sanding, clean off all dust. A vacuum and a tack cloth work well. The surface must be completely free of dust for the new finish to adhere properly. At this stage, the wood should feel smooth and uniform. This prepared surface is key to a beautiful new finish.
Staining and Sealing for Lasting Protection
If you want to change the wood’s color, apply a wood stain. Test the stain on an hidden area first. Wood absorbs stain differently depending on its type and how it was sanded. Apply the stain evenly with a brush or cloth. Wipe off excess stain according to product instructions. Let the stain dry completely.
Once stained and dry, apply a clear protective topcoat. Options include polyurethane, lacquer, or varnish. These coats protect the wood from moisture, scratches, and daily wear. Apply several thin coats, sanding lightly between coats with very fine sandpaper (220+ grit). Follow the manufacturer’s instructions for drying times. This final protective layer is crucial to truly renew wood cabinets and keep them looking great for years. Proper application gives your cabinets a durable, beautiful finish.
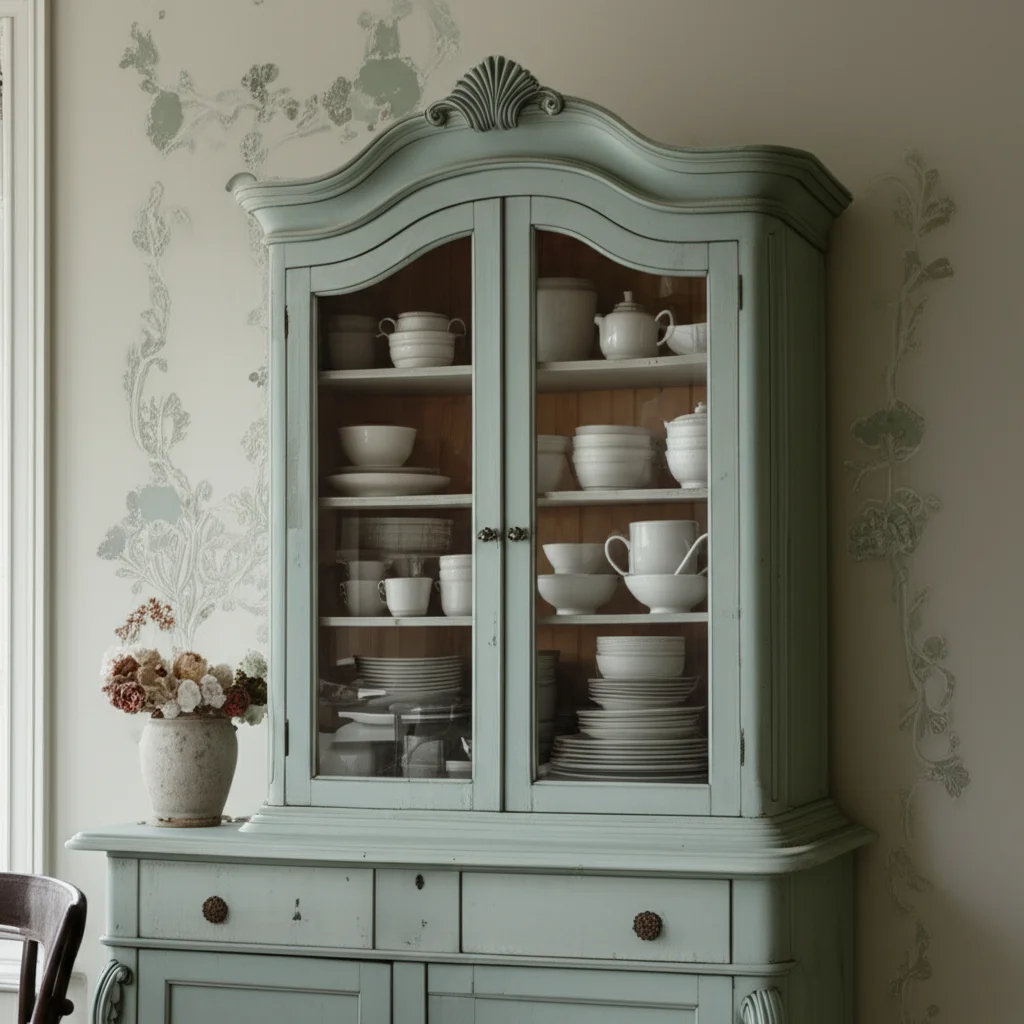
Option 2: Transforming with Paint or Glaze
Painting your wood cabinets offers a dramatic change for a fraction of the cost of replacement. You can update your kitchen with a completely new color scheme. This option is great for hiding minor imperfections or achieving a modern look. It is a popular choice to renew wood cabinets quickly and affordably.
Glazing can add depth and an aged look over a painted or stained finish. It can highlight details and create a unique style. While painting involves color transformation, glazing adds subtle artistic effects.
Preparing Wood Cabinets for Painting
Proper preparation is paramount when painting wood cabinets. Any grease, dirt, or loose finish will show through the paint. It will also cause the paint to chip or peel quickly. Begin by giving your cabinets a thorough cleaning. Focus on removing all grease and grime, especially in high-use areas. For stubborn grime, how to clean sticky kitchen cabinets offers great tips.
After cleaning, lightly sand all surfaces. This step creates a “tooth” for the paint to adhere to. Use 180-220 grit sandpaper. Wipe away all sanding dust with a tack cloth. Next, apply a high-quality primer. Primer helps the paint stick better, covers old stains, and provides a uniform base. Allow the primer to dry completely according to the manufacturer’s directions. This detailed preparation ensures your paint job lasts.
Painting Techniques for a Smooth Finish
Once primed, you are ready to paint. Use a good quality brush for detailed areas and a foam roller for flat surfaces. This combination helps achieve a smooth, professional finish. Apply thin coats of paint rather than one thick coat. Thin coats dry faster and reduce drips or brush marks.
For best results, apply two to three thin coats of paint. Lightly sand with 220+ grit sandpaper between coats. This removes any dust nibs and creates a smoother surface. After the final paint coat dries, apply a clear topcoat, especially if using a softer paint like latex. This adds durability and protection. A topcoat will help your newly painted cabinets withstand daily use. Your efforts to renew wood cabinets with paint will shine through.
Addressing Damage: Repairs Before Renewal
Before you apply any new finish, you must fix any existing damage. Ignoring chips, scratches, or water marks will only make them more noticeable. Proper repair ensures a smooth and lasting finish. This step is crucial for truly successful wood cabinet renewal. I always take the time to mend any flaws first.
Common damages include minor scratches, dings, and water spots. More serious issues involve swelling from water or deep gouges. Each type of damage needs a specific repair method. Fixing these problems now prevents them from worsening later.
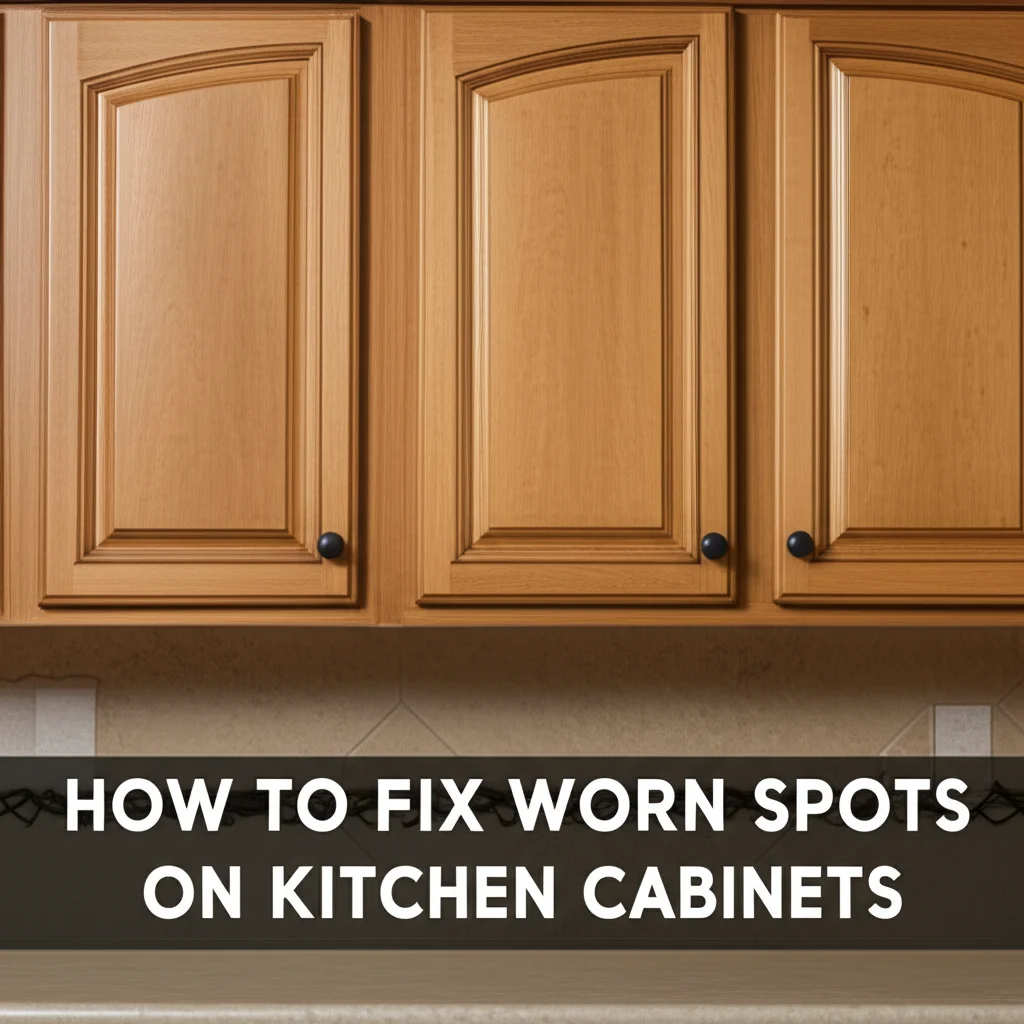
Repairing Scratches and Dents
For minor scratches, a wood repair marker or touch-up pen can blend them in. Simply color in the scratch following the wood grain. For deeper scratches or dings, use wood filler. Apply the filler with a putty knife, pressing it firmly into the damaged area. Overfill slightly, then sand it flush once dry.
If the area needs staining, choose a wood filler that can be stained. Test it first to ensure color matching. For dents, sometimes a damp cloth and a hot iron can lift the wood fibers. Place the damp cloth over the dent and iron it lightly. The steam may help the wood swell back into place. Repeat as needed, but be careful not to scorch the wood.
Fixing Water Damage on Wood Cabinets
Water damage can appear as dark spots, swelling, or peeling veneer. For dark water stains, you might use oxalic acid to lighten them. Always follow product instructions and wear protective gear. If the wood is swollen, you may need to sand it down to level the surface. In cases of peeling veneer, re-glue it using wood glue and clamps. Let it dry completely.
Severe water damage may require replacing a section of the wood or even an entire panel. Addressing water damage properly is critical. Ignoring it can lead to mold or further deterioration of the wood. If you encounter significant water damage, understanding how to fix water damage on wood cabinets will provide detailed solutions. Fixing these issues ensures a solid base for your renewed finish.
Finishing Touches and Maintenance for Lasting Renewal
After all the hard work of cleaning, repairing, and refinishing or painting, the final steps make a big difference. These finishing touches elevate the look of your newly renewed wood cabinets. They also ensure the longevity of your efforts. I consider these details just as important as the main work.
Proper ongoing maintenance is key to keeping your cabinets looking great. It prevents future damage and preserves your hard work. A little care regularly goes a long way.
Updating Hardware and Accessories
New hardware can dramatically change the look of your cabinets. Consider replacing old knobs, pulls, and hinges. Choose hardware that matches your new cabinet style and color. Modern, rustic, or classic options are available. This small change makes your renewed wood cabinets feel completely new.
Measure the existing holes to ensure new hardware fits. If you need to drill new holes, fill the old ones with wood filler and sand smooth before painting or staining. Also, consider adding soft-close hinges or drawer slides. These upgrades improve cabinet function and feel. They add a touch of luxury and prolong the life of your cabinets by reducing impact.
Long-Term Care for Renewed Wood Cabinets
Maintaining your renewed wood cabinets is simple. Regular cleaning prevents dirt and grease buildup. Use a soft, damp cloth for daily wiping. For deeper cleaning, use a mild, pH-neutral wood cleaner. Avoid harsh chemicals or abrasive scrubbers, as they can damage the new finish.
Wipe up spills immediately, especially water. Water can penetrate the finish over time and cause damage. Consider using cabinet liners for shelves to protect the interior. Periodically inspect your cabinets for loose hardware or minor scratches. Touch them up as needed. Consistent care ensures your efforts to renew wood cabinets provide lasting beauty and functionality for years to come.
Budgeting and Timing Your Cabinet Renewal Project
Renewing wood cabinets is a project that varies in cost and time. Your budget and timeline will depend on the method you choose. A simple clean and polish is quick and inexpensive. A full refinish or paint job takes more time and resources. Planning ahead helps manage expectations and costs. I always outline a clear budget and timeline first.
Consider the cost of materials like cleaners, sandpaper, paint, stain, and new hardware. Factor in tools you might need to buy or rent. Estimate the time required for each step. This way, you can schedule your project realistically.
Estimating Costs for Cabinet Renewal
The cost to renew wood cabinets can range widely.
- Cleaning and Polishing: This is the most budget-friendly option. You might spend $20-$50 on cleaners and polishes. It takes a few hours to a day.
- Painting: Painting typically costs more in materials than cleaning. Expect to spend $100-$300 on primer, paint, brushes, rollers, and sandpaper for an average kitchen. New hardware adds to this cost. Time commitment is generally 3-5 days of active work.
- Refinishing: This can be the most expensive DIY option due to stripping agents, stains, and clear coats. Materials can range from $150-$500 or more, depending on the products. The labor is also more intensive. Refinishing can take 5-7 days or longer.
If hiring a professional, costs will increase significantly. A professional paint job might cost $2,000-$6,000. Professional refinishing can be even higher. Always get multiple quotes if you choose this route.
Setting a Realistic Timeline
A realistic timeline is crucial for a successful project. Each step requires specific drying times. Rushing these steps leads to poor results.
- Preparation (Cleaning, Sanding, Repairs): Allow 1-2 full days for thorough cleaning and sanding. If repairs are extensive, add more time.
- Priming (if painting): One day for application and drying.
- Painting/Staining: For painting, allow 2-3 days for multiple coats and sanding in between. Each coat needs full drying time. For staining, allow 1-2 days for application and drying.
- Topcoat/Sealing: Add 1-2 days for multiple clear coats and proper curing. Many topcoats require 24 hours or more between coats and several days to fully cure.
- Hardware Installation: A few hours.
My advice is to add an extra day or two to your estimate. Unexpected delays often happen. Weekends are a good time to tackle specific stages of the project. Spreading the work over a couple of weekends helps manage the labor. This approach makes renewing wood cabinets manageable and less stressful.
FAQ Section
Q1: How long does it take to renew wood cabinets?
A1: The time needed to renew wood cabinets varies by method. A simple cleaning and re-coating might take a day. Painting or refinishing an average-sized kitchen can take 3 to 7 days of active work. This includes preparation, drying times between coats, and final curing. Proper planning helps manage the schedule effectively.
Q2: Can I renew wood cabinets without sanding?
A2: Yes, you can renew wood cabinets without extensive sanding. For light renewal, a thorough cleaning and liquid deglosser can prepare the surface. This creates a bonding surface for new paint or a clear coat. However, light sanding often provides the best adhesion for a durable finish.
Q3: What is the best way to clean wood cabinets before renewal?
A3: The best way to clean wood cabinets before renewal is to use a strong degreaser. A mixture of warm water and dish soap, or a dedicated cabinet cleaner, works well. For very greasy buildup, a solution of equal parts vinegar and water can cut through grime. Always rinse thoroughly and dry immediately.
Q4: How do I fix deep scratches on wood cabinets?
A4: To fix deep scratches on wood cabinets, use wood filler. Apply the filler into the scratch with a putty knife, slightly overfilling the area. Once dry, sand it smooth and flush with the cabinet surface. You can then stain or paint over the repaired area to blend it in.
Q5: Is it better to paint or refinish wood cabinets?
A5: Deciding whether to paint or refinish wood cabinets depends on their condition and your desired look. Refinishing is better if you love the natural wood grain and it’s in good condition. Painting is ideal if you want a complete color change, or if the wood has too much damage to refinish naturally. Both options can effectively renew wood cabinets.
Conclusion
Bringing your wood cabinets back to life is a rewarding project. It improves your home’s aesthetics and functionality. By following these steps, you can successfully renew wood cabinets and enjoy a refreshed space. Remember that proper preparation is key to a lasting finish. Whether you choose to restore their natural warmth or give them a brand-new color, the effort is well worth it.
I hope this guide empowers you to tackle your cabinet renewal project with confidence. My goal is always to help you create a home you love. Your newly renewed wood cabinets will be a point of pride. Ready to transform your kitchen? Start planning your cabinet makeover today and see the incredible difference it makes!
- wood cabinet renewal
- cabinet refinishing
- cabinet painting
- DIY cabinet makeover
- wood restoration
- kitchen refresh
- home improvement projects

Todd Martin
Senior Writer
With over 15 years of experience in home renovation and design, I started HEG to share what I’ve learned with homeowners who want to create spaces that are both beautiful and functional. I’ve always believed in a hands-on approach, and over the years, I’ve picked up practical solutions that actually work. Through HEG, I aim to make home improvement more approachable, sharing real tips that help you create a home you truly love.