· Todd Martin · Home Renovation · 19 min read
How To Refinish Oak Cabinets
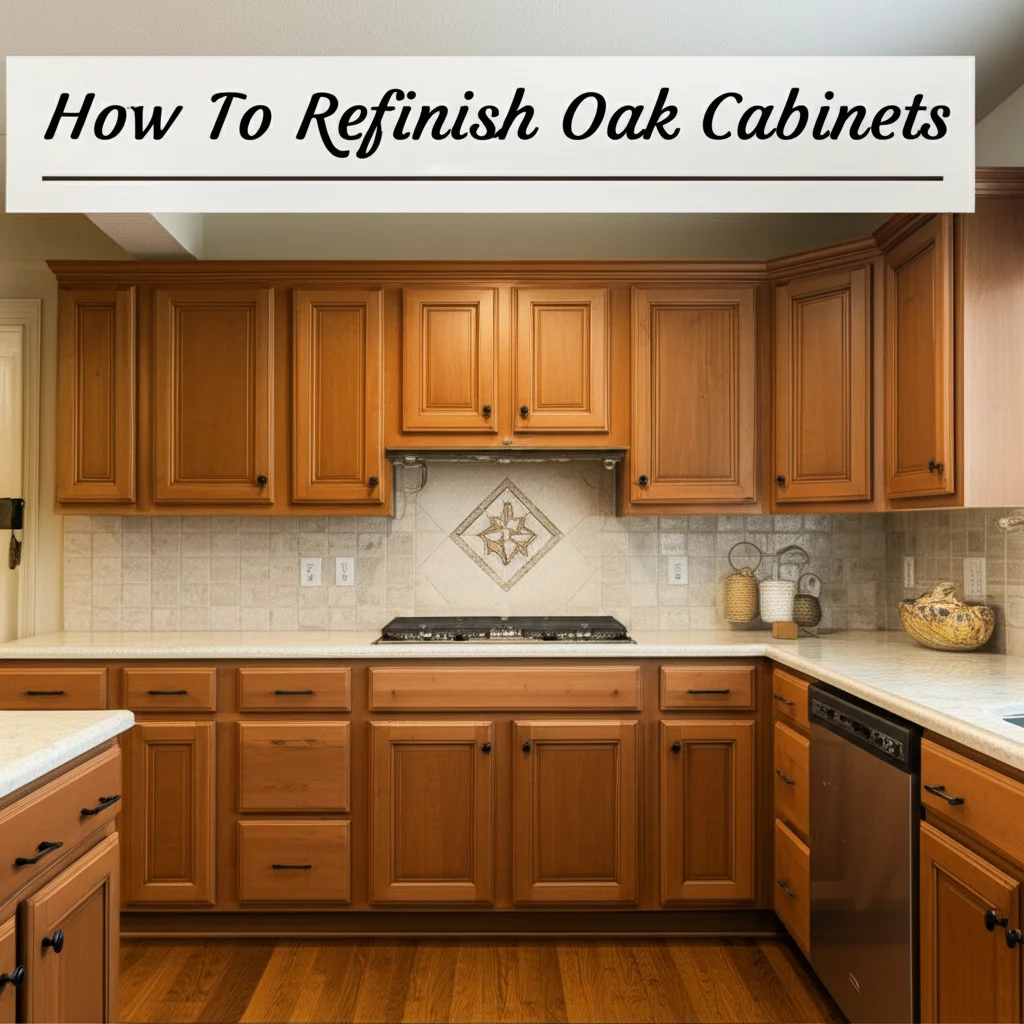
Transform Your Space: How To Refinish Oak Cabinets
Have your oak cabinets seen better days? Maybe they look outdated or show signs of wear. Instead of replacing them, you can give them a fresh new look. Learning how to refinish oak cabinets is a smart, cost-effective way to update your home. This process lets you change the color, enhance the natural wood grain, or simply restore their original beauty.
Refinishing oak cabinets breathes new life into your kitchen or bathroom. It also saves you a lot of money compared to buying new ones. This guide will walk you through every step. We cover preparation, stripping, sanding, and applying the new finish. Get ready to transform your space with confidence.
Takeaway
Refinishing oak cabinets is a rewarding project that revitalizes your home. The key steps include:
- Thorough cleaning and disassembly.
- Careful stripping and sanding of the old finish.
- Strategic application of new stain, paint, or clear coat.
- Proper drying and reassembly for a lasting result.
Refinishing oak cabinets involves stripping the old finish, thoroughly sanding the wood, and then applying a new protective and decorative coating such as stain, paint, or varnish. This process removes damage and updates the appearance, bringing a fresh look to your space without replacing the entire set.
Why Refinish Oak Cabinets? Benefits and Considerations
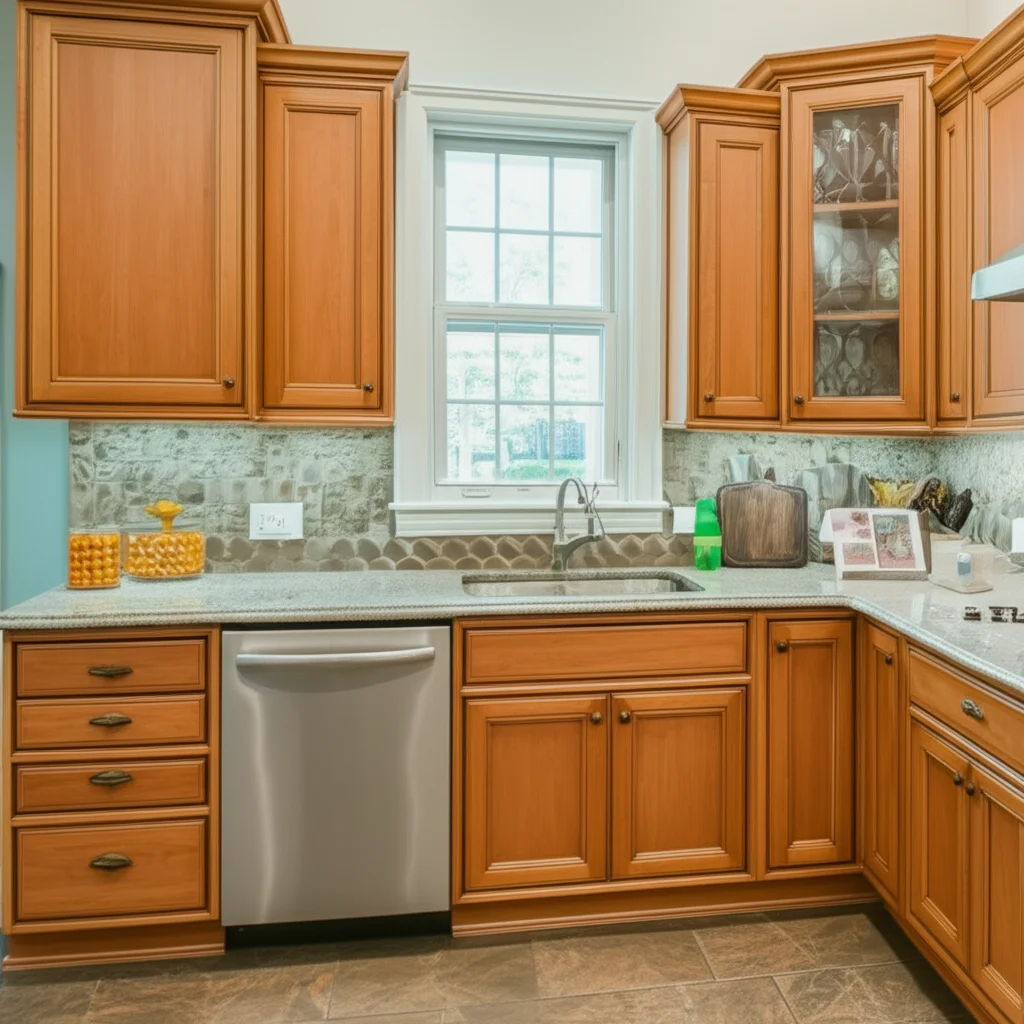
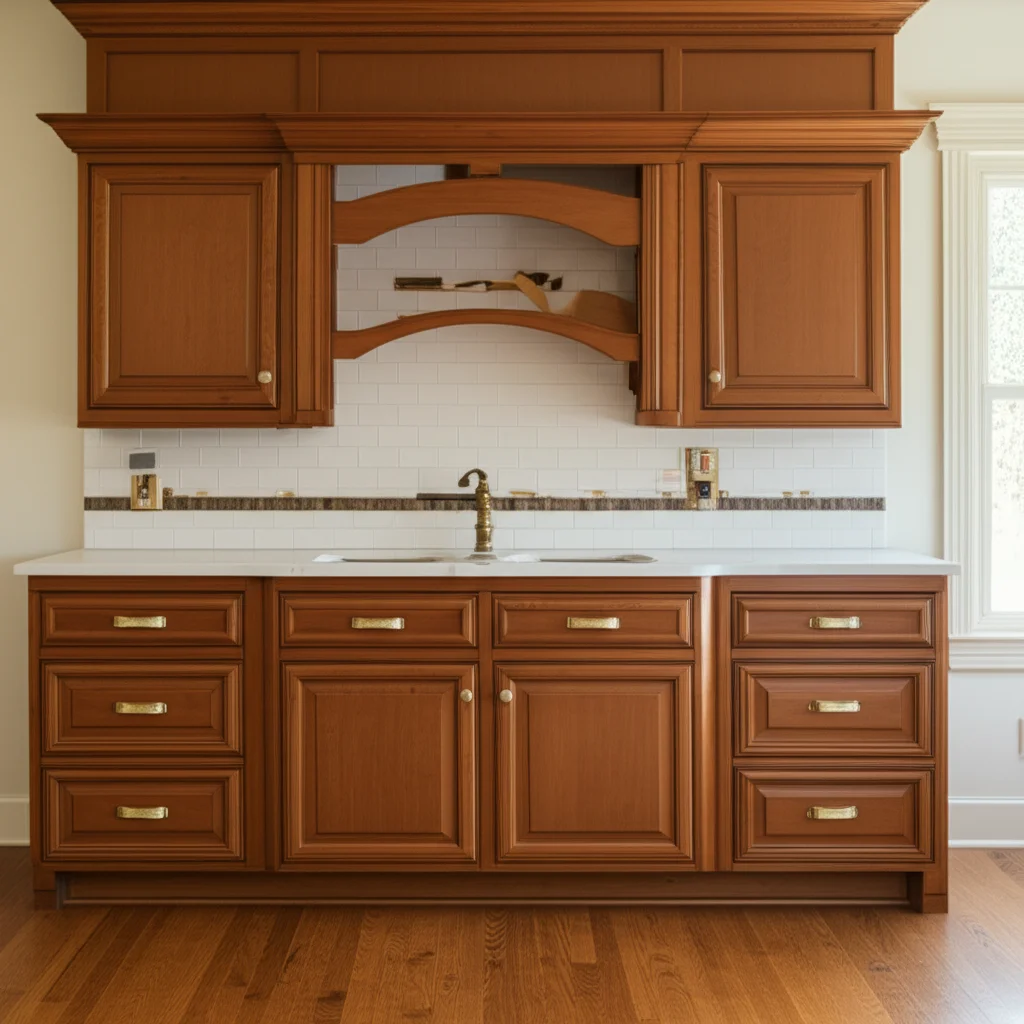
Many homes have oak cabinets. They are strong and durable, often outlasting their original style. Refinishing oak cabinets is a great choice for several reasons. It gives a dated kitchen a modern appeal. It also saves significant money over replacing the units.
You extend the life of your existing cabinets. This reduces waste and supports sustainable living. Oak wood itself has unique grain patterns. Refinishing can highlight these features or completely change the look. Consider the current condition of your cabinets. Minor wear is perfect for refinishing. Severe damage might need more extensive repairs.
Cost-Effectiveness and Environmental Impact
Refinishing your oak cabinets is much cheaper than buying new ones. New custom cabinets can cost tens of thousands of dollars. Refinishing supplies are only a fraction of that cost. You reuse what you already own. This also lessens your environmental footprint. Less material goes to landfills.
This choice supports a greener lifestyle. You also avoid the energy and resources needed to manufacture new cabinets. This approach benefits both your wallet and the planet. It is a smart way to update your home.
Preserving Quality and Updating Style
Oak cabinets are known for their strength. They withstand daily use for many years. Refinishing preserves this inherent quality. You keep the solid wood construction. This is often superior to modern, less durable materials. Refinishing also allows you to update the style. You can choose a light, airy paint color. Or you might prefer a rich, dark stain.
This flexibility lets you match your cabinets to new design trends. You can give your kitchen a completely new feel. The process lets you keep the good structure while updating the surface. Think about how the new finish will look with your floors and countertops. This helps you pick the best color or stain.
Assessing Cabinet Condition
Before starting, look closely at your oak cabinets. Are they solid? Do they have deep scratches or dings? Minor imperfections are fixable. Large structural damage might require professional help. Check for warping or rot, especially near sinks. Water damage can be harder to repair.
Most oak cabinets are strong enough to refinish. Small dings can be filled with wood filler. Old finishes that are peeling or faded are good candidates for this project. If your cabinets are very greasy, make sure to clean them thoroughly first. Proper assessment helps you plan the project. This ensures a successful outcome. You can determine if they need a simple clean or a full refinish. This initial check saves time later.
Gather Your Tools and Materials for Oak Cabinet Refinishing
Having the right tools and materials is crucial for refinishing oak cabinets. This project requires more than just a brush. You need supplies for cleaning, stripping, sanding, and applying the new finish. Gather everything before you start. This prevents interruptions and makes the process smoother.
Safety gear is also very important. Wood dust and chemical fumes can be harmful. Protect yourself throughout the project. I always make a checklist. This helps me ensure I have every item. Being prepared makes the job easier and safer.
Essential Tools for Refinishing
You will need various tools for disassembly and surface preparation. A power drill or screwdriver helps remove hardware. Sanding is a big part of this project. You can use an orbital sander for large flat areas. Detail sanders or sanding blocks are good for edges and crevices.
- Screwdriver or power drill: For removing cabinet doors, drawers, and hardware.
- Plastic containers or bags: To organize screws and hardware for reassembly.
- Drop cloths or plastic sheeting: To protect floors and countertops.
- Painter’s tape: To mask off areas you do not want to refinish.
- Orbital sander or random orbit sander: For efficient sanding of flat surfaces.
- Sanding blocks or fine-grit sandpaper: For detailed work and hand sanding.
- Steel wool (fine grade): Useful for stubborn areas or applying some finishes.
- Wire brush: For cleaning hardware or removing tough stripper residue.
- Plastic putty knife or scraper: For removing old finish after stripping.
- Shop vacuum: For efficient dust removal.
- Clean rags or tack cloths: For wiping surfaces clean.
Required Materials for Preparation and Finish Application
Beyond tools, specific materials are vital for each step. Chemical stripper helps remove old finishes quickly. Different grits of sandpaper ensure a smooth surface. Your chosen finish—stain, paint, or clear coat—will be the final touch.
- Degreaser cleaner: A strong cleaner to remove grease and grime from the cabinets. Learn how to clean oak cabinets effectively. You can also use specific cleaners for heavy grease. Find out how to clean greasy cabinets properly.
- Chemical paint/varnish stripper: For removing stubborn old finishes. Choose a product suitable for wood.
- Mineral spirits or denatured alcohol: For cleaning stripper residue and thinning certain finishes.
- Wood filler: To patch holes or repair minor imperfections in the wood.
- Various grits of sandpaper:
- 60-80 grit: For initial removal of tough finishes or heavy imperfections.
- 120-150 grit: For general sanding and smoothing after stripping.
- 180-220 grit: For fine sanding before applying stain or paint.
- 320-400 grit: For light sanding between coats of finish.
- Wood stain (if desired): Choose oil-based or water-based based on your preference and desired look. Explore options for how to stain oak cabinets.
- Wood primer (if painting): A bonding primer helps paint adhere better, especially for oak’s prominent grain. Discover how to paint oak kitchen cabinets for a smooth finish.
- Wood paint (if desired): High-quality cabinet paint (alkyd, lacquer, or water-based acrylic-latex).
- Clear protective topcoat: Polyurethane, polycrylic, or varnish for durability. Choose appropriate sheen.
- Paintbrushes and foam rollers: For applying primer, paint, stain, and topcoat.
- Disposable gloves and safety glasses: Essential for protection.
- Respirator or face mask: Crucial for protecting against dust and fumes.
- Ventilation fan: To ensure good airflow in your work area.
Thorough Preparation: Key to Successful Oak Cabinet Refinishing
Preparation is the most important step when you refinish oak cabinets. Skipping proper prep leads to poor results. A well-prepared surface ensures your new finish adheres correctly and lasts longer. This stage involves careful disassembly, a deep clean, and protecting your work area.
I always take my time here. It makes the rest of the project much easier. Rushing through prep means you might have to redo parts later. This phase sets the foundation for a beautiful, lasting finish.
Disassembly and Organization
Start by removing all cabinet doors and drawer fronts. Label each piece as you remove it. This helps immensely during reassembly. Use painter’s tape and a marker to number doors and their corresponding cabinet frames. Place hardware, like hinges and knobs, into labeled plastic bags. This prevents losing small parts.
Also, remember to remove adjustable shelves. Store them safely until the project is complete. Organized parts make putting everything back together simple. You save time and avoid frustration later on. Disassembly also gives you full access to all surfaces for cleaning and sanding.
Deep Cleaning Your Oak Cabinets
Oak cabinets accumulate grease and grime over time, especially in kitchens. This residue must be completely removed. Use a strong degreaser cleaner. Mix it according to product instructions. Wipe down all surfaces of the doors, drawers, and cabinet frames. Pay special attention to areas around handles and cooking zones.
Grease prevents new finishes from sticking. Rinse the cleaner off with clean water. Then wipe the surfaces dry with a clean cloth. Allow the wood to air dry completely. It is important to clean cabinets before painting. This step ensures a clean, ready surface. A perfectly clean surface promotes strong adhesion for your chosen finish.
Protecting Your Workspace
Refinishing creates dust, fumes, and potential spills. Protect your floors, countertops, and appliances. Lay down drop cloths or plastic sheeting. Use painter’s tape to secure them in place. Mask off any areas you do not want to get stripper, dust, or finish on. This includes walls, ceilings, and interior cabinet surfaces if you are not refinishing them.
Ensure good ventilation in your work area. Open windows and use fans. This helps clear fumes and dust. Proper protection makes cleanup much easier. It also keeps your home safe from damage. I always make sure the area is completely sealed off. This prevents dust from spreading.
Stripping and Sanding Oak Cabinets: Removing Old Finish
After thorough preparation, it is time to remove the old finish. This step is critical for revealing the raw wood underneath. You have two main options: chemical stripping or extensive sanding. Often, a combination of both works best. Stripping loosens the old finish, and sanding smooths the surface.
This stage requires patience and careful work. Removing the old finish properly ensures the new finish adheres well and looks uniform. I always wear protective gear during this process. Safety is paramount when working with chemicals and dust.
Chemical Stripping Process
Chemical strippers dissolve or loosen old varnish, paint, or stain. Apply the stripper evenly with a brush. Follow the product’s instructions carefully. Allow it to sit for the recommended time. You will see the old finish bubble or soften. Use a plastic putty knife to gently scrape away the softened finish. Avoid metal scrapers, which can gouge the wood.
Work in small sections. This prevents the stripper from drying out. You might need to apply a second coat for stubborn areas. After scraping, wipe the surface with mineral spirits or denatured alcohol. This removes any residue. Let the wood dry completely before moving on. This ensures no chemicals remain.
Sanding for a Smooth Surface
Sanding is crucial for a smooth, uniform surface. Start with a medium-grit sandpaper, around 120-150 grit. An orbital sander works well for flat surfaces. Sand with the wood grain. Avoid pressing too hard. The goal is to remove any remaining old finish and smooth out imperfections. For detailed areas and edges, use sanding blocks or hand sand.
Once the surface feels smooth with the medium grit, move to a finer grit, like 180-220. This removes sanding marks and prepares the wood for finishing. Again, sand with the grain. Dust is a major byproduct here. Use a shop vacuum to remove dust frequently. After final sanding, use a tack cloth to pick up any fine dust particles. A perfectly clean, smooth surface is ready for the new finish.
Repairing Imperfections
Before applying any new finish, check for any remaining imperfections. Small dents or holes can be filled with wood filler. Choose a wood filler that matches the natural color of oak. Apply it with a putty knife. Allow it to dry completely according to the manufacturer’s instructions.
Once dry, sand the filled areas smooth with fine-grit sandpaper. This ensures a seamless look. If you plan to stain the cabinets, test the stain on a hidden area of the wood filler first. Some fillers do not absorb stain the same way wood does. This check helps you avoid color discrepancies. Taking the time to do these repairs now will greatly improve the final appearance.
Applying New Finish: Staining, Painting, or Sealing Oak Cabinets
After stripping and sanding, your oak cabinets are ready for their new look. This is where you decide on staining, painting, or applying a clear coat. Each option offers a different aesthetic. Your choice depends on your desired style and the look you want to achieve.
This step transforms the appearance of your cabinets. Take your time to apply the finish evenly. Proper application ensures a durable and beautiful result. I enjoy this part because the transformation truly begins to show.
Staining Oak Cabinets
Staining highlights the natural beauty of oak’s grain. Oak has a prominent grain pattern. Stain penetrates the wood, adding color while letting the grain show through. Choose an oil-based or water-based stain. Oil-based stains typically offer richer colors and more open time. Water-based stains dry faster and are easier to clean up.
Apply stain with a foam brush or clean cloth. Work in small sections, wiping off excess stain after a few minutes. The longer the stain sits, the darker the color will be. Always apply stain with the wood grain. Allow each coat to dry completely before applying another if you want a deeper color. Learn more about how to stain oak cabinets for various effects. You can also use specific techniques to achieve a darker look. Discover how to darken oak cabinets if that is your goal.
Painting Oak Cabinets
Painting offers a complete change. It covers the wood grain, creating a solid color. This is a popular choice for updating outdated oak. For oak, a good primer is essential to prevent grain showing through. Apply a high-quality wood primer. Allow it to dry fully. Lightly sand with 220-grit sandpaper between primer coats.
Choose a durable paint designed for cabinets. Alkyd paints offer a hard, smooth finish. Water-based acrylic-latex paints are easier to clean up and less odorous. Apply thin, even coats with a foam roller or fine-bristle brush. Avoid drips and brush marks. Apply multiple thin coats rather than one thick coat. Lightly sand between paint coats for smoothness. Find detailed steps on how to paint oak kitchen cabinets for a professional look. If you aim for white cabinets without visible grain, specific primers and techniques are needed. Explore how to paint oak cabinets white without grain showing.
Applying a Clear Topcoat
Whether you stain or paint, a clear protective topcoat is necessary. This step protects the finish from wear, moisture, and scratches. Polyurethane or polycrylic are common choices. Polyurethane is very durable but can yellow over time, especially oil-based versions. Polycrylic is water-based, dries clear, and is good for light-colored finishes.
Apply the topcoat with a quality brush or foam roller. Apply thin, even coats. Avoid bubbles by not overworking the product. Allow each coat to dry completely. Lightly sand with 320-400 grit sandpaper between coats. This creates a smoother finish and helps the next coat adhere. Remove all dust after sanding. Apply at least two to three coats for good protection. This final layer protects your hard work for years to come.
Proper Drying, Curing, and Reassembly of Refinished Oak Cabinets
The finishing process does not end with the last coat. Proper drying and curing are vital for durability. Rushing this stage can lead to sticky surfaces or premature wear. Always follow the manufacturer’s recommendations for drying times. Curing takes longer than drying.
After the finish has fully cured, you can reassemble your cabinets. This step brings your project to a satisfying close. I always remind myself that patience here pays off. A fully cured finish stands up to daily use much better.
Understanding Drying vs. Curing
Drying refers to the surface being dry to the touch. This means the solvents have evaporated. You can typically apply another coat or handle the piece carefully. Curing is when the finish reaches its full hardness and durability. This process involves chemical reactions and takes much longer. It can take days, weeks, or even a month depending on the product and humidity.
During the curing period, handle the cabinets gently. Avoid placing heavy objects on them. Do not wipe them down vigorously. Allowing the finish to cure fully ensures it will resist scratches and moisture effectively. This patience is key to a long-lasting refinish.
Light Sanding Between Coats and Final Dusting
For the smoothest finish, lightly sand between coats of stain, primer, paint, and topcoat. Use very fine-grit sandpaper, like 220-grit for primer/paint and 320-400 grit for topcoats. This scuff sanding helps each new coat adhere better. It also smooths out any minor imperfections or dust nibs.
After sanding, thoroughly clean the surface. Use a shop vacuum to remove most dust. Then, use a tack cloth to pick up all remaining fine particles. A clean surface ensures a smooth, professional-looking final coat. This attention to detail elevates the quality of your work.
Reassembly and Hardware Installation
Once the final topcoat is fully cured, it is time for reassembly. Start by reattaching the hinges to the cabinet doors. Then, mount the doors onto the cabinet frames. Use the labels you created during disassembly. This ensures each door goes back to its original spot. Attach drawer fronts and reinstall drawers.
Finally, install your cabinet hardware. This includes knobs and pulls. New hardware can dramatically update the look of your refinished cabinets. Double-check that all screws are tight but not overtightened. Step back and admire your transformed oak cabinets. This final step brings your vision to life. The organized labeling system makes this process simple.
Maintenance and Care for Your Newly Refinished Oak Cabinets
Your newly refinished oak cabinets look fantastic. Now, the goal is to keep them looking great for years. Proper maintenance and regular care are essential. This extends the life of your new finish. It also protects your investment of time and effort. Simple habits make a big difference.
I recommend establishing a routine for cleaning. This prevents buildup and preserves the finish. Protecting the surface from harsh elements is also important. These steps ensure lasting beauty for your transformed cabinets.
Regular Cleaning Practices
Clean your refinished oak cabinets regularly. Use a soft, damp cloth with mild soap and water. Dish soap mixed with water works well. Avoid harsh, abrasive cleaners or scrub pads. These can scratch or dull the new finish. Wipe spills immediately. Food and liquid can stain or damage the finish if left too long.
For tougher grease spots, use a degreasing cleaner specifically for cabinets. Learn how to get rid of grime off kitchen cabinets. Always wipe the cabinets dry after cleaning. Moisture left on surfaces can cause damage over time. Regular gentle cleaning keeps your cabinets looking fresh. This prevents dirt from building up.
Protecting Against Damage
Protect your cabinet surfaces from excessive heat, moisture, and direct sunlight. Use cabinet liners in drawers and on shelves. This prevents scratches from dishes and utensils. Avoid placing hot appliances directly on cabinet surfaces. Heat can cause bubbling or discoloration of the finish.
For areas near the sink or stove, wipe up splashes quickly. Prolonged moisture can cause swelling or peeling of the wood and finish. Direct sunlight can fade wood and finishes over time. Consider window coverings to reduce direct sun exposure. These preventative measures extend the life and beauty of your refinished cabinets.
Addressing Minor Wear and Tear
Over time, minor wear might occur. Small scratches or nicks are common. For stained cabinets, touch-up pens or small brushes with matching stain can hide imperfections. For painted cabinets, a small amount of the original paint can be dabbed onto the damaged spot. Always test on an inconspicuous area first.
If the damage is deeper, you might need to lightly sand the area. Then reapply the stain or paint, followed by a clear topcoat. Addressing small issues quickly prevents them from becoming larger problems. Regular inspection helps you catch these minor issues early. This keeps your refinished oak cabinets looking their best.
Common Questions About Refinishing Oak Cabinets
Many people have questions about refinishing oak cabinets. It is a big project, and knowing what to expect helps. I have gathered some common questions. These answers provide quick, helpful information. They address concerns about the difficulty, time, and specific choices for your cabinets.
Is it hard to refinish oak cabinets?
Refinishing oak cabinets requires patience and attention to detail. It is a project that most DIYers can tackle. The process involves multiple steps like stripping, sanding, and applying new finishes. Each step needs care. It is not necessarily “hard,” but it is time-consuming. Proper preparation makes the job much smoother.
How long does it take to refinish oak cabinets?
The time it takes depends on cabinet size and your work speed. A typical kitchen can take one to two weeks. This includes time for disassembly, stripping, sanding, and multiple coats of finish. Drying and curing times between coats add significantly to the overall duration. Planning for these breaks is essential.
Can I refinish oak cabinets without sanding?
You can sometimes refinish oak cabinets without extensive sanding. This usually means using a liquid deglosser or a “no-sanding” primer. These products etch the existing finish, allowing new paint or clear coat to adhere. However, for a truly durable and smooth finish, especially if you are staining, sanding is highly recommended. It creates the best surface for adhesion.
What is the best finish for oak cabinets?
The best finish depends on your desired look and durability needs. For stained oak, oil-based polyurethane offers excellent durability and a warm glow. For painted oak, a high-quality alkyd or water-based acrylic-latex cabinet paint followed by a durable clear topcoat (like polycrylic) provides a hard-wearing surface.
Should I paint or stain my oak cabinets?
Deciding whether to paint or stain oak cabinets depends on your style preference. Staining enhances oak’s natural grain, offering a classic wood look. Painting covers the grain, allowing for a completely new color scheme and a more modern or contemporary feel. Consider your home’s overall decor and the amount of wood grain you wish to show.
What causes yellowing on oak cabinets?
Oak cabinets can yellow over time due to UV light exposure, the natural aging of the wood, or the breakdown of oil-based finishes. Clear oil-based polyurethanes can also amber or yellow with age. To prevent future yellowing, consider using a water-based clear topcoat or paint that maintains its true color. Regular cleaning also helps maintain appearance.
Conclusion
Refinishing oak cabinets is a truly transformative project for any home. You have learned the detailed steps involved, from thorough preparation to the final protective coat. This process allows you to breathe new life into old, dated cabinetry. It creates a fresh, updated look that enhances your living space. You save money and contribute to a more sustainable lifestyle.
By following these guidelines, you can confidently undertake the task of how to refinish oak cabinets. Remember the importance of patience, careful preparation, and proper application techniques. Your hard work will result in beautiful, durable cabinets that you can enjoy for many years. It is a rewarding DIY endeavor that adds significant value to your home. Are you ready to pick up your sander and brush? Start your cabinet transformation today and enjoy the stunning results.
- oak cabinet refinishing
- DIY cabinet update
- kitchen renovation
- wood restoration
- cabinet painting
- cabinet staining

Todd Martin
Senior Writer
With over 15 years of experience in home renovation and design, I started HEG to share what I’ve learned with homeowners who want to create spaces that are both beautiful and functional. I’ve always believed in a hands-on approach, and over the years, I’ve picked up practical solutions that actually work. Through HEG, I aim to make home improvement more approachable, sharing real tips that help you create a home you truly love.