· Todd Martin · Home Improvement · 23 min read
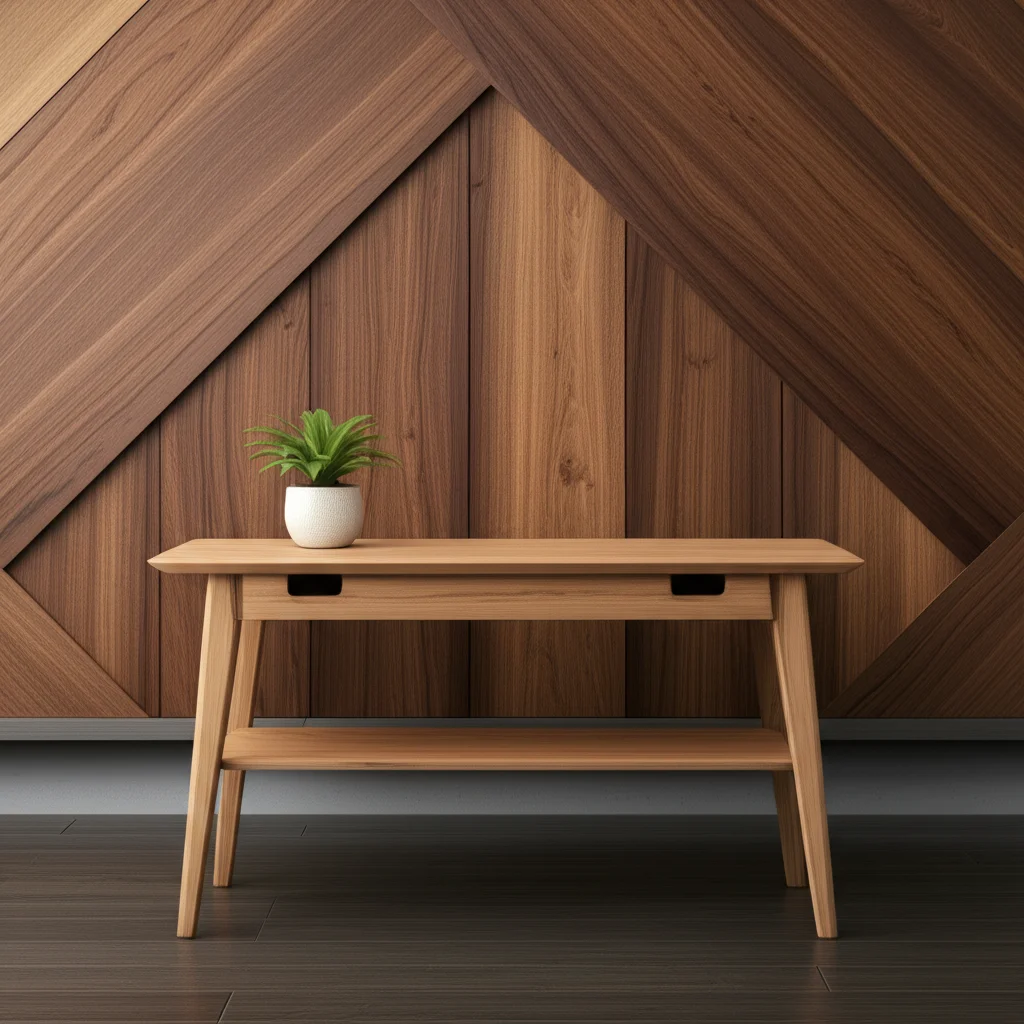
How To Paint A Laminate Table

Transform Your Space: How To Paint A Laminate Table
Is your laminate table looking tired and outdated? You can give it a fresh, new look without buying a new one. Learning how to paint a laminate table is a cost-effective way to revitalize your furniture. This project allows you to customize your table to match your home’s decor. I find that painting laminate offers surprising durability when done correctly.
This guide will walk you through the entire process. We will cover necessary tools, preparation, choosing the right paint, and proper application techniques. You will also learn how to protect your newly painted surface. By the end, you will have all the knowledge to transform your laminate table. Get ready to bring new life to your old furniture.
Takeaway
- Thoroughly clean and sand your laminate table to ensure paint adhesion.
- Use a high-quality primer specifically designed for slick surfaces like laminate.
- Choose durable paints such as acrylic latex or chalk paint for best results.
- Apply multiple thin coats of paint and finish with a protective topcoat.
- Allow proper drying and curing times to achieve a long-lasting finish.
To paint a laminate table, first, clean and scuff the surface to help paint stick. Next, apply a specialized primer designed for laminate or slick surfaces. After priming, paint with durable, high-quality furniture paint. Finish the process with a protective topcoat for longevity.
Essential Tools and Materials for Painting Laminate
Before you start your project, gather all necessary tools and materials. Having everything ready simplifies the process. It ensures a smooth and efficient workflow. You will need cleaning supplies, sanding tools, and painting essentials.
Proper materials make a big difference in the final outcome. I always prepare my workspace completely. This step prevents interruptions once painting begins. Think about safety gear as well. Protecting yourself is just as important as protecting your table.
Cleaning and Preparation Supplies
Cleaning your laminate table is the first critical step. Dust, grease, and grime can prevent paint from sticking. You need specific cleaners for this task. I always use a degreasing cleaner to ensure the surface is perfectly clean.
- Degreaser or All-Purpose Cleaner: A strong cleaner removes all surface contaminants. Isopropyl alcohol works well for final wipe-downs.
- Clean Rags or Microfiber Cloths: Use these for cleaning and wiping. Make sure they are lint-free.
- Sanding Sponges or Fine-Grit Sandpaper (150-220 grit): Sanding helps the primer adhere. It creates a “tooth” on the smooth laminate surface. You do not need to remove the laminate finish, just scuff it.
- Protective Drop Cloths or Plastic Sheeting: These protect your floors and surrounding areas from paint spills.
- Painter’s Tape: Use this to mask off any areas you do not want to paint. This includes table legs or edges if you plan a two-tone look.
Priming and Painting Products
Choosing the right primer and paint is crucial for laminate. Laminate is a very smooth, non-porous surface. Standard paints struggle to adhere directly. A specialized primer creates a bond.
- Bonding Primer: This is non-negotiable for laminate. Look for primers labeled “bonding,” “adhesion,” or “for slick surfaces.” Shellac-based primers or oil-based primers often work best. They create a strong foundation.
- Paint: For laminate tables, durable paint is essential. I recommend acrylic latex paint designed for furniture or cabinetry. Chalk paint is another popular choice. It often requires less prep, but needs a good topcoat. Learn how to paint furniture with latex paint for detailed tips on this paint type.
- Topcoat/Sealer: A clear topcoat protects your paint job. It adds durability and wear resistance. Polyurethane (water-based is preferred for non-yellowing), polycrylic, or a clear furniture wax can work.
- Paint Brushes: High-quality synthetic brushes for water-based paints provide a smooth finish.
- Foam Rollers: Small foam rollers are excellent for achieving a smooth, even application on flat surfaces. They minimize brush strokes.
- Paint Trays: Use these for pouring and loading your roller.
- Stirring Sticks: Always stir paint and primer thoroughly before use.
Safety Gear
Safety should always be a priority. Painting involves chemicals that can be harmful. Protect your eyes and hands. Ensure good ventilation.
- Gloves: Disposable gloves protect your hands from paint and chemicals.
- Safety Glasses or Goggles: Protect your eyes from splashes and dust.
- Mask or Respirator: If working with oil-based products or in a poorly ventilated area, a respirator is vital. Even water-based paints benefit from good airflow.
Gathering these items beforehand saves time and hassle. It sets you up for a successful laminate table transformation.
Preparing Your Laminate Table for Painting
Proper preparation is the most important step when painting laminate. Skipping steps here leads to peeling paint later. Laminate surfaces are notoriously slick. This makes paint adhesion a challenge. I always tell people that preparation is 80% of the job.
A well-prepared surface ensures your new paint job lasts. It also makes the painting process smoother. Take your time with these steps. Do not rush any part of the preparation.
Step 1: Disassemble and Clean
Start by disassembling the table if possible. This makes cleaning and painting easier. Remove legs, hardware, or removable tops. Keep all screws and parts organized. I often use plastic bags labeled for each section.
Next, clean the entire laminate surface thoroughly. Use a strong degreaser or an all-purpose cleaner. Grease, dirt, and food residues build up over time. These prevent paint from sticking. Spray the cleaner and wipe with a clean rag. Repeat until the rag comes away clean. For stubborn grime, a light scrubbing brush helps. After cleaning, wipe down the surface with a damp cloth to remove any cleaner residue. Finally, wipe with rubbing alcohol to remove any remaining oils or residue. This ensures a pristine surface for priming. Discover more about cleaning laminate surfaces, as the principles apply to tables too.
Step 2: Repair Any Damage
Before painting, inspect your table for damage. Laminate can chip, peel, or suffer water damage. Minor chips can be filled with wood filler. Apply the filler and smooth it flush with the surface. Allow it to dry completely. Sand the patched area smooth with fine-grit sandpaper.
For more significant damage, such as peeling laminate or bubbling, consider if painting is the best solution. Sometimes, a full repair might be needed before painting. Learn how to repair water-damaged laminate table tops for specific guidance. Addressing damage now ensures an even and flawless painted finish later.
Step 3: Lightly Sand the Surface
Sanding laminate might seem counterintuitive, but it is crucial. You are not trying to remove the laminate layer. Instead, you are creating tiny scratches. These scratches, called “tooth,” give the primer something to grip onto. Use fine-grit sandpaper (150-220 grit). I prefer a sanding sponge for this as it conforms to curves.
Lightly scuff the entire surface of the laminate. Work in circular motions or follow the grain, if any. Ensure you cover every part you plan to paint. After sanding, wipe away all dust with a tack cloth or a damp cloth. Let it dry completely. A dust-free surface is essential for good adhesion. This step prepares the laminate for a strong bond with the primer.
Step 4: Mask Off Areas
Use painter’s tape to protect any areas you do not want to paint. This includes glass inserts, hardware, or specific design elements. Apply the tape firmly along edges. Press down to create a tight seal. This prevents paint from bleeding under the tape. Good masking results in crisp, clean lines. This detail work enhances the professional look of your painted table.
Completing these preparation steps correctly sets the stage for a beautiful and durable paint job. Do not rush. Proper prep saves time and frustration in the long run.
Priming Your Laminate Table for Superior Adhesion
Priming is the most critical step for success when you paint a laminate table. Laminate surfaces are non-porous and very slick. Most paints will not stick to them without a proper primer. A good primer acts as a bonding agent. It creates a surface that paint can grip. I always stress the importance of this step.
Choosing the right primer is essential. Applying it correctly ensures durability. Do not skimp on primer quality. It is an investment in your project’s longevity.
Why Primer is Essential for Laminate
Laminate is a synthetic material. It often has a smooth, sometimes shiny finish. This finish repels liquids, including paint. Without primer, paint will likely chip, scratch, or peel off easily. This happens even with the best paint.
A specialized bonding primer contains additives that allow it to adhere to slick surfaces. It creates a rougher, more porous layer for your topcoat to stick to. Think of it as glue for your paint. It guarantees the paint will bond firmly to the laminate. This prevents future problems and ensures a long-lasting finish.
Choosing the Right Primer
Not all primers are equal for laminate. You need a “bonding primer” or a “shellac-based primer.” These types are specifically designed for difficult surfaces.
- Shellac-Based Primers: Brands like Zinsser B-I-N are excellent choices. They offer superior adhesion and block stains. They dry very quickly, which is a bonus. They do have a strong odor, so ensure good ventilation. Clean up is with denatured alcohol.
- Oil-Based Primers: Products like Kilz Adhesion are also very effective. They provide excellent adhesion and durability. They also have a strong smell and require mineral spirits for cleanup.
- Water-Based Bonding Primers: Some newer water-based primers are formulated for slick surfaces. Read labels carefully to ensure they specify adhesion to laminate or non-porous materials. They are easier to clean up and have less odor. I have had good success with Zinsser Bulls Eye 1-2-3 for some laminate projects, but always test.
I generally lean towards shellac-based or high-quality oil-based primers for the best results on laminate.
Applying the Primer
Once you have your primer, apply it evenly. Stir the primer thoroughly before pouring it into a paint tray.
- Use a good brush or foam roller: For flat surfaces, a small foam roller gives the smoothest finish. Use a brush for edges or intricate details.
- Apply thin, even coats: Do not apply a thick coat. Thin coats dry faster and adhere better. A thick coat can lead to drips or uneven drying.
- Ensure full coverage: Make sure every part of the laminate you plan to paint receives primer. Missed spots will not hold paint.
- Allow adequate drying time: Check the primer’s can for specific drying times. This is usually 1-2 hours for shellac or water-based, and longer for oil-based. Do not rush to the next coat.
- Consider a second coat: For very dark laminate or if you want extra assurance, a second thin coat of primer can be beneficial. Lightly scuff the first coat with 220-grit sandpaper before the second. Then, wipe off all dust.
- Lightly sand (optional but recommended): After the final primer coat is completely dry, a very light sanding with 220-grit sandpaper can smooth out any imperfections. This also creates a fine “tooth” for the paint. Remove all dust with a tack cloth before painting.
Proper priming makes all the difference. It provides the foundation for a professional-looking and durable painted finish. Your laminate table is now ready for its new color.
Choosing the Right Paint for a Durable Finish
Selecting the correct paint type is just as important as proper priming. Not all paints are suitable for high-traffic surfaces like a table. You need a paint that offers both good adhesion and strong durability. The right paint will ensure your newly painted laminate table stands up to daily use. I always consider the end use of the table when choosing paint.
Some paints chip easily. Others resist scuffs and spills better. Your choice directly impacts the lifespan of your table’s new finish. Let’s explore the best options for painting laminate furniture.
Recommended Paint Types
Several paint types work well on primed laminate. Each has its pros and cons.
- Acrylic Latex Paint (for Cabinets/Furniture): This is a popular choice. Modern acrylic latex paints designed for cabinets or furniture offer excellent durability. They are water-based, so cleanup is easy. They also have low odor. Look for paints labeled “enamel” or “urethane modified” for added hardness. These paints dry relatively fast. They cure to a hard finish over time. They are easy to apply and come in a wide range of colors. You can learn more about painting furniture with latex paint here.
- Chalk Paint: Chalk paint is known for its matte, distressed look. It adheres well to many surfaces with minimal prep. This includes laminate, especially if primed. Chalk paint cures to a soft, porous finish. It requires a protective topcoat. Without a topcoat, it will stain and scuff easily. It is easy to use and provides a unique aesthetic.
- Oil-Based Enamel Paint: Oil-based enamels offer superior hardness and durability. They create a very tough, long-lasting finish. However, they have a strong odor and longer drying times. Cleanup requires mineral spirits. They can also yellow over time, especially white colors. While durable, I often suggest modern latex enamels for ease of use and similar performance.
I generally recommend a high-quality acrylic latex enamel for most laminate table projects. It balances durability, ease of use, and appearance.
Paint Finish Considerations
The sheen of your paint also impacts durability and appearance.
- Matte/Flat: These finishes hide imperfections well. They are less durable and harder to clean. Not ideal for a high-use table.
- Eggshell/Satin: These are good middle-ground options. They offer a subtle sheen, are more durable than flat, and are easier to clean. They are a good choice for furniture.
- Semi-Gloss/Gloss: These finishes are the most durable and easiest to clean. They reflect light, highlighting imperfections. They create a sleek, modern look. For a table, semi-gloss offers excellent protection and a professional appearance.
For a laminate table that sees daily use, I would choose an eggshell, satin, or semi-gloss finish. These will withstand wear and tear better.
Quantity and Color Selection
Calculate how much paint you need. Most tables require one quart for two to three coats. It’s always better to have a little extra than to run out mid-project. Remember that darker colors may need more coats to achieve full opacity.
When selecting a color, consider your room’s existing decor. Do you want the table to be a focal point? Or blend into the background? Light colors can make a small space feel larger. Dark colors can add drama. Neutral tones offer versatility. I often pick a color that complements existing textiles or artwork in the room.
By carefully choosing your paint type and finish, you are setting your laminate table up for a beautiful and long-lasting transformation.
Painting Techniques for a Smooth, Professional Finish
After thorough preparation and priming, you are ready to apply paint. Good painting technique ensures a smooth, even, and durable finish. Rushing this stage can lead to brush marks, drips, or an uneven appearance. I find that patience and proper tools are key here.
Aim for thin, even coats rather than one thick coat. This approach provides better adhesion and a more professional look. Remember, the goal is to create a factory-like finish on your laminate table.
Step 1: First Coat of Paint
Always stir your paint thoroughly before starting. Pour a small amount into a clean paint tray.
- Start with a brush for edges: Use a high-quality synthetic brush to cut in around edges, corners, and any detailed areas. Apply paint in smooth, even strokes. Do not overload your brush.
- Use a foam roller for flat surfaces: Immediately after cutting in, use a small foam roller for the main flat surfaces. Load the roller evenly. Apply paint in long, overlapping strokes. Roll in one direction for a consistent finish.
- Work in sections: Paint the tabletop first, then the sides, and finally the legs (if applicable). This prevents you from touching wet paint.
- Avoid drips and runs: Keep an eye out for drips, especially on vertical surfaces. Smooth them out immediately with your brush or roller.
- Thin coats are best: A thin coat covers well but dries faster and cures harder. It also minimizes brush marks. You might still see some primer or underlying color showing through. This is normal for the first coat.
Step 2: Drying Time and Light Sanding
Drying time between coats is crucial. Check the paint can for specific instructions. Most acrylic latex paints are dry to the touch within 1-2 hours. However, wait at least 4 hours, or even overnight, before applying a second coat. Rushing can cause the paint to lift or not cure properly.
After the first coat is fully dry, inspect it. If there are any slight imperfections or rough spots, lightly sand the surface. Use very fine-grit sandpaper (220-320 grit) or a sanding sponge. This helps create a super smooth surface for subsequent coats. Wipe away all sanding dust with a tack cloth before proceeding. This step is optional but highly recommended for a professional, glass-like finish. It helps to paint furniture without brush marks.
Step 3: Subsequent Coats
Apply a second coat using the same techniques as the first. This coat will provide better coverage and deepen the color. Most tables require two to three coats of paint for full, even coverage. Darker colors may need more.
- Maintain thin coats: Continue to apply paint thinly and evenly.
- Observe drying times: Allow each coat to dry completely before applying the next.
- Sand between coats (optional): You can lightly sand between the second and third coats if needed. Always clean off dust before painting.
The final coat should look smooth and uniform. Take your time to ensure full, opaque coverage without streaks or blotches. Your laminate table is now taking on its beautiful new look.
Applying a Protective Topcoat for Lasting Durability
Once your paint is completely dry, applying a protective topcoat is essential. This step seals the painted surface. It protects against scratches, spills, and daily wear and tear. Without a topcoat, even durable paint can be vulnerable. I consider this step non-negotiable for any painted laminate table.
The topcoat acts as a shield. It ensures your hard work lasts for years. Choose the right topcoat for the level of protection your table needs.
Why a Topcoat is Crucial
Painted laminate tables, especially tabletops, face a lot of abuse. They endure spilled drinks, sliding objects, and general daily use. Paint alone, even a durable one, might not withstand this long-term.
A clear topcoat adds a layer of hardness and abrasion resistance. It makes the surface easier to clean. It also protects the paint from moisture and UV damage. For chalk paint, a topcoat is absolutely mandatory as chalk paint is porous. Even for high-quality acrylic latex, a topcoat extends the life of the finish significantly. It prevents chipping and dulling.
Choosing the Right Topcoat
Several types of clear topcoats are suitable for painted furniture.
- Polycrylic: This is a popular water-based clear coat. It is easy to apply, dries quickly, and has low odor. It is durable and does not yellow over time, making it excellent for white or light-colored furniture. It comes in various sheens, from matte to gloss. It provides good protection against scratches and minor spills.
- Water-Based Polyurethane: Similar to polycrylic, but often more durable. It offers excellent protection against water and abrasion. It also does not yellow significantly. Water-based polyurethane is a great choice for high-traffic tables.
- Oil-Based Polyurethane: This is very durable and provides excellent water resistance. However, it has a strong odor, requires mineral spirits for cleanup, and can yellow light colors over time. It is best for dark-colored tables where yellowing is not an issue. I rarely recommend it for general home use due to its properties.
- Clear Wax (for Chalk Paint): If you used chalk paint, clear furniture wax is a traditional topcoat. It provides a soft, satin finish. It needs reapplication periodically. While it offers some protection, it is less durable than polycrylic or polyurethane for a table. For maximum durability over chalk paint, I recommend a polycrylic over the wax.
For a laminate table, I typically recommend water-based polycrylic or polyurethane. They offer a good balance of durability, ease of use, and aesthetic appeal.
Applying the Topcoat
Ensure your final coat of paint is completely dry before applying the topcoat. Wait at least 24-48 hours after your last paint coat. Read the topcoat’s instructions for specific drying times.
- Stir gently: Stir, do not shake, polycrylic or polyurethane. Shaking creates bubbles, which can appear on your finish.
- Apply thin coats: Use a high-quality synthetic brush or a foam applicator. Apply the topcoat in thin, even coats. Long, smooth strokes work best. Avoid overworking the product.
- Work in sections: Apply the topcoat to the tabletop first, then sides and legs.
- Allow adequate drying time: Let each coat dry fully before applying the next. This typically ranges from 2-4 hours for polycrylic. Lightly sand with 320-400 grit sandpaper between coats if directed by the product or if you feel any rough spots. Remove dust thoroughly.
- Apply multiple coats: For a table that will see heavy use, apply at least 2-3 coats of polycrylic or polyurethane. More coats mean more protection.
- Full cure time: The topcoat will be dry to the touch quickly. However, it takes time to fully cure and reach maximum hardness. This “cure time” can be anywhere from 7 to 30 days. Avoid placing heavy objects, eating on, or harshly cleaning the table during this period. Treat it gently.
Applying a proper topcoat ensures your beautifully painted laminate table remains protected and looking great for years to come.
Curing and Maintaining Your Painted Laminate Table
You have successfully painted your laminate table! The final, yet crucial, phase is curing and ongoing maintenance. The paint may feel dry to the touch in hours, but it needs weeks to fully harden. This “cure time” is essential for durability. Neglecting it can lead to scratches or damage. I always advise patience here.
Proper maintenance also ensures your refreshed table remains beautiful. Simple cleaning habits extend its lifespan. Caring for your painted laminate table guarantees your effort pays off.
Understanding Curing Time
Curing is different from drying. Drying means the solvents have evaporated. The paint feels dry. Curing means the paint or topcoat has fully hardened and achieved maximum durability. This process involves chemical reactions. It can take significantly longer than drying.
- Typical Cure Times:
- Paint: Most acrylic latex paints cure in 7-30 days.
- Polycrylic/Polyurethane: These often cure in 7-30 days as well.
- Impact of Cure Time: During the curing period, your table’s finish is still vulnerable. It can scratch, dent, or be damaged by moisture more easily.
- Patience is Key: Avoid placing heavy items on the table, vigorous cleaning, or excessive use during this period. Use coasters for drinks. If possible, let the table cure in a well-ventilated area without heavy use.
I often advise placing a soft cloth or felt pads under anything placed on the table for the first few weeks. This offers gentle protection.
Daily Care and Cleaning
Once cured, your painted laminate table needs simple, consistent care. This keeps it looking fresh and prevents premature wear.
- Regular Dusting: Dust the table regularly with a soft, dry microfiber cloth. This prevents dust buildup that can scratch the surface over time.
- Gentle Cleaning: For spills or sticky spots, use a soft, damp cloth with mild soap and water. Wipe gently. Avoid abrasive cleaners, harsh chemicals, or scouring pads. These can dull or damage the finish.
- Prompt Spill Cleanup: Wipe up spills immediately, especially water or acidic liquids. Do not let liquids sit on the surface.
- Use Coasters and Placemats: Always use coasters under drinks and placemats under dishes. Heat and moisture can damage the finish, even a durable one.
- Avoid Harsh Scratches: Do not drag heavy or sharp objects across the table. Use furniture glides on the bottom of anything that sits on the table frequently.
Addressing Future Wear and Tear
Even with the best care, life happens. Your painted laminate table might eventually show some wear.
- Minor Scratches/Scuffs: For minor marks, sometimes a gentle buff with a soft cloth can diminish them. If not, you might need to touch up.
- Touch-Ups: Keep a small amount of your original paint and topcoat. For small chips or scratches, clean the area, lightly sand with very fine grit paper, apply a dab of paint, and then a small amount of topcoat. Blend carefully.
- Re-coating: After several years, or if the table sees very heavy use, you might consider re-applying a topcoat. Clean the table thoroughly, lightly scuff with fine-grit sandpaper, remove dust, and apply a fresh coat of polycrylic or polyurethane. This revitalizes the protection.
By understanding the curing process and maintaining your painted laminate table with gentle care, you ensure it remains a beautiful and functional piece in your home for many years.
Advanced Tips and Creative Ideas for Your Laminate Table Makeover
You have learned the core steps to paint a laminate table. Now, let’s explore ways to take your project further. These advanced tips can enhance durability and add unique style. Think beyond a single color. Your laminate table can become a true statement piece. I often experiment with different finishes to add personality.
These ideas will help you customize your table. They will make it even more special. Unleash your creativity and make your laminate table truly yours.
Achieving a Smoother Finish
Even with good technique, you might want an ultra-smooth finish.
- Spraying Paint: For the smoothest, most professional finish, consider using a paint sprayer. A sprayer eliminates brush marks and roller textures. It requires practice and proper ventilation. Thin your paint to the manufacturer’s specifications. Always practice on scrap material first.
- Flow Additives: For brush or roller application, paint conditioners or flow additives can help. Products like Floetrol make latex paint flow more smoothly. This reduces brush marks and creates a more even film. Read the instructions carefully for correct ratios.
- Extra Fine Sanding: Between paint coats and after the final topcoat, sanding with progressively finer grits (320-600 grit) can achieve a glass-like feel. Always clean dust thoroughly.
Creative Design Ideas
Your table can be more than just one color.
- Two-Tone Designs: Paint the tabletop one color and the legs or apron another. This creates visual interest. Use painter’s tape to create sharp lines. For example, a white top with black legs. Consider painting a wood table white as inspiration for color blocking.
- Stenciling: Add patterns or designs using stencils. Paint the base color, then apply a stencil with a contrasting color. Use low-tack stencil adhesive for clean lines.
- Geometric Patterns: Mask off geometric shapes with painter’s tape. Paint different sections in complementary colors. Peel tape while paint is still slightly wet for crisp edges.
- Distressed Look: After painting, lightly sand edges and corners to reveal the underlying laminate or primer. This creates a vintage, shabby chic appearance. Seal well afterward. Explore how to paint a coffee table to look vintage for distressed techniques.
- Metallic Accents: Use metallic paints or waxes on details. This could be on the edges of the tabletop, table legs, or hardware. This adds a touch of glamour.
- Faux Finishes: With advanced techniques, you can create faux wood grain, marble, or stone effects. These require specialized tools and practice.
Enhancing Durability for Specific Uses
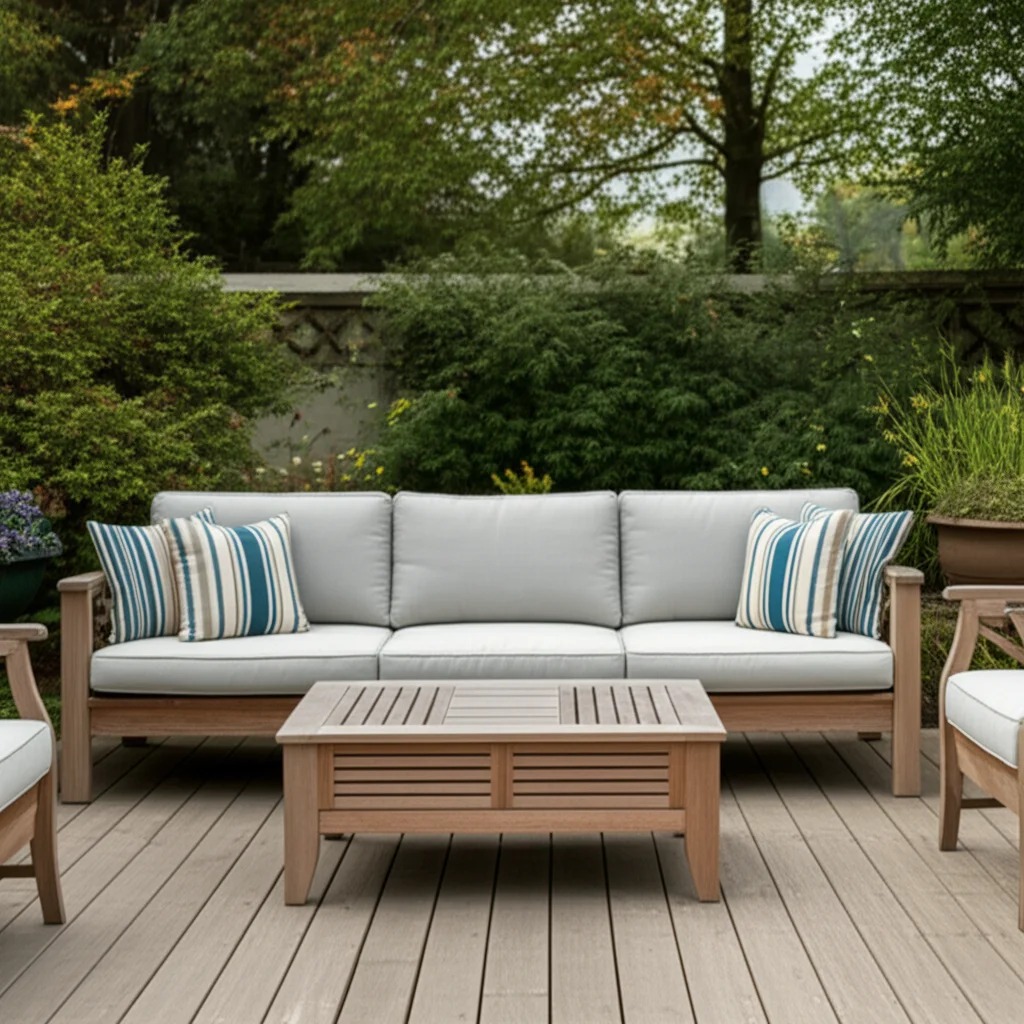
If your table will see unusually heavy use, consider these options.
- Marine-Grade Topcoat: For extreme durability, like an outdoor table or a children’s play table, a marine-grade polyurethane can be used. These are very tough and water-resistant. They often have a strong odor and can be challenging to work with.
- Epoxy Resin Topcoat: For the ultimate durable, high-gloss finish, a clear epoxy resin can be poured over the painted tabletop. This creates a thick, glass-like layer that is extremely resistant to heat, scratches, and water. This is a more advanced technique. It requires careful measuring and mixing.
- laminate painting
- table makeover
- DIY furniture
- paint laminate
- furniture restoration

Todd Martin
Senior Writer
With over 15 years of experience in home renovation and design, I started HEG to share what I’ve learned with homeowners who want to create spaces that are both beautiful and functional. I’ve always believed in a hands-on approach, and over the years, I’ve picked up practical solutions that actually work. Through HEG, I aim to make home improvement more approachable, sharing real tips that help you create a home you truly love.