· Todd Martin · Baking Tips · 19 min read
How To Grease Cake Pan With Butter And Flour
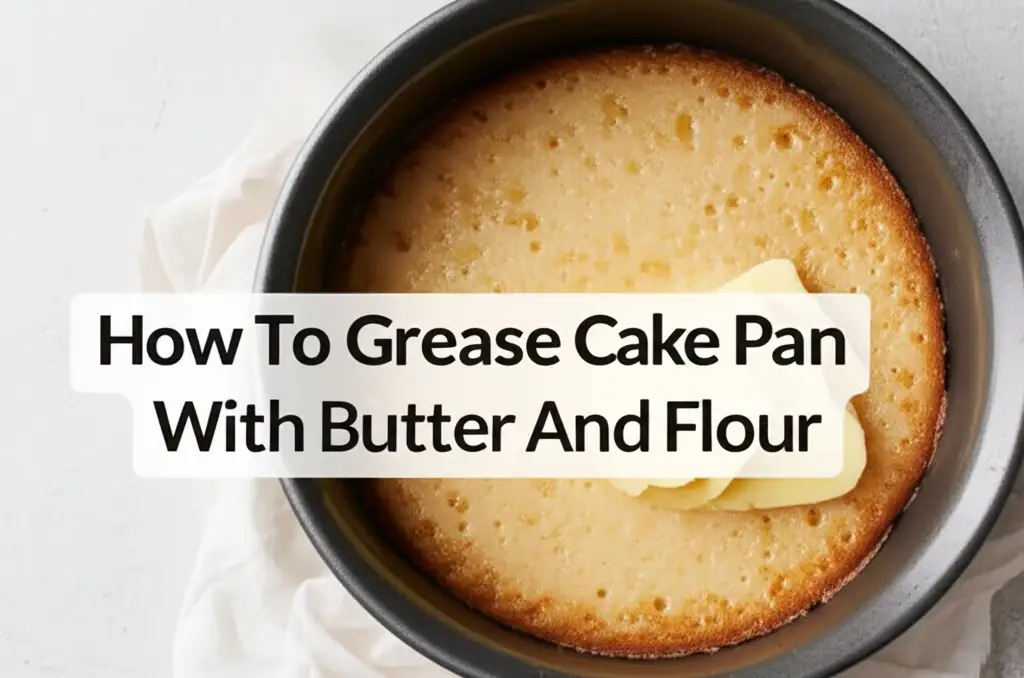
Mastering the Butter and Flour Method: How to Grease a Cake Pan Perfectly
Baking a cake can be a joyful experience. However, the excitement often turns to dread when your perfectly baked cake sticks stubbornly to the pan. I know that feeling of disappointment well. A clean release is not just a dream; it is achievable with the right preparation. Learning how to grease a cake pan with butter and flour is a simple yet powerful technique. It prevents sticking and ensures your cake looks beautiful every time. This guide covers everything you need, from basic steps to advanced tips and common issues.
Takeaway
- Use room temperature unsalted butter: This spreads easily and creates an even coating.
- Dust with flour thoroughly: Ensure every surface, including corners and crevices, has a light, even flour layer.
- Tap out excess flour: Too much flour can form a pasty layer, affecting cake texture.
- Understand pan materials: Adjust your technique slightly for different types of pans.
- Address common mistakes: Avoid issues like using cold butter or insufficient coating.
Greasing a cake pan with butter and flour involves spreading a thin, even layer of softened butter over the entire inside surface of the pan. Next, add a small amount of flour and rotate the pan until the flour evenly coats the butter. Tap out any loose excess flour. This creates a protective, non-stick barrier that helps the cake release cleanly after baking.
The Essential Foundation: Why Greasing Your Cake Pan Matters
A cake sticking to its pan is every baker’s nightmare. It means lost effort, a damaged cake, and disappointment. Proper pan preparation prevents this. When you bake, the cake batter expands and cooks. Without a barrier, the cake can bond directly to the metal or glass of the pan. This causes tearing and crumbling when you try to remove it.
Greasing a cake pan with butter and flour creates a physical barrier. The butter provides a fatty layer that prevents direct contact between the cake and the pan. The flour then adheres to this butter layer. This forms a fine, dry, non-stick surface. This dual-layer approach makes it much easier for the cake to release cleanly. This method is especially important for delicate cakes that might otherwise fall apart. It ensures your cake maintains its shape and appearance. A well-greased pan contributes significantly to baking success, making the finished product ready for frosting and serving. I find this step crucial for consistent results. Knowing how to get cake out of cake pan without breaking starts with proper greasing.
Many bakers wonder if butter and flour are always necessary. Some non-stick pans promise release without preparation. However, even non-stick coatings can wear down over time. For peace of mind and consistent results, the butter and flour method is a reliable choice. It is a traditional technique used by professional bakers for good reason. It works consistently.
This method is also versatile. You can use it for various cake types and pan materials. It builds confidence in your baking, knowing the cake will come out perfectly. I always make sure to perform this step carefully. It saves so much trouble later.
Gathering Your Baking Arsenal: Tools for Greasing a Cake Pan
Successful pan greasing relies on having the right tools and ingredients. You do not need many items. However, their quality and preparation matter. Each item plays a specific role in creating the perfect non-stick surface for your cake. I always gather everything before I start. This makes the process smooth and efficient.
Essential Ingredients and Tools
- Unsalted Butter (Room Temperature): This is your primary greasing agent. Unsalted butter is preferred because it gives you control over the salt content in your cake. It must be at room temperature. Softened butter spreads easily and coats the pan uniformly. Cold butter will tear and create an uneven, clumpy layer. This leads to sticking spots. I usually take my butter out an hour or two before I plan to bake.
- All-Purpose Flour: This is the non-stick dusting agent. All-purpose flour works well for most cakes. It forms a dry layer that prevents the cake batter from adhering to the butter. You will need only a small amount, typically a tablespoon or two, depending on the pan size.
- Pastry Brush or Paper Towel: A pastry brush helps spread the butter into all corners and crevices. A clean paper towel or even your fingers can also work. Choose what you are most comfortable with. I often use a piece of paper towel to avoid getting my hands too messy.
- Small Sifter or Fine-Mesh Strainer (Optional but Recommended): A sifter helps distribute the flour evenly and prevents clumps. It ensures a light, fine coating. If you do not have one, you can simply sprinkle the flour by hand.
- The Cake Pan Itself: Before you start, ensure your cake pan is clean and dry. Any lingering moisture or old grease can affect the new coating. Knowing how to tell what size your cake pan is is also important to ensure you have the correct pan for your recipe. Different pan shapes and materials (metal, glass, silicone, springform, bundt) may require slight variations in technique, which we will discuss later.
Having these items ready makes the greasing process straightforward. It prevents last-minute scrambling. This attention to detail contributes to a stress-free baking experience.
Step-by-Step Guide: How to Grease a Cake Pan with Butter and Flour
Greasing a cake pan with butter and flour is a simple process. Following each step carefully ensures excellent results. This method is reliable and provides a clean release every time. I find that taking my time with this step always pays off.
Step 1: Prepare Your Pan and Butter
First, ensure your cake pan is completely clean and dry. Any food debris or water drops can hinder the butter and flour from adhering properly. Next, confirm your butter is at room temperature. It should be soft enough to spread easily, but not melted. If your butter is too cold, it will be hard to spread evenly. This leaves gaps where the cake can stick.
Take a small amount of the softened butter. You can use a piece of paper towel, a pastry brush, or even your clean fingers. I often use a piece of butter wrapper for this.
Step 2: Apply the Butter Evenly
Start applying the butter to the bottom of the pan. Spread it in a circular motion, ensuring every part is covered. Then, work your way up the sides of the pan. Make sure to get into all corners, crevices, and edges. A pastry brush helps reach all the intricate parts, especially with fluted or Bundt pans. The goal is a thin, uniform layer of butter. Do not apply too much butter, as it can cause the flour to clump. It can also lead to a greasy crust on your cake. Look for a dull, even sheen across the entire surface. No bare spots should remain visible.
Step 3: Add the Flour
Once the butter layer is complete, add about 1 to 2 tablespoons of all-purpose flour to the pan. The exact amount depends on the size of your pan. For an 8-inch round pan, 1 tablespoon is usually enough. For a larger or Bundt pan, you might need a bit more. You can sprinkle the flour directly into the pan. I prefer to use a small sifter or fine-mesh strainer. This helps to distribute the flour more evenly and prevents clumps.
Step 4: Distribute the Flour and Tap Out Excess
Now, for the critical part: distributing the flour. Hold the pan in one hand. Rotate and tilt the pan vigorously. This motion helps the flour stick to the buttered surfaces. Keep rotating the pan until the flour coats every single buttered area. Pay close attention to corners, folds, and edges. These are common sticking points. Once all buttered surfaces are covered in flour, turn the pan upside down. Tap the bottom and sides firmly over a sink or a waste bin. This removes any excess, loose flour. Too much flour can create a pasty, white film on your cake. It can also affect the crust’s texture. A light, even dusting is ideal.
Your pan is now perfectly prepared and ready for batter. This method ensures your cake will release easily and cleanly.
The Science Behind the Success: Why Butter and Flour Work So Well
The butter and flour method is a classic for a reason. It is effective due to simple yet powerful principles of physics and chemistry. Understanding why it works makes it easier to apply the technique correctly. It’s not just a traditional step; it’s a scientific solution to a common baking problem.
The Role of Butter: Creating a Barrier
Butter, primarily a fat, acts as the initial barrier. When you spread softened butter on the pan, it creates a smooth, non-stick surface. Fats do not readily bond with the proteins and starches in cake batter. As the cake bakes, the butter melts and liquefies, forming a slippery layer between the cake and the pan. This melted fat makes it easy for the cake to slide out once it cools slightly.
However, butter alone is often not enough, especially for very moist or delicate cakes. As butter heats, it can become very fluid. This sometimes leaves small areas of the pan exposed. This is where the flour comes in.
The Role of Flour: The Non-Stick Release Agent
Flour plays a dual role. First, it absorbs any slight excess moisture from the butter. More importantly, it provides a solid, finely powdered layer that acts as a release agent. When the flour is dusted over the butter, its tiny particles adhere to the butter’s surface. These particles create a multitude of minute points of contact. The cake batter then adheres to these flour particles, not directly to the pan or the butter.
As the cake bakes and cools, the flour layer separates cleanly from the pan. It acts as a sort of thin, invisible skin. This layer ensures the cake’s outer surface detaches easily. The combination of the butter’s fat barrier and the flour’s dry, non-stick properties creates a highly effective system. This system prevents the cake from bonding to the pan. This scientific partnership makes the butter and flour method superior for achieving a consistently clean cake release. It is a testament to the power of simple ingredients working together.
Beyond Basics: Advanced Tips for Perfect Cake Release
While the basic butter and flour method is reliable, some extra steps and considerations can elevate your results. These advanced tips address specific situations or pan types. They help ensure perfect cake release every single time. I have found these extra tricks incredibly useful, especially for challenging recipes.
Using Chilled Butter for Intricate Pans
For pans with many details, like Bundt pans or those with intricate designs, soft room-temperature butter can be too messy. It might not get into every nook and cranny effectively. Instead, try using slightly chilled butter. Not rock-hard, but firm enough that you can press it into the details with your fingers. Use a small piece, pressing it firmly into all the decorative indentations. The coolness of the butter helps it stay put in the small crevices. Then, proceed with the flour as usual. This ensures every detail of the pan is properly coated, leading to a beautifully defined cake.
Cocoa Powder for Chocolate Cakes
When baking chocolate cakes, using white flour to dust the pan can leave a noticeable white film on the cake’s dark surface. This is purely aesthetic. To avoid this, substitute cocoa powder for flour. After buttering the pan, dust it with unsweetened cocoa powder instead of flour. Lightly tap out the excess. The cocoa powder will blend seamlessly with the chocolate cake. It leaves no unsightly white residue. This trick is a game-changer for presentation.
The Power of Parchment Paper
For flat-bottomed pans (round, square, rectangular), parchment paper adds an extra layer of protection. This is especially helpful for delicate cakes or when baking cakes with sticky fillings. After buttering and flouring the pan’s sides, cut a piece of parchment paper to fit the bottom of the pan exactly. Place it on the buttered and floured bottom. The parchment paper acts as a guaranteed release for the cake’s base. It also makes cleanup easier. This combined method provides ultimate peace of mind.
Ensuring Even Coating and Pan Material Considerations
An even coating is paramount. Do not rush this step. Take your time to ensure butter and flour cover every part of the pan. Missed spots are common sticking points. For non-stick pans, you might use less butter and flour, but I still recommend it for insurance. Glass pans heat differently than metal. They often retain heat longer. This can sometimes make cakes stick more if not properly greased. Always ensure glass pans are thoroughly greased, especially for sticky recipes. Springform pans, used for cheesecakes or delicate layer cakes, also benefit from buttering and flouring the sides. You can line the bottom with parchment for added security.
These advanced tips address specific baking challenges. They help ensure your cakes release perfectly every time. I often use these for special occasion cakes.
Troubleshooting Common Greasing Mistakes
Even experienced bakers make mistakes. Knowing what can go wrong during the greasing process helps you avoid them. Addressing common pitfalls ensures your cakes consistently release cleanly. I have made these mistakes myself, and learning from them has improved my baking.
1. Too Much Butter or Flour
The Problem: Applying too much butter can create a thick, greasy layer. This might seep into the cake batter, making the crust too oily or heavy. Too much flour, especially if not tapped out, can form a pasty, white crust on your cake. This crust can taste dry or chalky.
The Fix: Use only a thin, even layer of softened butter. The goal is to coat, not to slather. For flour, a light dusting is sufficient. After coating, turn the pan upside down and tap it firmly to remove any loose excess. If you see visible clumps of flour or thick patches of butter, you have probably used too much.
2. Not Enough Coverage
The Problem: Missing spots, especially in corners, around edges, or in the intricate details of Bundt pans, leads to sticking. The cake will bond directly to the pan in these untreated areas. This causes tearing when you try to invert it.
The Fix: Be methodical. Use a pastry brush or your fingers to ensure every single surface area is buttered. Tilt and rotate the pan repeatedly when adding flour to ensure it adheres to all buttered surfaces. Hold the pan up to the light to check for any bare spots before adding batter.
3. Using Cold Butter
The Problem: Cold, hard butter does not spread smoothly. It creates uneven patches and clumps. This leaves parts of the pan uncoated or with too much butter in one spot and none in another.
The Fix: Always use room temperature, softened butter. It should be pliable but not melted. If you forget to take it out, you can gently warm it in the microwave for a few seconds (be careful not to melt it). Alternatively, cut it into small pieces and let it sit for 15-20 minutes.
4. Omitting Flour for Certain Cakes
The Problem: While some recipes might suggest just buttering, or some non-stick pans might seem foolproof, relying solely on butter can still lead to sticking, especially for delicate or very moist cakes.
The Fix: For most cakes, the butter and flour method is the safest bet. The flour provides that critical non-stick release layer. Only omit flour if the recipe specifically calls for it and you are confident in your pan’s non-stick properties. For chocolate cakes, remember to use cocoa powder instead of flour to avoid white residue.
5. Pan Material Considerations
The Problem: Different pan materials behave differently. Glass pans often retain heat more, potentially increasing sticking. Dark metal pans brown cakes faster.
The Fix: For glass pans, ensure very thorough greasing. Consider lowering the oven temperature slightly or reducing baking time if you notice over-browning. For dark metal pans, butter and flour are usually sufficient. Lighter colored metal pans often give the best results for even browning.
By being aware of these common mistakes, you can refine your pan-greasing technique. This leads to consistently perfect cakes. Sometimes, even with perfect greasing, stubborn baked-on grease might remain. Knowing how to clean baked on grease from air fryer pan or other appliances can be helpful for general kitchen maintenance, though it’s not directly related to cake pans. The principles of removing baked-on residue are similar.
Cleaning Up: Maintaining Your Cake Pans
After the joy of baking and successfully releasing your cake, proper pan cleanup is essential. It extends the life of your bakeware. It ensures your pans are ready for the next baking adventure. Good maintenance makes future greasing easier too. I always clean my pans immediately after use. This prevents food from drying and sticking.
Immediate Cleanup for Best Results
As soon as your cake is out of the pan and cooling, let the pan cool down slightly. You do not want to clean a scorching hot pan. However, do not let it sit for hours with baked-on residue. Warm water and a bit of dish soap are usually all you need. The residual butter and flour often wash away easily. If there are any stubborn bits of cake stuck, a soft sponge or nylon brush can help. Avoid abrasive scrubbers or steel wool, especially on non-stick pans. These can damage the surface. This damage makes future cakes more likely to stick.
For pans with intricate designs, like Bundt pans, a soft brush can help get into all the crevices. Sometimes, soaking the pan in warm, soapy water for 15-30 minutes can loosen any dried bits. This makes cleaning much easier.
Removing Residual Grease and Flour
Even after washing, some pans can retain a slight greasy film or flour residue. This is normal. A thorough wash with hot water and dish soap usually takes care of it. For particularly stubborn grease, a degreasing dish soap can be helpful. Ensure you rinse the pan thoroughly to remove all soap residue. Any leftover soap can create off-flavors or affect the next cake.
If you are dealing with very old, baked-on grease, specific cleaning methods might be needed. For general pan cleaning, resources like how to clean grease off pans can provide more detailed strategies for different materials. This article focuses on general cleanup after baking.
Proper Storage for Longevity
Once your pans are clean, ensure they are completely dry before storing them. Storing damp pans can lead to rust, especially with metal pans. It can also encourage mold growth. Air dry them or wipe them thoroughly with a clean towel.
Store your cake pans in a dry place. Stack them carefully to prevent scratches, especially non-stick pans. You can place paper towels or thin cloths between stacked pans to protect their surfaces. Proper storage not only keeps your pans in good condition but also makes them easy to find and use for your next baking project. Maintaining your tools is as important as the baking process itself.
Frequently Asked Questions About Greasing Cake Pans
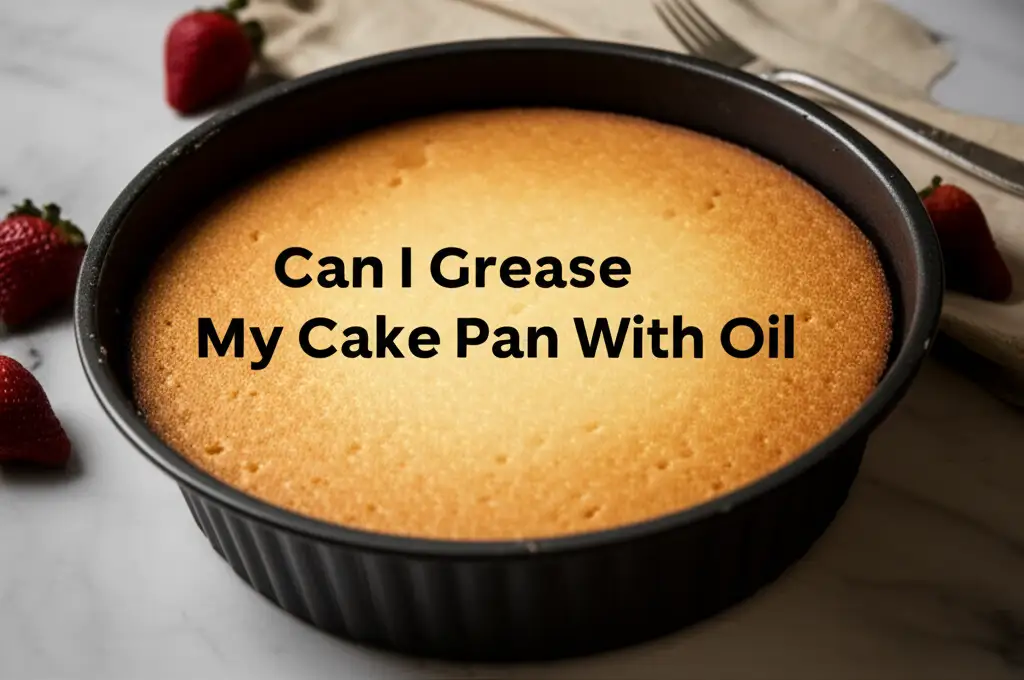
Q1: Can I use oil instead of butter for greasing a cake pan?
Yes, you can use oil instead of butter. Vegetable oil, canola oil, or melted coconut oil work well. Simply brush a thin layer of oil over the pan. Then, proceed with dusting with flour. Oil is a good alternative if you prefer not to use butter or need a dairy-free option. However, butter provides a richer flavor to the crust and is generally preferred for classic cake recipes.
Q2: What if I don’t have flour for dusting my cake pan?
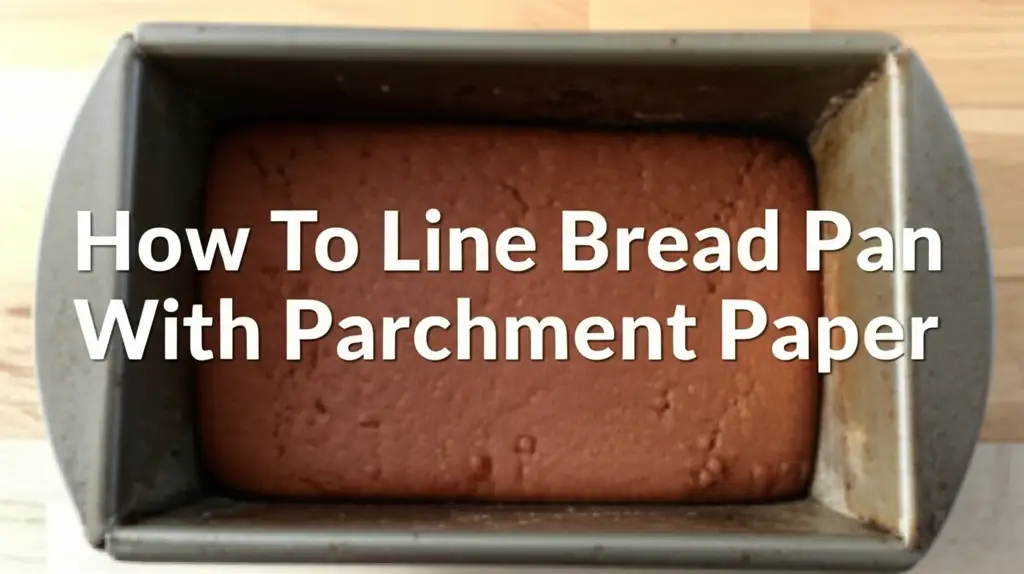
If you do not have flour, you can try other dry ingredients. Finely ground nuts, like almond flour, can work, especially for nut-based cakes. For chocolate cakes, unsweetened cocoa powder is an excellent substitute for flour. You can also use fine cornmeal for some recipes, particularly cornbread. If you have parchment paper, lining the bottom of the pan after buttering is a reliable alternative for flat-bottomed pans.
Q3: Does the butter and flour method work for all types of cake pans?
Yes, the butter and flour method is versatile. It works for most cake pan types, including metal, glass, and ceramic. It is also effective for intricate Bundt pans and standard round or square pans. For silicone pans, greasing is often optional as they are naturally non-stick. However, a light spray or greasing can provide extra assurance. Springform pans also benefit from this method to prevent sticking on the sides.
Q4: How do I grease an intricate Bundt pan effectively?
Greasing a Bundt pan needs extra care. Use softened butter and a pastry brush. Ensure you coat every single crevice and design in the pan thoroughly. Then, add flour (or cocoa powder for chocolate cakes) and rotate the pan slowly and deliberately. Tap the pan against the counter from different angles to ensure the flour coats all the intricate details. Tap out any excess flour very well.
Q5: My cake still stuck even after greasing. What went wrong?
Several factors can cause a cake to stick. You might have missed a spot when greasing. The butter might have been too cold, leading to an uneven coat. Or, you might not have tapped out enough excess flour, creating a gummy layer. Also, ensure you are letting the cake cool properly before attempting to remove it. Some cakes need to cool completely in the pan, others only for a short time. Follow your recipe’s cooling instructions.
Q6: Can I prepare cake pans with butter and flour in advance?
You can prepare cake pans up to a few hours in advance. After greasing and flouring, you can cover the pan with plastic wrap. Store it at room temperature. For longer storage, you might want to chill the pan to prevent the butter from melting. However, it is best to prepare the pan just before you are ready to pour in the batter. This ensures the freshest and most effective non-stick coating.
Conclusion
Mastering the art of how to grease a cake pan with butter and flour is a fundamental skill for any baker. It prevents the frustration of a stuck cake. It guarantees a beautiful, clean release every time. We covered everything from choosing the right ingredients to the precise steps of application. We also explored the science behind its effectiveness. Remember, a thin, even layer of softened butter and a light dusting of flour are your best friends in the kitchen.
Paying attention to these simple details can transform your baking results. It brings more joy to the process. Do not let a sticky cake ruin your baking efforts again. Embrace this classic method. Try it out on your next cake. I am confident you will see a significant improvement. Happy baking, and enjoy those perfectly released cakes!
- cake pan greasing
- butter and flour method
- baking tips
- cake release
- non-stick baking

Todd Martin
Senior Writer
With over 15 years of experience in home renovation and design, I started HEG to share what I’ve learned with homeowners who want to create spaces that are both beautiful and functional. I’ve always believed in a hands-on approach, and over the years, I’ve picked up practical solutions that actually work. Through HEG, I aim to make home improvement more approachable, sharing real tips that help you create a home you truly love.