· Davia Murnell · Home Improvement · 20 min read
How To Get Old Carpet Out Of A Room
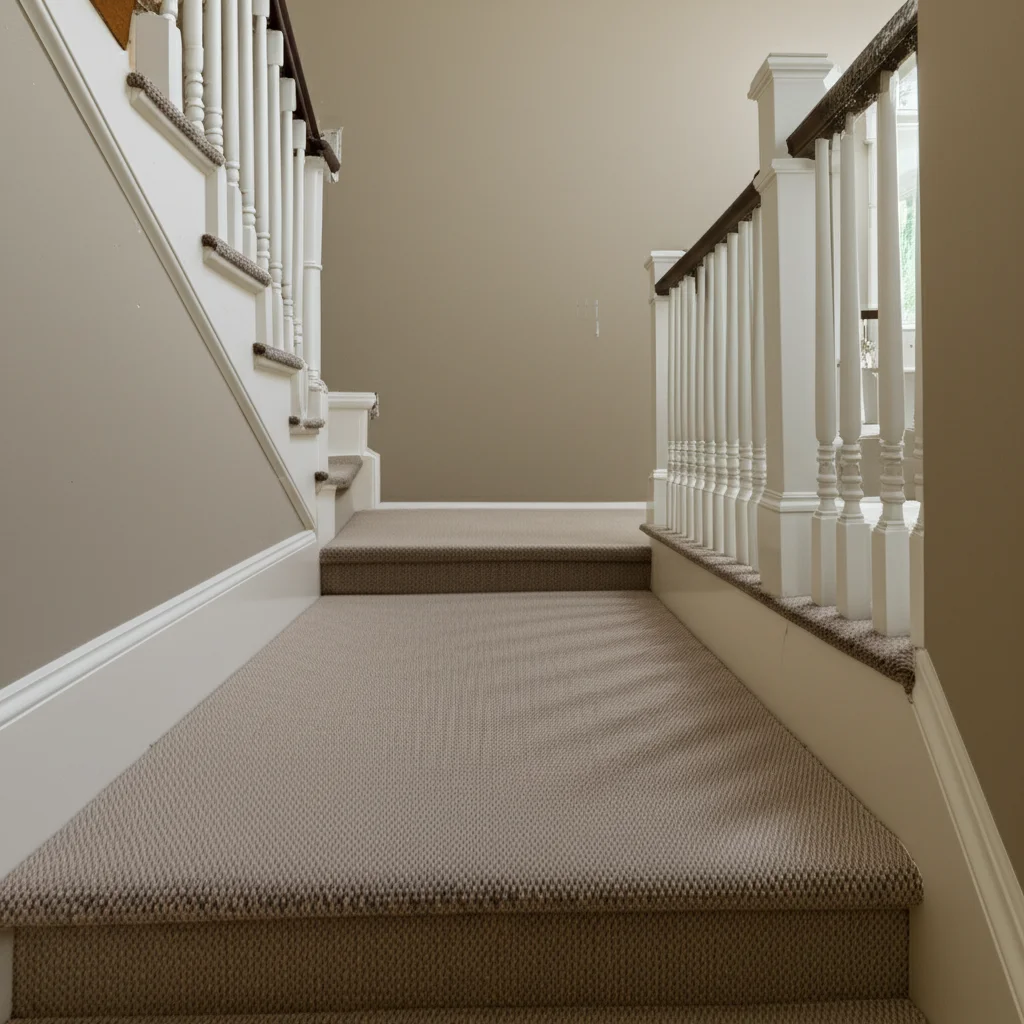
Easily Get Old Carpet Out of a Room
Tired of that worn-out carpet? Removing old carpet from a room can feel like a big project. Yet, it is a rewarding DIY task. You can transform your space and prepare for new flooring. This guide helps you learn how to get old carpet out of a room. We will cover everything from preparation to disposal. You will find each step simple to follow.
This article provides clear instructions. We start with essential safety measures and tool lists. Then, we walk through the removal process. You will learn how to handle tack strips and padding. We also discuss subfloor cleaning and debris disposal. Get ready to give your room a fresh start.
Takeaway
- Gather essential tools like utility knives, pliers, and a pry bar before starting.
- Prioritize safety by wearing gloves, a mask, and eye protection throughout the process.
- Cut carpet into manageable strips for easier removal and disposal.
- Remove tack strips carefully to avoid injury and prepare the subfloor.
- Clean the subfloor thoroughly from debris and old adhesive after carpet removal.
- Plan for proper disposal of the old carpet, padding, and debris.
To get old carpet out of a room, first clear the area and gather safety gear and tools like a utility knife and pry bar. Then, cut the carpet into strips, pull it up, remove the padding and tack strips, and thoroughly clean the subfloor. Finally, dispose of the materials properly.
Preparing Your Room for Carpet Removal
Removing old carpet from a room requires careful preparation. This initial stage makes the entire process smoother. Proper planning also ensures your safety. I always begin by clearing everything out of the room.
Clear the Space Completely
First, empty the room of all furniture. Move large items to another area. If you cannot move everything, push items to one side. Cover them with plastic sheeting. This protects them from dust and debris. Removing all items makes it easier to work. It also prevents damage to your belongings.
Take down any curtains or drapes. Remove wall decorations. You want an open, clear workspace. This step is crucial for efficient carpet removal. It also helps you see potential hazards.
Gather Necessary Tools and Supplies
Having the right tools is important. You will need a few basic items. These tools make the job much simpler. I always check my toolkit before starting.
Here is a list of essential tools:
- Utility Knife: This is for cutting the carpet into sections. Make sure to have extra blades. Dull blades make cutting hard and unsafe.
- Pry Bar: You will use this to lift tack strips and stubborn edges. A flat bar works best.
- Pliers: These are good for pulling out staples and small nails.
- Work Gloves: Protect your hands from sharp objects and rough materials.
- Dust Mask/Respirator: Old carpet can release a lot of dust, mold, and allergens. A mask protects your lungs.
- Safety Glasses: Protect your eyes from flying debris or staples.
- Duct Tape: Useful for securing rolled carpet sections.
- Heavy-Duty Trash Bags: For collecting small pieces of padding or debris.
- Floor Scraper/Putty Knife: For removing old adhesive or padding remnants.
- Shop-Vac: For cleaning up dust and small debris.
- Crowbar or Claw Hammer: For larger tack strip removal.
Having these items ready saves time. You will not need to stop halfway through the project. This preparation helps to get old carpet out of a room effectively. Consider reviewing a comprehensive how to clean a room checklist to ensure nothing is missed in your preparation.
Prioritize Safety Measures
Safety must come first when you get old carpet out of a room. This work involves sharp tools and heavy lifting. Old carpets can hide hazards. Always take precautions.
Wear sturdy closed-toe shoes. This protects your feet from falling objects or nails. Keep pets and children out of the work area. They can get in the way and get hurt.
Ventilate the room well. Open windows and use fans. This reduces dust exposure. If possible, consider wearing long sleeves and pants. This protects your skin from irritation.
Be mindful of electrical outlets and wires. Do not cut into anything that might be underneath the carpet. If you have any doubts, use a stud finder. This helps locate hidden wires. My approach is always to err on the side of caution.
Understanding these safety measures makes the job safer. It prevents accidents. This lets you focus on the task at hand. Taking the time to prepare properly sets the stage for success.
Step-by-Step Carpet Removal Process
Once your room is prepared, you can start the actual carpet removal. This process involves several key steps. We will go through each one in detail. My goal is to make it simple for you to get old carpet out of a room efficiently.
Cutting the Carpet into Manageable Strips
Carpet is heavy and bulky. Trying to remove it in one large piece is very difficult. Cutting it into smaller, manageable strips makes the job much easier. I usually start in a corner.
First, locate a corner of the room. Use your pliers to grab the carpet edge. Pull it up until it detaches from the tack strip. The tack strip has sharp nails facing upwards. Be very careful around these.
Once you have a lifted edge, use your utility knife. Cut the carpet into strips about 2-3 feet wide. Make cuts along the length of the room. Press down firmly with the knife. Ensure you cut through both the carpet and the padding underneath. Change blades often. A dull blade makes cutting harder and less safe. Each cut should be straight. This makes rolling easier later.
You can also use a carpet cutter tool if you have one. It provides more leverage and control. If you encounter any old stains from the carpet, do not worry about them now. Focus purely on removal.
Pulling Up the Carpet and Padding
After cutting your strips, start pulling them up. Begin at one end of a strip. Pull it firmly and steadily. The carpet should peel away from the subfloor. It might make a ripping sound. This is normal.
As you pull, be aware of the tack strips. They are very sharp. Do not let your hands or knees touch them. Roll each strip tightly as you pull it up. Secure the rolled carpet with duct tape. This keeps it compact and tidy. It also makes disposal much easier.
After removing all carpet strips, you will see the carpet padding. The padding is usually glued or stapled down. Remove the padding in the same way. Pull it up in sections. It often comes up in larger pieces than the carpet. Roll up the padding as well. Tape these rolls for easy handling. If the padding is heavily glued, a floor scraper might help. This helps to loosen stubborn areas.
Dealing with Tack Strips
Tack strips are wooden strips with sharp nails. They hold the carpet in place around the room’s perimeter. Removing them is crucial for preparing the subfloor. This step requires care to avoid injury.
Use your pry bar or a claw hammer. Slide the end of the tool under a tack strip. Gently pry it upwards. The nails holding the strip down should come loose. Work your way around the room. Remove all the tack strips.
Be careful as you pull them up. The nails are very sharp. Once a strip is loose, pick it up carefully. Immediately place it into a sturdy container or trash bag. Do not leave them lying on the floor. This creates a tripping hazard. Small pieces of nails or staples may remain. Inspect the area after removing the strips. Pull out any stray fasteners with your pliers.
This part of getting old carpet out of a room is often the slowest. Take your time. Ensure all sharp objects are removed. You want a clear and safe subfloor.
Subfloor Preparation and Cleaning
After removing the carpet, padding, and tack strips, the subfloor is exposed. This is a critical stage. You need to prepare the subfloor for new flooring. This involves thorough cleaning and inspection. I always make sure the subfloor is perfectly ready.
Removing Adhesive and Staples
Old carpet padding often leaves behind adhesive residue. It can be sticky or hard. This residue must be removed. Use a floor scraper or a stiff putty knife. Scrape off as much old glue as possible. Work in small sections. Apply steady pressure.
For stubborn adhesive, you might need a solvent. Test the solvent in an inconspicuous area first. Ensure it does not damage your subfloor material. Let the solvent sit for a few minutes. Then, scrape the adhesive away. Always follow the product instructions carefully. Ensure good ventilation when using chemical solvents.
You will also find many staples. These staples held the padding in place. They are small and numerous. Use a pair of pliers or a flat-head screwdriver. Pry each staple out. This part can be tedious. Yet, it is essential. Any remaining staples can damage your new flooring. They can also create uneven spots. Take your time to remove every single one. This makes for a smooth subfloor.
Sweeping and Vacuuming the Subfloor
Once all adhesive and staples are gone, it is time to clean. The subfloor will have a lot of dust and debris. This includes carpet fibers, dirt, and small pieces of wood. A broom is a good start. Sweep the entire floor thoroughly. Get into corners and along edges.
After sweeping, use a shop-vac. A regular vacuum might not have enough power. It could also get clogged. A shop-vac is designed for heavy-duty cleaning. Vacuum the entire floor multiple times. Ensure you pick up all fine dust and small particles. A clean subfloor is vital. It allows new flooring to adhere properly. It also prevents future problems like creaks or unevenness.
For a truly deep clean, you might consider mopping. If your subfloor is concrete, a damp mop works well. If it is plywood or OSB, avoid too much water. Moisture can damage wood subfloors. A slightly damp cloth for final wipe-down is usually sufficient. This step ensures your subfloor is spotless. This also prepares the room for its next transformation.
Inspecting for Damage and Levelness
After cleaning, inspect the subfloor closely. Look for any damage. This includes cracks, holes, or rot. Address any issues before installing new flooring. Small holes can be filled with wood putty. Larger damaged sections might need repair or replacement.
Check for levelness. Subfloors are rarely perfectly flat. Minor imperfections are usually fine. For significant dips or bumps, you might need to level the subfloor. Use a long level or straightedge. Place it across different areas of the floor. This shows you high and low spots.
If your subfloor is plywood or OSB, ensure it is firmly screwed down. Loose boards can cause squeaks later. Add screws where needed. Ensure all screws are countersunk. This means their heads are flush with the surface. Addressing these issues now saves future headaches. A well-prepared subfloor is the foundation of a successful flooring project. This thorough inspection is crucial when you get old carpet out of a room. You are ensuring a smooth, stable base for your new floor. For a broader approach to home cleanliness, you might also find value in learning how to deep clean your house room by room.
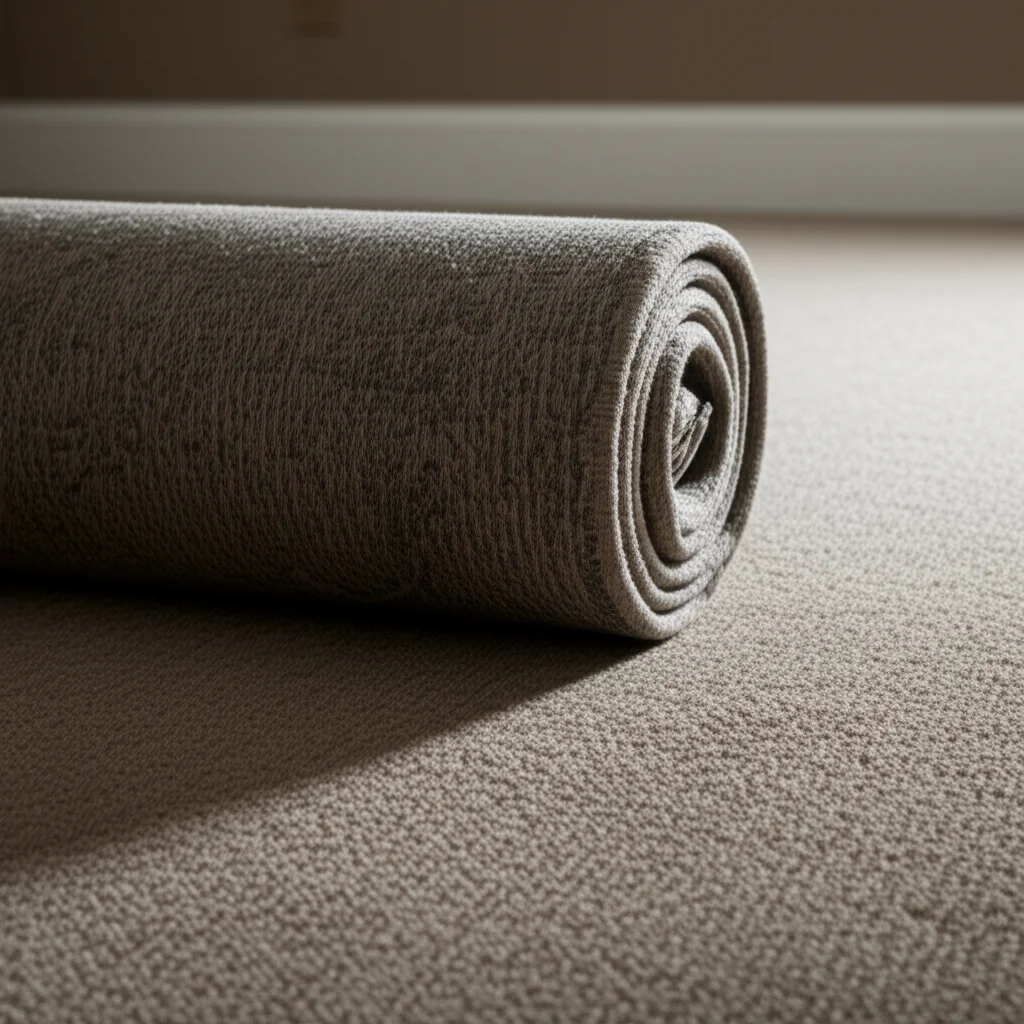
Proper Disposal of Old Carpet
Getting old carpet out of a room is only half the battle. You then need to deal with the removed material. Proper disposal is important. Carpet and padding are bulky. They cannot always go out with regular trash. I always plan for disposal before I even start pulling up the carpet.
Rolling and Securing Carpet Sections
When you remove carpet, roll each section tightly. Use strong duct tape to secure the rolls. This keeps them from unrolling. It makes them much easier to carry. Tightly rolled sections also take up less space. This is helpful for transport.
Do the same for the carpet padding. Roll it up as compactly as possible. Secure it with tape. Smaller pieces of padding or debris can go into heavy-duty trash bags. Ensure the bags are strong enough. You do not want them breaking open. Broken bags make a mess. They also make cleanup harder.
Some people even cut the rolled carpet into smaller, more manageable lengths. This might be necessary if your disposal method has size limits. For instance, some waste facilities require rolls under a certain length. This step helps streamline the disposal process. Cutting carpet for disposal can be similar to how to cut up an old mattress for easier removal.
Local Disposal Options
Disposing of old carpet varies by location. Check with your local waste management services. They will tell you the best way. Many municipal trash services do not pick up large carpet rolls. They consider them bulk waste.
Here are common disposal options:
- Bulk Waste Pickup: Some cities offer special bulk waste pickup days. You might need to schedule this in advance. There might be a fee.
- Landfill or Transfer Station: You can often transport the carpet yourself to a local landfill or transfer station. There will likely be a per-ton or per-item fee. Check their operating hours and acceptance rules.
- Junk Removal Services: Many companies specialize in junk removal. They will pick up the carpet from your home. This is often the easiest option. It can be more expensive. Get a quote first.
- Recycling Programs: Some areas have carpet recycling programs. Carpet can be recycled into new products. This is the most environmentally friendly option. Check if a facility near you accepts carpet.
Always confirm the specific requirements. Some places require carpet to be free of debris. Others might have limits on weight or size. Knowing these details beforehand avoids surprises.
Considering Environmental Impact
Disposing of old carpet impacts the environment. Landfills are filling up. Carpet can take a long time to break down. Choosing recycling helps reduce waste. It conserves resources.
If recycling is not available, consider donating. Some charities or organizations might accept clean, reusable carpet. This is less likely for truly old, worn-out carpet. Yet, it is worth checking.
Proper disposal prevents environmental damage. It ensures the carpet is handled responsibly. This is the final step in getting old carpet out of a room. It completes the project from start to finish.
Troubleshooting and Advanced Tips
Removing old carpet can sometimes present challenges. Not every job goes perfectly smoothly. Knowing some troubleshooting tips helps. I have encountered many tricky situations. These insights will help you handle common problems.
Dealing with Stubborn Adhesive
Sometimes, old adhesive can be very difficult to remove. It might be hard and brittle. Or it might be extremely sticky. Standard scraping might not work.
For hard, brittle adhesive:
- Heat Gun: A heat gun can soften the adhesive. Use it carefully. Keep it moving. Do not overheat the subfloor. Once softened, scrape it with a floor scraper.
- Chisel: For very tough spots, a wide, sharp chisel can help. Angle it low. Chip away at the adhesive. Be careful not to damage the subfloor.
For very sticky, gummy adhesive:
- Adhesive Remover: Chemical adhesive removers are effective. They dissolve the glue. Always test in a small area first. Ensure good ventilation. Follow the product directions carefully.
- Mineral Spirits: For some glues, mineral spirits can help. Apply to a rag. Rub it on the adhesive. Let it sit briefly. Then scrape.
- Ice: For small, extremely sticky spots, ice can sometimes freeze the adhesive. It makes it brittle enough to chip off. This is more for small patches.
Always scrape away as much physical material as possible first. Then use chemicals if needed. This reduces the amount of chemical required. This also minimizes exposure. After using solvents, clean the area thoroughly. Remove all residue.
Handling Different Subfloor Materials
The type of subfloor affects your approach. Most homes have plywood, OSB, or concrete. Each has unique characteristics.
- Plywood/OSB Subfloor:
- These are wood-based. They are common in residential homes.
- Be gentle when prying tack strips. Too much force can splinter the wood.
- Avoid excessive water if cleaning. Wood can warp or swell.
- Fill holes or low spots with wood patch or self-leveling compound designed for wood.
- Screws are better than nails for securing loose boards. They provide a stronger hold.
- Concrete Subfloor:
- Common in basements or slab-on-grade homes.
- Concrete is very durable. You can be more aggressive with scraping.
- Adhesive often bonds very strongly to concrete. You might need heavy-duty scrapers or grinders.
- Check for moisture issues. Concrete can wick moisture. Use a moisture meter if concerned.
- Fill cracks or holes with concrete patch. Ensure the surface is very smooth.
Understanding your subfloor helps you choose the right tools and techniques. This prevents damage. It also ensures the best base for your new flooring. Consider cleaning old wood floors if that’s what you reveal next. Learn more about how to clean old wood floors if your subfloor is hardwood.
Dealing with Mold or Pests Under Carpet
Old carpet can hide unpleasant surprises. Mold and pests are two common issues. You must address them before installing new flooring.
Mold:
- Identify the Source: Mold grows where there is moisture. Find and fix any leaks or dampness. This is the most important step.
- Safety First: Wear a respirator (N95 or better) and gloves. Mold spores can be harmful.
- Small Areas: For small mold patches, clean with a solution of bleach and water (1 part bleach to 10 parts water) on concrete. For wood, use a borax solution or commercial mold cleaner.
- Large Areas: If mold covers a large area, or if you suspect it is extensive, consult a professional. They can safely remove it.
- Drying: Ensure the area is completely dry before installing new flooring. Use fans and dehumidifiers.
Pests (Insects, Rodents):
- Identify Pest: Determine what type of pest is present.
- Clean Thoroughly: Vacuum all droppings, nests, or dead insects. Use a strong disinfectant.
- Seal Entry Points: Find how pests entered. Seal cracks or holes in walls and floors.
- Pest Control: For active infestations, hire a pest control professional. They can eliminate the problem.
- Prevent Reinfestation: Once the issue is resolved, take steps to prevent future problems. This might include traps or baits.
Addressing these issues is vital for a healthy home. Do not install new flooring over mold or pest problems. This can lead to recurring issues. It is worth the extra effort to resolve them fully. This ensures a clean and safe foundation when you get old carpet out of a room.
Beyond Carpet Removal: Next Steps for Your Floor
Getting old carpet out of a room is a major accomplishment. It opens up many possibilities for your space. What comes next depends on your goals. You might want to install new flooring. Or you might simply want to restore the existing subfloor. I always consider the end goal during the removal process.
Preparing for New Flooring Installation
If you plan to install new flooring, the subfloor must be perfect. This means it must be:
- Clean: No dust, debris, or adhesive residue.
- Dry: Essential to prevent mold or warping, especially for wood.
- Flat and Level: Minor imperfections are acceptable for some flooring types. Large variations need correction. Use a self-leveling compound for concrete. Use shims or plywood patches for wood.
- Structurally Sound: No loose boards, significant cracks, or rot.
Different flooring types have different subfloor requirements:
- Hardwood/Laminate: Needs a very flat, dry, clean subfloor. Often requires an underlayment.
- Tile: Requires a very rigid, flat surface. Often involves cement board over wood subfloors.
- Vinyl/LVP: Needs an extremely smooth subfloor. Every bump will show through.
Research the specific requirements for your chosen flooring. This ensures a successful installation. Taking the time to properly prepare the subfloor pays off. It results in a beautiful and durable new floor.
Restoring Existing Hardwood Floors
Sometimes, removing old carpet reveals beautiful hardwood floors. This can be a wonderful surprise. These floors might need some care. They often have glue, stains, or nail holes. You can restore them to their former glory.
- Cleaning: Remove all carpet glue and residue. Use appropriate cleaners for wood floors. Be gentle.
- Sanding: Most old hardwood floors benefit from sanding. This removes old finishes, scratches, and light stains. You can rent a floor sander. This is a dusty job.
- Staining (Optional): After sanding, you can stain the wood. This changes its color. Choose a color that matches your decor.
- Finishing: Apply several coats of polyurethane or other wood floor finish. This protects the wood. It also gives it a beautiful sheen.
Restoring hardwood floors is a labor of love. It brings out the natural beauty of your home. It also adds significant value. It can be a very satisfying project. Learn more about how to clean old hardwood floors for detailed steps.
Considering Alternative Flooring Options
If you do not want new carpet or restored hardwood, many other options exist. Your newly exposed subfloor is a blank canvas.
- Polished Concrete: If you have a concrete subfloor, you can polish it. This creates a modern, industrial look. It is very durable and easy to maintain.
- Paint: You can paint a wood or concrete subfloor. This is an affordable and creative option. Use floor-specific paint. Apply primer first.
- Area Rugs: Even if you choose to paint or seal the subfloor, you can always add area rugs. They add warmth and define spaces. This is a flexible choice. You can change them easily.
- Self-Leveling Compound Finished: For a truly industrial, minimalist look, some people finish self-leveling compound itself. This provides a very smooth, often gray surface. It can be sealed for protection.
Each option offers different benefits. Consider your budget, lifestyle, and aesthetic preferences. Getting old carpet out of a room is the first step toward a renewed space. The possibilities are vast. This transformation enhances your home’s appeal and comfort.
Frequently Asked Questions
How long does it take to get old carpet out of a room? The time to get old carpet out of a room varies. A small room, like a bedroom, might take 2-4 hours. A larger living room could take 4-8 hours or more. This includes removing carpet, padding, and tack strips, plus initial subfloor cleaning. Factors like carpet age, adhesive type, and room size affect the duration.
What tools do I need for carpet removal? You need several tools for carpet removal. Essential items include a utility knife with extra blades, heavy-duty work gloves, a dust mask, and safety glasses. A pry bar or claw hammer is necessary for tack strips. Pliers are useful for staples. Duct tape helps secure rolled carpet. A shop-vac is also useful for cleanup.
Can I remove carpet by myself? Yes, you can remove carpet by yourself. It is a common DIY project. The process involves physical labor and some tools. For very large rooms or glued-down carpet, having a helper can make the job easier. Always prioritize safety when working alone.
How do I dispose of old carpet? Disposing of old carpet requires planning. Most regular trash services do not pick it up. Check for local bulk waste pickup services, take it to a landfill or transfer station, or hire a junk removal company. Some areas also have carpet recycling programs, which are environmentally friendly.
What should I do after removing the carpet? After removing the carpet, padding, and tack strips, focus on the subfloor. Clean it thoroughly by removing all adhesive residue and staples. Sweep and vacuum to eliminate dust. Then, inspect the subfloor for damage or uneven spots. Repair any issues to prepare it for your new flooring.
Is it difficult to remove carpet glue from the subfloor? Removing carpet glue can be challenging. Its difficulty depends on the glue type and how long it has been there. Some glues scrape off easily. Others require a floor scraper, heat gun, or chemical adhesive removers. Always test removers in a small, hidden area first to avoid damage.
Conclusion
Getting old carpet out of a room is a rewarding home improvement project. It transforms your space from the ground up. You have learned each step. We covered preparing the room, safely removing the carpet, and cleaning the subfloor. We also discussed proper disposal.
This guide provides practical knowledge. You now know which tools to use. You understand how to handle tack strips. You are ready to clean the subfloor for new flooring. This DIY task adds value and fresh appeal to your home.
Are you ready to tackle your old carpet? Gather your tools. Follow these steps carefully. You will soon enjoy a cleaner, refreshed space. Say goodbye to that old carpet. Hello to a new beginning for your room!
- carpet removal
- DIY flooring
- room renovation

Davia Murnell
Room Cleaning Expert
Before joining HEG, I spent over a decade running my own window cleaning business, where I perfected streak-free techniques and learned the ins and outs of specialty glass care. Now, I bring that expertise to a broader mission—helping homeowners maintain sparkling windows and beautiful outdoor spaces. From skylights and sliding doors to patio glass and outdoor furniture, I believe every surface deserves attention and care. I share practical tips and proven methods that make even the toughest cleaning jobs feel manageable. Whether you're battling pollen on the porch or smudges on high windows, I’m here to help you see your home in a whole new light—literally.