· Todd Martin · Home Improvement · 16 min read
How To Fix Sticky Painted Cabinets
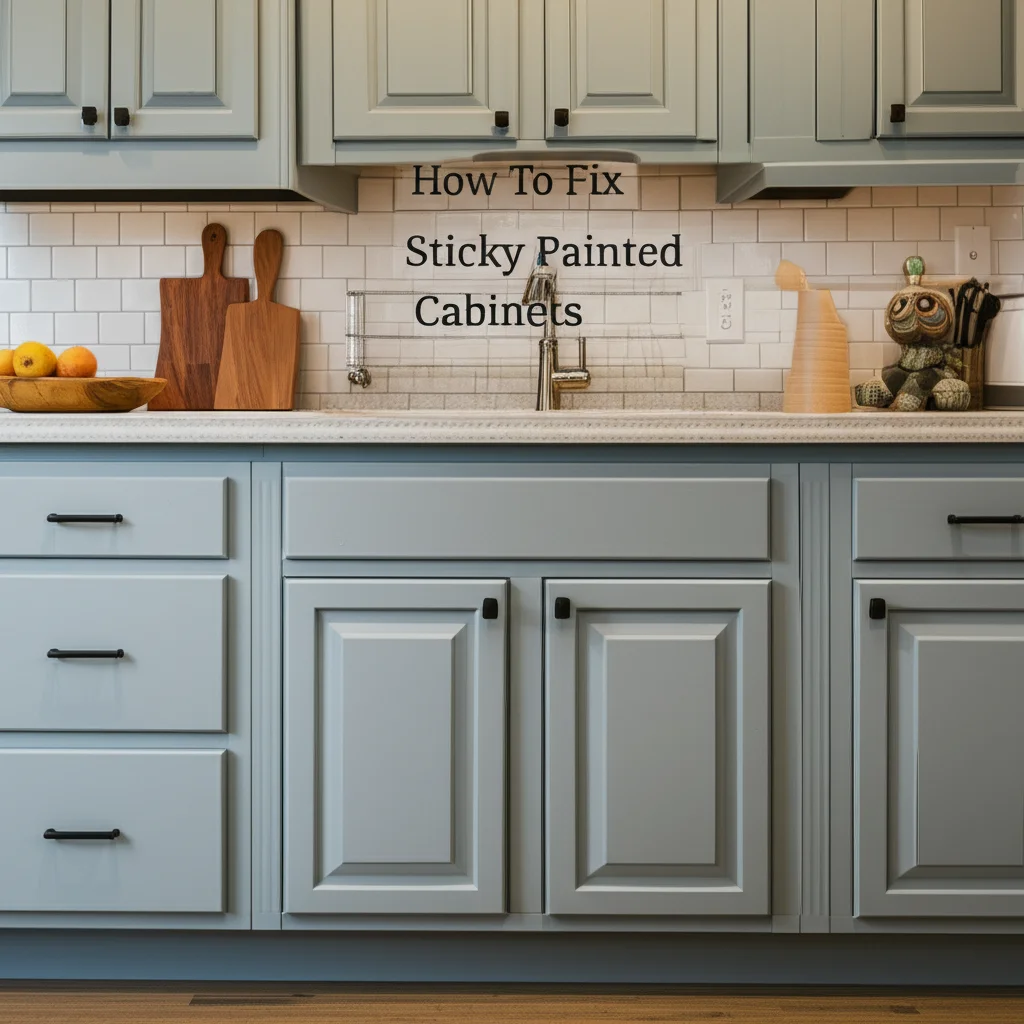
Fix Sticky Painted Cabinets with Ease
There are few things more annoying in a home than touching a cabinet door and feeling that unwelcome stickiness. You open a cupboard, and your fingers drag, or the door itself seems to cling to the frame. Sticky painted cabinets are a common household dilemma, often caused by a buildup of grease, dirt, or issues with the paint itself. This problem not only feels unpleasant but can also damage your cabinet finish over time, trapping dust and making your kitchen look less inviting.
I have dealt with this issue in my own home, and I know how frustrating it can be to have surfaces that just don’t feel clean. The good news is that you do not need to replace your cabinets. Most sticky situations are fixable with the right approach and a little effort. This comprehensive guide will walk you through the various reasons your cabinets might be sticky and provide detailed, step-by-step solutions to restore their smooth, clean surface. We will cover everything from basic cleaning methods to more advanced treatments, ensuring you can effectively fix sticky painted cabinets and prevent future problems.
Takeaway
- Identify the cause of stickiness (grease, dirt, paint issues) before treating.
- Clean surfaces thoroughly using appropriate gentle cleaners.
- Address stubborn residue with stronger, but safe, solutions.
- Ensure proper drying and curing time for paint.
- Prevent future stickiness with regular cleaning and proper ventilation.
How to fix sticky painted cabinets? You can fix sticky painted cabinets by first cleaning off grease and grime with mild soap and water. For persistent stickiness, use a degreaser or mineral spirits, then rinse thoroughly. Ensure the paint is fully cured, or consider applying a protective topcoat to prevent future stickiness.
Understanding Why Painted Cabinets Become Sticky
You might wonder why your beautifully painted cabinets suddenly feel tacky to the touch. This stickiness does not appear by magic. Several common culprits cause painted cabinets to develop a sticky feel. Knowing the root cause helps you choose the most effective solution. We will explore the primary reasons behind this annoying problem.
One major reason is the buildup of grease and cooking grime. Kitchens are busy places, and cooking vapors carry tiny grease particles into the air. These particles settle on surfaces, including your cabinets. Over time, this airborne grease combines with dust and dirt, creating a thick, sticky film. This film feels unpleasant and can be difficult to remove with just water. Regular kitchen activity makes this an almost inevitable occurrence, especially on cabinets near the stove.
Another common cause relates to the paint itself. Sometimes, paint does not cure properly. Paint curing is a chemical process where the paint hardens completely. If the environment is too humid or cold, or if the paint was applied too thickly, it might remain slightly soft or “tacky” for a long time. This is different from drying, which is just the evaporation of solvents. Improperly cured paint will always feel slightly sticky, attracting dust and dirt. This issue often appears on newly painted cabinets or on areas that see a lot of handling.
Environmental factors also play a role. High humidity can cause some paint types, especially latex or water-based paints, to feel sticky. The moisture in the air prevents the paint from fully hardening or can even re-soften it slightly over time. Excessive heat, particularly direct sunlight, can also soften certain paint finishes, leading to a sticky surface. Understanding these causes helps you tackle the problem more effectively and prevent its recurrence.
Essential Supplies for Fixing Sticky Cabinets
Before you begin to fix sticky painted cabinets, gather all the necessary tools and cleaning agents. Having everything on hand makes the process smoother and more efficient. The right supplies ensure you clean effectively without damaging your cabinet finish. I always find it helpful to lay out all my materials before I start any home project.
First, you will need gentle cleaning cloths or sponges. Microfiber cloths are excellent choices because they are soft, highly absorbent, and will not scratch delicate painted surfaces. Avoid abrasive scrubbers or steel wool, as these can strip paint or leave permanent marks. You will also need a few buckets, one for cleaning solution and one for rinse water. This prevents you from spreading dirty water back onto the cabinets.
Next, consider your cleaning solutions. A mild dish soap, like Dawn, mixed with warm water is often the first and safest approach. This simple solution is effective at cutting through light grease and grime. For tougher sticky residue, you might need stronger options. White vinegar, diluted with water, can be a great natural degreaser. For very stubborn or old sticky buildup, a dedicated degreaser or mineral spirits might be necessary. Always check the product label for suitability on painted surfaces. For general cleaning of your painted surfaces, you can refer to our guide on how to clean painted cabinets.
Finally, have some old towels or drop cloths ready to protect your floors and countertops from drips. You might also want to wear rubber gloves to protect your hands from cleaning chemicals. A soft brush or an old toothbrush can be useful for getting into crevices and corners where stickiness might accumulate. Ensure you have proper ventilation when using stronger cleaners.
Initial Cleaning Steps for Mild Stickiness
When you first notice that your painted cabinets feel sticky, start with the simplest and safest cleaning methods. This approach often resolves minor stickiness caused by everyday dust and light grease. It is always best to begin gently to avoid any potential damage to your cabinet finish. I usually start here, as it saves time and effort if the problem is not severe.
Begin by mixing a solution of mild dish soap and warm water. A few drops of dish soap in a bucket of warm water will create a gentle yet effective degreasing solution. Dish soap is designed to break down grease, making it perfect for kitchen environments. You do not need harsh chemicals for this initial step.
Dip a soft microfiber cloth into the soapy water, wring it out well so it is damp but not dripping. Then, gently wipe down the sticky painted cabinet surfaces. Pay special attention to areas around handles and frequently touched spots, as these areas tend to accumulate more grime. Work in small sections, wiping thoroughly. You should see the stickiness start to diminish as you clean.
After cleaning a section with soapy water, rinse your cloth in clean water and wipe the area again to remove any soap residue. Soap residue can also contribute to a sticky feel if not fully removed. Finally, dry the cabinets immediately with a separate, clean, dry cloth. Allowing water to sit on painted surfaces can lead to damage. This initial cleaning step is often enough for freshly accumulated stickiness or light grime. For tips on cleaning particularly sticky kitchen cabinets, you can also check out our guide on how to clean sticky kitchen cabinets.
Tackling Stubborn Sticky Residue
Sometimes, mild soap and water are not enough to fix sticky painted cabinets, especially if the stickiness has built up over a long period. When faced with stubborn sticky residue, you need to step up your cleaning game. This requires slightly stronger agents but still demands care to protect your paint. I have encountered this many times, and perseverance is key.
One effective solution for persistent grease and grime is a diluted white vinegar solution. Mix equal parts white vinegar and warm water in a spray bottle. Spray a small amount onto a sticky section of the cabinet. Let it sit for a minute or two to allow the vinegar’s mild acidic properties to break down the grime. Then, wipe thoroughly with a clean microfiber cloth. Vinegar is a natural degreaser and can be very effective. Remember to rinse the area with clean water and dry it immediately afterward to remove any vinegar smell or residue.
For exceptionally tough, gummy stickiness, you might need a dedicated degreaser. Look for products specifically designed for kitchen use or general household cleaning. Always read the product instructions carefully and test the degreaser in an inconspicuous area first. This test ensures the product will not damage or discolor your painted finish. Apply the degreaser sparingly to a cloth, then wipe the sticky areas. Follow the product’s recommended rinse and drying instructions. When dealing with greasy cabinets, our guides on greasy cabinets: how to clean and how to clean greasy cabinets offer more detailed strategies.
In extreme cases where the stickiness is due to uncured paint or a particularly tenacious residue, mineral spirits can be an option. Use mineral spirits with extreme caution, as they can potentially strip or dull certain paint finishes. Apply a very small amount to a clean cloth and gently rub the sticky spot. This should only be a last resort. Always ensure good ventilation when using mineral spirits and wear gloves. Afterward, wash the area thoroughly with soap and water to remove all traces of the spirits, then dry completely. For issues with a sticky table finish, you might find similar solutions in our article on how to fix a sticky table finish.
Restoring the Cabinet Finish After Cleaning
After you successfully remove all the sticky residue from your painted cabinets, the job is not quite done. Restoring the cabinet finish ensures they look great and feel smooth. This step also helps protect your hard work and prepares the cabinets for future use. I always take this extra step to make sure the cabinets truly shine.
First, ensure the cabinets are completely dry from the cleaning process. Any remaining moisture can cause new problems or interfere with the next steps. Use a dry, clean microfiber cloth to thoroughly wipe down all cleaned surfaces. You can even let them air dry for an hour or two after wiping to be absolutely sure. This drying time is important for the longevity of your finish.
Next, inspect the surface for any dullness or minor imperfections that might have resulted from the cleaning. If your cabinets feel rough or appear dull, you might consider a light buffing. You can use a very small amount of furniture polish or a clear, non-yellowing wax designed for painted surfaces. Apply a thin layer with a clean, soft cloth, then buff gently with another clean cloth until the surface is smooth and has an even sheen. This step adds a layer of protection and enhances the appearance.
If the stickiness was caused by uncured paint, and cleaning only offered a temporary fix, you might need to re-evaluate the paint job itself. Sometimes, applying a clear, protective topcoat can seal the paint and prevent future stickiness. Choose a water-based, non-yellowing polyurethane or acrylic topcoat that is compatible with your existing paint. Apply thin, even coats as per the manufacturer’s instructions, allowing adequate drying and curing time between coats. This provides a durable, non-tacky finish. For more advanced solutions like repainting, consider our guide on how to paint already painted cabinets.
Preventing Future Stickiness on Painted Cabinets
Once you have successfully cleaned and restored your sticky painted cabinets, the last thing you want is for the problem to return. Prevention is truly the best medicine when it comes to maintaining your cabinet’s finish. A few simple habits and considerations can keep your cabinets smooth and clean for years to come. I have found that a consistent prevention routine saves a lot of headaches in the long run.
Regular cleaning is paramount in the kitchen environment. Make it a habit to wipe down your cabinets regularly, especially those near the stove. A quick wipe with a damp cloth and mild dish soap solution can remove grease and dust before it has a chance to build up and become sticky. You do not need to do a deep clean every week, but a surface wipe every few days, especially after cooking greasy meals, will make a big difference. For effective routine cleaning, our article on how to clean painted kitchen cabinets provides excellent advice.
Proper ventilation is another crucial factor. When you cook, especially frying or boiling, turn on your range hood or open a window. This helps to extract grease-laden air and steam from your kitchen, preventing it from settling on your cabinets. Good air circulation also helps to reduce overall humidity, which can contribute to paint tackiness. A well-ventilated kitchen is a cleaner kitchen.
When painting or repainting cabinets, always ensure you use high-quality paint and primer. Choose paints designed for cabinets or high-traffic areas, as they often have a harder, more durable finish. Crucially, allow adequate drying and curing time for the paint. Drying means the paint feels dry to the touch, while curing means it has fully hardened. This can take several days or even weeks depending on the paint type and environmental conditions. If you are unsure about the proper steps for preparing cabinets before painting, our guide on how to clean cabinets before painting can help. Applying paint too thickly or not allowing enough cure time can lead to a perpetually sticky surface. You can also apply a clear protective topcoat or sealer over your painted cabinets. This adds an extra layer of protection against grease, moisture, and general wear. Choose a non-yellowing, durable topcoat that is compatible with your paint. This extra step provides a hard, smooth surface that is easier to clean and less prone to becoming sticky. It acts as a barrier, protecting the paint underneath. Our guide on how to prevent painted cabinets from chipping also offers relevant advice on protecting your cabinet finish.
When to Consider Repainting or Refinishing
While cleaning and restoring are effective for most sticky painted cabinet issues, there are times when these solutions are not enough. If your cabinets remain persistently sticky, dull, or show signs of extensive damage, you might need to consider repainting or refinishing. This is a bigger project, but it can completely rejuvenate your kitchen. I have found that sometimes a fresh start is the most efficient long-term solution.
One clear sign that repainting is necessary is if the stickiness is deeply embedded in the paint itself, indicating a curing issue. If you have tried various cleaning methods and the cabinets still feel tacky, the paint likely never fully hardened. This often happens with older paint jobs, or if the wrong type of paint was used. In such cases, the only permanent fix is to strip the old paint and apply a new, properly cured finish. Trying to fix uncured paint can be an endless battle.
Another reason for refinishing is if the painted surface is severely damaged. This includes widespread peeling, bubbling, or cracking that goes beyond minor touch-ups. While you can often fix small cracks, as detailed in our article on how to fix cracks in painted cabinets, extensive damage means the integrity of the paint layer is compromised. A new paint job provides a fresh, durable surface. Similarly, if your cabinets show severe discoloration or wear spots that cannot be cleaned, a new coat of paint will restore their appearance.
Before you decide to repaint, prepare the cabinets meticulously. This involves thorough cleaning, degreasing, sanding to create a smooth surface, and priming. Proper preparation ensures the new paint adheres well and cures correctly. Choose high-quality, durable cabinet paint, preferably a harder enamel or alkyd-based paint, as these are less prone to stickiness and provide a long-lasting finish. Follow all manufacturer instructions for application, drying, and curing times. While it is a significant undertaking, a professional-looking repaint can add years of life and beauty to your kitchen, making it feel brand new. For comprehensive guidance on painting, consult our article on how to paint already painted cabinets.
Frequently Asked Questions
Why do painted cabinets often become sticky?
Painted cabinets become sticky for several common reasons. The primary culprits are usually a buildup of cooking grease, dust, and grime that creates a film over time. Improperly cured paint, where the paint has not fully hardened, can also cause stickiness. High humidity or certain environmental conditions can also contribute to a tacky paint surface.
Can I use strong household cleaners like bleach or ammonia on painted cabinets?
I advise against using strong household cleaners like bleach or ammonia on painted cabinets. These harsh chemicals can strip paint, dull the finish, or cause discoloration. Stick to milder solutions like dish soap and water, diluted vinegar, or specialized gentle degreasers for painted surfaces. Always test any new cleaner in an inconspicuous area first.
How long does it take for paint to fully cure on cabinets?
Drying time and curing time are different for paint. While paint may feel dry to the touch within hours, full curing can take much longer. Depending on the paint type (latex, oil-based, enamel) and environmental conditions (temperature, humidity), full curing can range from several days to several weeks, or even a month. It is important to avoid heavy use during this curing period.
Are there specific paint types that are less prone to stickiness?
Yes, some paint types are less prone to stickiness. Enamel paints, especially oil-based or water-based alkyd enamels, tend to cure to a harder, more durable finish, making them less likely to feel sticky. These paints offer better resistance to grease and moisture. Always choose high-quality paints designed for cabinets or high-traffic areas.
How often should I clean my painted kitchen cabinets to prevent stickiness?
For kitchen cabinets, particularly those near the stove, I recommend a light cleaning every week or two to prevent stickiness. This involves wiping them down with a damp cloth and mild dish soap solution. A deeper clean with a degreaser can be done every few months. Consistent, light cleaning prevents heavy buildup.
What if my newly painted cabinets are sticky?
If your newly painted cabinets are sticky, the paint likely has not fully cured. Ensure good ventilation, maintain moderate temperature and humidity, and give the paint more time to harden. If it persists after several weeks, it could indicate too many thick coats or an incompatible primer/paint. A light, gentle wipe with mineral spirits might help if it is residue, but often repainting is needed for curing issues.
Conclusion
Dealing with sticky painted cabinets can be a major annoyance, but as we have explored, it is a problem with clear solutions. You have learned that understanding the cause, whether it is grease buildup or an issue with the paint’s curing process, is the first step toward a smooth, clean surface. We covered simple cleaning techniques for fresh grime and more robust methods for stubborn residue, ensuring you can effectively fix sticky painted cabinets.
I hope this guide empowers you to tackle this common household issue with confidence. Remember, the journey from sticky to smooth involves careful cleaning, thorough drying, and smart prevention. By implementing regular maintenance and using the right products, you can enjoy your beautiful, non-sticky cabinets for years to come. Do not let sticky cabinets detract from the comfort of your home. Take action today and reclaim your clean, inviting living space!
- sticky cabinets
- painted cabinet repair
- cabinet finish problems
- cleaning sticky paint
- cabinet maintenance

Todd Martin
Senior Writer
With over 15 years of experience in home renovation and design, I started HEG to share what I’ve learned with homeowners who want to create spaces that are both beautiful and functional. I’ve always believed in a hands-on approach, and over the years, I’ve picked up practical solutions that actually work. Through HEG, I aim to make home improvement more approachable, sharing real tips that help you create a home you truly love.