· Todd Martin · Car Care · 19 min read
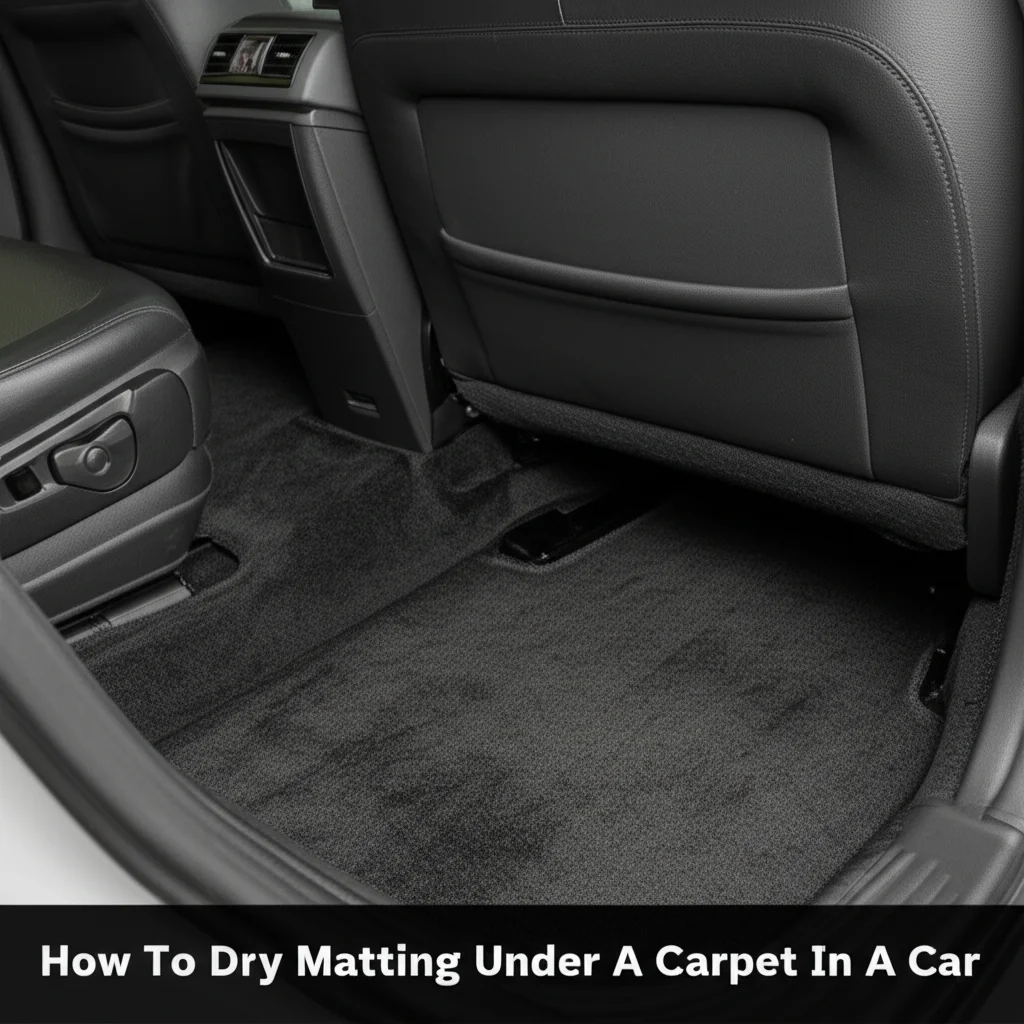
How To Dry Matting Under A Carpet In A Car
Quick Ways to Dry Matting Under a Car Carpet
Finding dampness under your car’s carpet is always a surprise. It suggests a hidden problem, and it requires your immediate attention. Moisture trapped beneath the carpet can cause severe issues. It leads to mold growth, bad odors, and even rust on your car’s floor pan. Learning how to dry matting under a carpet in a car is essential for your vehicle’s health and your comfort.
This guide provides clear steps to tackle this issue. We will cover identifying the water source, extracting moisture, and ensuring complete dryness. You will learn about preventing future dampness. By following these methods, you protect your car’s interior. We aim to help you restore a fresh and dry environment inside your vehicle quickly and effectively.
Takeaway
- Locate the Water Source: Find where water enters your car. Repair this leak before drying begins.
- Remove Excess Water: Use a wet/dry vacuum to extract as much moisture as possible from the carpet and matting.
- Lift the Carpet: Carefully detach door sills and console trim to lift the carpet and expose the matting underneath.
- Ensure Airflow: Use fans, a dehumidifier, and open doors/windows to circulate air and dry all layers thoroughly.
- Prevent Mold and Odor: Apply anti-mold sprays and deodorizers after drying.
To dry matting under a carpet in a car, first find and fix the water source. Then, remove car mats and seats if possible. Use a wet/dry vacuum to extract water from the carpet and matting. Lift the carpet to expose the matting fully. Finally, use fans, a dehumidifier, and open windows to promote airflow and ensure complete drying.
Identifying the Source of Moisture
The first step in tackling wet matting is finding out why it got wet. Water does not appear magically. There is always a reason for it being there. Locating the entry point prevents future problems. Ignoring the source means the problem will just return.
Begin by inspecting your car thoroughly. Check around windows and doors. Look at the windshield and rear window seals. Sunroof drains often clog and leak water inside. This is a common culprit.
Door and Window Seals:
- Examine the rubber seals around all doors and windows. Look for cracks, tears, or signs of improper seating.
- Pour a small amount of water over the seals and watch for drips inside the car. A helper can assist with this.
- Pay attention to the bottom edges of the doors. Water can seep in if drain holes are blocked.
Windshield and Rear Window Leaks:
- The seals around your windshield or rear window might be compromised. This allows water to enter.
- Inspect these areas for any gaps or peeling sealant. Water can travel down the pillars and collect under the carpet.
- Water often runs along the headliner before dripping down. Check for water stains on the headliner.
Sunroof Drains:
- Many cars have sunroofs with drain tubes in each corner. These tubes carry water away from the sunroof frame.
- If a tube gets clogged with debris, water backs up and overflows into the car’s interior.
- Test these by pouring a small amount of water into the sunroof trough. It should drain quickly out from under the car.
Heater Core Leaks:
- A less common but serious issue is a leaking heater core. This part circulates coolant for heating.
- If it leaks, you will find a sweet-smelling, often oily, liquid on the passenger side floor. This is not just water.
- Address this immediately, as coolant is harmful and its leak affects your car’s heating system.
AC Condensation Drains:
- Your air conditioning system produces condensation. This water normally drains out from under the car.
- If the drain tube gets clogged, water can build up and spill onto the passenger side floor.
- This is often just clear water, and it tends to happen when you use your AC.
Previous Flood Damage:
- If your car was in a flood, the water damage might be extensive. It can penetrate every part of the car’s interior.
- Even if the flood happened a while ago, moisture can remain trapped. This causes ongoing issues.
- A car history report might show flood damage. This indicates a very challenging drying process.
Finding the exact source prevents the problem from recurring. Once you identify the leak, repair it before proceeding with drying. Otherwise, your efforts will be wasted. Repairing the leak ensures your drying process is a permanent solution.
Assessing the Damage and Preparing for Drying
Before you begin the drying process, you must properly assess the extent of the water damage. This helps you understand the scope of the job. It also ensures you have all the necessary tools ready. A thorough assessment saves time later.
Start by removing all items from the affected area. Take out floor mats, trash, and anything else on the carpet. This clears your workspace. It also prevents items from getting damaged or hindering the drying process.
Tools and Supplies You Will Need
Having the right tools makes the job much easier. Gather these items before you start. This prevents interruptions during the drying process. You will need them throughout the various steps.
- Wet/Dry Shop Vacuum: This is essential for extracting large amounts of water. A standard home vacuum cannot handle water safely. It can also get damaged easily.
- Clean Towels and Rags: Absorbent towels help blot up remaining moisture. They are useful for wiping down surfaces. Microfiber towels are particularly effective.
- Screwdriver Set (Phillips and Flathead): You will need these to remove door sill plates and potentially some seat bolts. Many car interiors use various screw types.
- Socket Wrench Set: If you plan to remove seats for better access, you will need a socket wrench. Seat bolts often require specific socket sizes.
- Carpet Cleaner/Upholstery Cleaner: For cleaning any stains or dirt left by the water. This also helps eliminate odors.
- Deodorizer/Odor Eliminator: Essential for removing musty smells. These sprays neutralize odors. Some also have anti-bacterial properties.
- Mold Inhibitor/Anti-fungal Spray: This product prevents mold and mildew growth. It is crucial, especially in damp environments.
- Fans (Box Fan, Industrial Fan): Fans circulate air, which speeds up drying. More powerful fans work faster.
- Dehumidifier: A dehumidifier removes moisture from the air. This is very helpful in enclosed spaces like a car. It draws moisture out of the carpet and matting.
- Gloves and Mask: Protect your hands from dirt and cleaning chemicals. A mask helps if mold is present or you are sensitive to dust.
Once you have your tools, check the overall wetness. Press down on the carpet with your hand. Feel how saturated it is. The deeper the wetness, the more extensive your drying efforts need to be. Note which areas are wet. This tells you where to focus your drying efforts. You might only have a small damp spot, or the entire floor could be soaked. This initial check guides your next steps.
For a comprehensive approach to maintaining your car’s interior, consider reviewing resources on how to clean the inside of your car. Proper cleaning is a good follow-up to drying.
The Extraction Process: Removing Excess Water
Once you have identified the water source and gathered your tools, the next crucial step is to remove as much standing water as possible. This is the extraction process. It significantly shortens drying time. It also prevents deeper water damage.
Start by thoroughly vacuuming the wet areas. Your wet/dry shop vacuum is perfect for this task. Do not rush this step. Take your time to suck up every bit of standing water.
Vacuuming the Carpet:
- Use the wet/dry vacuum directly on the wet carpet. Move the nozzle slowly over the affected areas.
- Press down firmly to help the vacuum pull water from deep within the fibers.
- Go over each section multiple times. You want to extract as much moisture as possible.
- Empty the vacuum’s reservoir as it fills. A full reservoir reduces suction power.
Blotting with Towels:
- After vacuuming, use clean, dry towels. Press them firmly onto the carpet.
- Stand or kneel on the towels to apply pressure. This helps absorb more moisture.
- Replace towels as they become saturated. You can wring them out and reuse them if you have a wringer.
- Continue blotting until the towels no longer absorb significant water. The carpet should feel merely damp, not soaking wet.
Focusing on Deeply Saturated Areas:
- Some spots might be much wetter than others. These require extra attention.
- You might need to repeat vacuuming and blotting several times in these areas.
- Consider using a heavier towel or a stack of towels for these spots. Maximize absorption.
Consider a Carpet Extractor (Optional but Recommended):
- For very severe saturation, a carpet extractor can be very effective. This machine sprays water and then immediately suctions it back up.
- It offers a deeper clean and more powerful water removal. You can rent these from hardware stores.
- Ensure the extractor has a powerful suction. This is key to preventing over-wetting and subsequent drying issues.
This initial extraction is vital. It reduces the amount of water that needs to evaporate. This significantly speeds up the entire drying process. It also helps prevent odors from developing early on. For more general tips on keeping your car interior clean and tidy, you might find this article on how to keep your car clean useful. Keeping the interior clean can help spot moisture issues earlier.
Lifting and Airing Out the Carpet
Extracting surface water is a good start, but water often soaks into the matting underneath the carpet. To dry this matting effectively, you must lift the carpet itself. This allows air to circulate around all damp layers. Without lifting, drying can take weeks and lead to serious mold problems.
Removing the carpet provides full access to the sound-deadening material below. This material is what truly holds moisture. Proper access ensures complete drying. It’s a critical step for thorough moisture removal.
Techniques for Lifting Car Carpet
Lifting car carpet requires careful work. You do not want to damage trim pieces or the carpet itself. The process involves removing specific interior components. Take your time and be gentle.
- Remove Floor Mats and Loose Items: Clear the area completely. This gives you a clear workspace.
- Remove Seats (If Necessary): For extensive wetness or easier access, removing the front or rear seats is best.
- Locate the bolts securing the seats to the floor. These are usually at the corners of the seat rails.
- Use your socket wrench to loosen and remove these bolts. Store them safely.
- Carefully disconnect any electrical connectors under the seats (for airbags, seat heaters, power adjustments). Be gentle with these.
- Lift the seats out of the car. Having a helper is very useful as seats can be heavy and awkward.
- Detach Door Sill Plates: These plastic or metal strips run along the bottom of the door opening.
- They typically snap into place or are held by a few screws. Look for screw caps or pry points.
- Use a flathead screwdriver or a trim removal tool to gently pry them up. Start at one end and work your way across.
- Be careful not to break the clips. These clips are crucial for reassembly.
- Loosen Center Console Trim (If Necessary): The carpet often runs under the edges of the center console.
- You might need to loosen or partially remove parts of the console for the carpet to lift freely.
- Consult your car’s manual or look for online guides specific to your vehicle model. Screws are usually hidden under covers or in storage compartments.
- Lift the Carpet:
- Once the surrounding trim is loose or removed, you can start lifting the carpet.
- Gently pull it away from the floor pan. It might be stiff or attached with adhesive in some spots.
- You do not always need to remove the entire carpet from the car. Often, you can fold it back over the seats or console. This exposes the wet matting underneath.
- Use blocks of wood, sturdy cardboard boxes, or even empty paint cans to prop the carpet up. This creates a large air gap between the carpet and the floor.
Exposing the matting allows for proper air circulation. This is paramount for thorough drying. Without this step, trapped moisture will continue to pose problems. It is the most effective way to dry the under-carpet matting. This step also provides an opportunity for a deep clean of your car interior while parts are disassembled.
Drying the Matting and Floor Pan
With the carpet lifted and the matting exposed, the real drying work begins. This phase is crucial for eliminating all moisture. It prevents mold, mildew, and lingering musty odors. Patience is key here; thorough drying takes time.
The goal is to create maximum airflow. Air movement helps moisture evaporate from the matting and the bare metal floor pan. You want both layers to be completely dry before reassembly. Inadequate drying leads to recurring issues.
Accelerating the Drying Process
To speed things up, use a combination of tools that move air and remove moisture. This multi-pronged approach is most effective. Do not rely on just one method.
Fans:
- Place several fans inside the car. Position them to blow directly onto the exposed matting and floor pan.
- Box fans are great for general airflow. Smaller, directed fans can target specific wet spots.
- If possible, point one fan into the car from an open door and another to blow air out a different opening. This creates cross-ventilation.
- Leave the fans running continuously. Intermittent drying is less effective.
Dehumidifier:
- A dehumidifier is incredibly powerful for removing airborne moisture. Place one inside the car if space allows.
- Close the doors and windows (with fans still running) to create a contained environment. This helps the dehumidifier work most efficiently.
- Empty the water reservoir frequently. This shows you how much moisture is being pulled from the car’s interior.
- Dehumidifiers are especially useful in humid climates or when natural air drying is not enough.
Heater (Carefully):
- The car’s internal heater can assist, but use it with extreme caution. Too much heat too quickly can damage plastic trim or fabrics.
- Run the car’s engine with the heater on full blast. Direct the airflow to the floor vents.
- Do this in short bursts, for 15-30 minutes at a time. Then, turn off the car and allow fresh air to circulate.
- Never leave your car unattended with the engine running or a portable heater inside. Carbon monoxide poisoning is a real risk.
Natural Air Drying Methods
While power tools speed things up, natural methods are important too. They offer a gentle, continuous drying effect. Combine these with accelerated methods for best results.
Sunlight and Fresh Air:
- Park your car in direct sunlight with all doors and windows open (if safe and secure).
- Sunlight provides natural heat, which aids evaporation. Fresh air carries away moisture.
- Ensure the weather forecast is clear and dry for several days. Rain will reverse your progress.
- Prop open the doors slightly. This enhances airflow even further.
- Turn the car periodically to expose different sides to the sun.
Desiccants (Optional):
- Large silica gel packets or moisture absorbers (like DampRid) can be placed on the exposed matting.
- These products absorb moisture from the air and directly from surfaces.
- They are supplementary tools, not a primary drying method for very wet areas.
- Replace them as they become saturated.
Continue drying until the matting and floor pan are completely dry to the touch. Press firmly on the matting; it should feel dry all the way through. Check corners and edges, as these are often the last areas to dry. This process may take several days, depending on the level of saturation and ambient humidity. Thorough drying prevents future problems. For tips on keeping your car interior clean in general, explore guides on how to clean your car interior. This helps maintain a fresh environment.
Addressing Odor and Preventing Mold
Once the matting and floor pan are completely dry, your job is not quite finished. Water damage often leaves behind unpleasant odors. It also creates perfect conditions for mold and mildew growth. Addressing these issues immediately is crucial. Ignoring them can lead to persistent smells and health problems.
Preventing mold is just as important as drying the matting. Mold spores are microscopic and can settle in damp areas. They will multiply quickly if moisture returns. Taking proactive steps now saves you bigger headaches later.
Dealing with Lingering Smells
Musty odors are a common side effect of wet car interiors. They indicate microbial growth or simply trapped dampness. Removing these smells requires specific actions.
- Clean the Area Thoroughly:
- Even after drying, dirt and grime might remain. Use a carpet and upholstery cleaner on the exposed matting and the underside of the carpet.
- Follow the product instructions. Apply, agitate with a brush, and then blot or vacuum up the residue.
- This step removes any organic matter that contributes to odors. For specific advice on how to clean car carpet, refer to dedicated resources.
- Use Odor Eliminators:
- After cleaning, apply a dedicated automotive odor eliminator. Look for products that neutralize odors, not just mask them.
- Enzyme-based cleaners are excellent. They break down odor-causing organic materials.
- Spray generously on the matting and the underside of the carpet. Allow it to air dry.
- Some products require several applications for stubborn odors.
- Activated Charcoal:
- Place bags of activated charcoal in the car. These are natural odor absorbers.
- Leave them in the car for several days, especially after reassembly. They draw out residual smells from the air.
- Baking soda also works, but charcoal is usually more powerful.
Mold Prevention Strategies
Mold is a serious concern. It can cause respiratory issues and further damage your car’s interior. Preventative measures are essential after water intrusion.
- Apply Mold Inhibitor/Anti-fungal Spray:
- After cleaning and drying, spray a specialized mold inhibitor directly onto the matting and the underside of the carpet.
- Ensure the product is safe for car interiors. Look for non-toxic, pet-friendly options if you have pets.
- This creates a protective barrier. It discourages mold spores from growing.
- Pay extra attention to crevices and seams where moisture might have lingered.
- Ensure Complete Dryness:
- This step cannot be overstressed. Any residual moisture will lead to mold.
- Before reassembling, feel every part of the matting and carpet. It must be bone dry.
- Use a moisture meter if you have one. This tool provides an accurate reading of moisture content.
- Maintain Good Ventilation:
- After drying, try to maintain good airflow in your car. Crack windows slightly when parked (if safe).
- Regularly use your car’s ventilation system. Turn on the AC or heater with the fan on.
- Preventing future moisture build-up is the best mold prevention.
Addressing odors and mold is a vital part of the drying process. These steps ensure your car smells fresh and stays healthy. Skipping them compromises all your hard work. If you encounter a strong, persistent smell like vinegar from cleaning products, you can find specific guidance on how to get vinegar smell out of carpet. This might be helpful if previous cleaning attempts left a scent.
Reassembly and Final Checks
You have successfully dried the matting and treated it for odors and mold. Now it is time to put your car’s interior back together. Reassembly should be done carefully. You want to ensure everything fits correctly and functions properly. This final stage brings your car back to normal.
Before you start putting things back, perform one last thorough inspection. Check the matting and the floor pan one more time. Make sure they are absolutely dry. This is your final chance to spot any missed damp spots.
Clean the Floor Pan:
- Before laying the carpet back down, clean the metal floor pan. Dust, dirt, or debris might have accumulated.
- Vacuum any loose particles. Wipe the surface with a damp cloth.
- This ensures a clean base for the carpet. It also allows you to spot any signs of rust.
- If you find any rust, consider treating it with a rust converter or inhibitor before reassembly. This protects your car’s metal.
Reinstall Carpet and Trim:
- Carefully position the carpet back into place. Ensure it aligns correctly with all cutouts and contours.
- Smooth out any wrinkles or bumps. The carpet should lie flat.
- Reattach the door sill plates. Align the clips and press them firmly until they snap into place.
- Reinstall any console trim pieces that you loosened or removed. Secure them with their screws or clips.
- Ensure all electrical connections are properly reconnected if you disassembled parts of the console.
Reinstall Seats:
- Carefully lift the seats back into the car. Align them with their mounting holes on the floor.
- Reconnect any electrical connectors under the seats. Double-check these connections for security.
- Insert and hand-tighten the seat bolts first. Then, use your socket wrench to fully tighten them. Refer to your car’s manual for proper torque specifications if available. Seat bolts are critical for safety.
- Ensure the seats are firmly secured and do not wobble.
Final Inspection and Testing:
- After everything is back in place, do a thorough visual inspection. Look for any misaligned trim or loose parts.
- Test all functions that might have been affected. Check power seats, seat heaters, and any electrical components under the console.
- Give your car a good sniff test. Check for any lingering odors, especially after the car has been closed up for a while.
- If you still detect a musty smell, you may need to repeat the odor elimination steps. Consider using an ozone generator if the smell is very persistent. (Ozone generators require caution and proper ventilation).
Preventive Measures Going Forward:
- Regularly check for moisture. Briefly lift floor mats after heavy rain or car washes.
- Keep your car’s interior clean. Vacuum regularly. For a general guide on keeping your car clean, refer to articles like how to keep car clean. This holistic approach helps in preventing future moisture issues.
- Address any new leaks immediately. Do not wait for the matting to get soaked again.
- Consider using all-weather floor mats. These mats contain spills and moisture, protecting your carpet.
Completing these steps means your car’s interior is dry, clean, and healthy. You have protected your vehicle from potential long-term damage. You have also ensured a more pleasant driving experience. Your hard work has paid off.
FAQ Section
How long does it take to dry car carpet matting?
Drying car carpet matting can take anywhere from 24 hours to several days. The exact time depends on the saturation level. It also depends on the ambient humidity. Using fans, a dehumidifier, and good airflow speeds up the process significantly. Always ensure the matting feels completely dry to the touch before reassembly to prevent mold.
Can I just use my car’s heater to dry wet carpet?
Using your car’s heater alone is not enough for drying wet matting. The heater helps with surface moisture. It does not effectively penetrate the dense matting underneath the carpet. It also does not circulate enough air to promote thorough evaporation. You need additional airflow and moisture removal tools for complete drying.
What if I don’t dry the matting under my car carpet?
If you do not dry the matting under your car carpet, serious problems will arise. Mold and mildew will grow, causing strong musty odors and potentially affecting your health. The floor pan can rust, leading to costly structural damage. Electrical components
- car wet carpet
- automotive drying
- damp car floor
- car interior water damage
- auto maintenance

Todd Martin
Senior Writer
With over 15 years of experience in home renovation and design, I started HEG to share what I’ve learned with homeowners who want to create spaces that are both beautiful and functional. I’ve always believed in a hands-on approach, and over the years, I’ve picked up practical solutions that actually work. Through HEG, I aim to make home improvement more approachable, sharing real tips that help you create a home you truly love.