· Todd Martin · Home Improvement · 16 min read
How To Dissemble Ikea Malm Bed
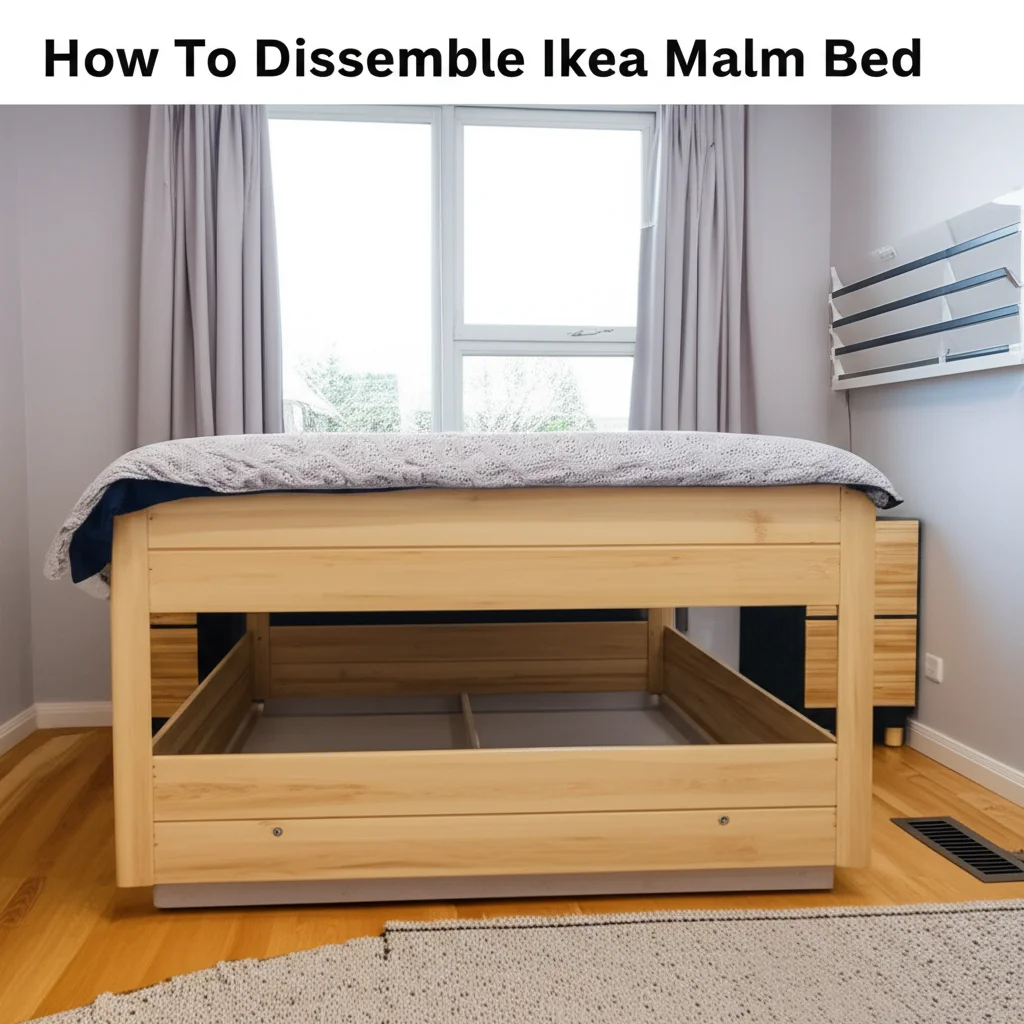
Dissemble Your IKEA Malm Bed with Ease
Moving can be exciting, but disassembling furniture often feels like a puzzle. If you own an IKEA Malm bed, you know its sleek design. However, taking it apart requires a clear plan. I faced this challenge when moving apartments. I quickly learned that proper preparation makes all the difference. This guide will show you how to dissemble your IKEA Malm bed smoothly. We will cover everything from gathering tools to handling each component. You will learn the best methods for keeping track of parts. This ensures an easy reassembly later. Let’s make your furniture move simple.
Takeaway:
- Gather all necessary tools before starting.
- Work systematically, removing components in order.
- Keep all hardware organized for easy reassembly.
- Clean components during disassembly if needed.
- Store parts flat to prevent damage.
Dissembling your IKEA Malm bed involves removing the mattress, slats, and then systematically detaching the frame components like side rails, headboard, and footboard using an Allen key and other basic tools, while carefully organizing all hardware for future reassembly.
Why Dissemble Your IKEA Malm Bed? Practical Reasons
Many reasons prompt people to dissemble their IKEA Malm bed. Moving to a new home is the most common one. A large bed frame simply will not fit through doorways or stairwells intact. Breaking it down makes transport much simpler. It also prevents damage to the bed itself during transit. I have seen many friends struggle with this. Disassembly saves headaches and prevents costly repairs.
Another common reason is storage. If you need to store your bed for a period, dissembling it saves space. The flattened components take up far less room than an assembled frame. This is useful for temporary housing situations or decluttering. It helps keep your items safe and compact. I used this approach myself when renovating a room.
Sometimes, you need to dissemble your IKEA Malm bed for repairs or cleaning. Over time, parts might loosen or get damaged. Taking the bed apart allows you to access specific sections. You can tighten screws, replace broken parts, or thoroughly clean the frame. Cleaning under the bed and its components becomes much easier with the frame apart. If you are cleaning other IKEA furniture, knowing how to handle different parts helps. You can learn more about how to clean IKEA furniture. This careful approach extends the life of your furniture.
Finally, disassembling helps if you plan to repurpose or dispose of the bed. You might want to paint the frame for a new look. Learning how to paint IKEA furniture without sanding can refresh its appearance. If you are getting rid of it, breaking it down often makes disposal easier. Many recycling centers or bulk trash services prefer disassembled items. Understanding the process helps you manage your furniture efficiently. This applies whether you are moving, storing, fixing, or preparing for disposal.
Tools and Preparations: Essential Steps Before You Start
Before you begin to dissemble your IKEA Malm bed, gather all necessary tools. Having the right equipment saves time and prevents frustration. The primary tool you will need is an Allen key. IKEA furniture often uses specific sizes, so check your original assembly instructions if you still have them. If not, a standard set of Allen keys usually contains the right size.
You will also need a Phillips head screwdriver for some screws. A flathead screwdriver might be useful for prying gently. A small hammer can help tap out dowels, but use it with care. A flashlight is helpful to see inside tight spaces. These tools are common household items. They make the disassembly process much smoother.
Preparing your workspace is another vital step. First, remove the mattress and bedding from the Malm bed frame. Set them aside in a safe place. Clear the area around the bed. You need ample space to work and lay out components. Make sure there is enough room to stand and move freely. I always try to work in a well-lit area. This helps you see small parts and avoid tripping.
Lastly, prepare containers for hardware. Small plastic bags or a divided container work well. Label each bag as you remove screws, bolts, and dowels. For example, “headboard screws” or “side rail bolts.” This step is critical for reassembly. Losing even one small part can make putting the bed back together a nightmare. I use clear zipper bags so I can see what is inside. This careful organization prevents headaches later.
Step-by-Step Guide: Dissembling the Malm Bed Frame
Dissembling your IKEA Malm bed frame systematically ensures you do not miss any steps. Start by completely stripping the bed. This means removing all bedding, pillows, and the mattress. Set the mattress aside carefully. If you are also moving a box spring, remove that too. The goal is to have only the bare bed frame remaining.
Next, remove the wooden bed slats. These usually sit on metal rails inside the bed frame. Many Malm beds have slats that are rolled together with a fabric strap. Simply lift these out. Some models might have individual slats. If they are secured, carefully undo any clips or screws. Store the slats together. Tying them with a rope or bungee cord keeps them neat.
Now, focus on the center support beam. The Malm bed typically has a metal or wooden beam running down the middle. This beam provides extra support for the slats and mattress. Locate the screws or bolts that attach it to the headboard and footboard. Use your Allen key or screwdriver to loosen and remove these fasteners. Take the beam out and set it aside. Remember to place its hardware into a labeled bag.
The side rails come next. Each side rail connects the headboard to the footboard. You will find large bolts or locking mechanisms at each corner. Use your Allen key to loosen these. Twist the cam locks or unscrew the bolts completely. As you free a side rail, gently pull it away from the headboard and footboard. Have someone help you if the bed is large. Carefully lay the freed side rails flat. This prevents bending or damage.
Disassembling the Malm Bed: Headboard, Footboard, and Rails
Once the side rails are detached, you can separate the headboard and footboard. These are the largest components of the Malm bed frame. They are typically held together by the remaining large bolts or cam locks that connected the side rails. With the side rails removed, the headboard and footboard should now stand independently, though they may still have attachment points.
Identify any remaining connecting hardware. On many Malm models, the headboard and footboard connect directly to each other through the side rails. Once the side rails are off, the headboard and footboard simply stand apart. If there are any additional dowels or small screws securing them, gently remove these. Sometimes, the headboard might have additional components like shelves or storage. If your Malm bed has these, carefully remove any screws holding them in place. These parts often attach from the back or inside.
Some Malm versions feature internal drawers or storage units under the bed. If your bed has these, now is the time to dissemble them. The drawers usually slide out easily. The drawer frames or support structures underneath might require separate disassembly. Follow the original IKEA instructions for these specific parts if you have them. Removing these components often involves detaching their glides or support brackets from the main frame. Remember to place all the screws and small parts from these storage units into a separate, clearly labeled bag. This helps avoid confusion when reassembling.
When disassembling the main headboard and footboard panels, look for any small connecting hardware that might hold two panels together. Some Malm headboards are not a single solid piece but two or more connected panels. These usually have cam locks or screws on the inside edges. Gently undo these. As you separate the pieces, lay them flat. Be careful not to scratch the surfaces. Moving the main components of a king-size bed can be challenging, even when disassembled. Getting help with the larger panels ensures safety. Consider how you might move a king size bed in pieces. This careful approach protects your furniture.
Handling and Storing Hardware & Components Safely
Proper handling and storage of your IKEA Malm bed’s hardware and components are essential. This step directly impacts the ease of reassembly. Once you remove screws, bolts, and cam locks, immediately place them into labeled bags or containers. I cannot stress this enough. Mix-ups can cause huge delays later. Use a separate bag for each type of fastener or for fasteners from a specific section, such as “headboard bolts” or “side rail screws.”
For smaller items like dowels or cam lock pins, a tackle box or a container with multiple compartments works well. This keeps everything visible and sorted. You can also tape the small bags of hardware directly onto the corresponding bed component. For example, tape the “headboard bolts” bag to the headboard itself. This method is foolproof. It ensures you have the right hardware with the right piece when it is time to put the bed back together.
When storing the bed components, aim to lay them flat. This prevents warping and damage. The headboard, footboard, and side rails are typically flat panels. Stack them carefully, using blankets or cardboard in between to prevent scratches. This is especially important for the finished surfaces. If you have limited space, stand them against a wall. Just make sure they are stable and will not tip over.
The bed slats and center support beam can be tied together. Use rope or bungee cords to create a neat bundle. This makes them easier to carry and store. If your Malm bed has under-bed drawers, stack their disassembled parts neatly. Keep all parts of the same drawer together. If you are disposing of furniture with bed bugs, disassembly might be necessary before removal. However, that is a different process entirely. If you are thinking about how to dispose of IKEA furniture after disassembly, specific guidelines may apply. Your focus now is safe storage for reuse. Proper storage protects your investment and simplifies your next assembly task.
Tips for Efficient Disassembly and Reassembly
Disassembling an IKEA Malm bed does not have to be a struggle. A few smart tips can make the process much more efficient. First, work with a partner if possible. An extra set of hands makes lifting large panels easier and safer. It also speeds up the process significantly. One person can hold a piece steady while the other unscrews bolts. I always ask a friend for help with furniture. This prevents dropped parts and pinched fingers.
Next, take photos as you go. Before you remove each major section, snap a picture. Get close-ups of how the different pieces connect. Pay attention to the orientation of parts. These photos serve as a visual guide for reassembly. They are incredibly helpful if you lose the instructions or forget a specific step. I rely on my phone camera for this. It is a simple step that saves a lot of guesswork later.
Consider cleaning the bed components as you dissemble them. This is an ideal time to deep clean areas you cannot reach normally. Wipe down the headboard, footboard, and side rails. Clean any dust or debris from inside the frame. This also applies to the slats. If you are moving, it means less to clean at your new home. Learning how to clean under bed areas becomes much simpler when the bed is apart. It ensures your bed is fresh when you reassemble it.
Finally, think about lubrication for reassembly. While not strictly necessary for disassembly, a small amount of lubricant on the threads of bolts can make future disassemblies easier. It also helps prevent squeaks. Just a tiny drop on the threads is enough. This makes the next move or rearrangement simpler. Preparing your bed for storage? Knowing how to store a bed frame properly involves keeping parts clean and organized. These small efforts now will pay off later.
Common Challenges and Troubleshooting During Disassembly
Even with a clear plan, you might face some challenges when you dissemble your IKEA Malm bed. One common issue is a stuck bolt or cam lock. Over time, screws and bolts can seize up. This is especially true if the bed has been assembled for many years. Do not force a stuck fastener. You could strip the head of the screw or damage the wood. Instead, apply gentle, firm pressure. Sometimes, a little wiggling back and forth helps to loosen it.
If a bolt is very stubborn, try a penetrating oil. Spray a small amount onto the threads. Let it sit for 10-15 minutes. This can help lubricate the threads and allow the bolt to turn. Be careful not to get oil on the wood finish. Wipe away any excess immediately. Another trick is to use a rubber mallet. Gently tap the end of the Allen key or screwdriver while turning. This can help break the grip of a stuck fastener. However, use caution to avoid damaging the tool or the hardware.
Losing hardware is another frequent problem. It is easy for small screws or dowels to roll away. This is why having labeled bags is so important. If you do lose a piece, check under furniture and in corners. Use a flashlight for better visibility. If you cannot find it, do not panic. IKEA usually sells replacement parts. You can also find compatible hardware at most home improvement stores. Just bring a sample of what you need.
Sometimes, a component might feel stuck even after all fasteners are removed. This can happen with dowel pins. If a panel does not easily separate, gently rock it back and forth. Avoid pulling with excessive force. You might bend or break the wooden dowels. A gentle tap with a rubber mallet can sometimes help. Tap near the dowel locations to nudge the pieces apart. Remember, IKEA furniture is designed for disassembly. Patience and a systematic approach will help you overcome most hurdles. If you managed to dissemble an IKEA Friheten sofa bed, the Malm bed will be simpler. Check out how to disassemble IKEA Friheten sofa bed for another reference.
Reassembly Ready: Tips for Your Next Build
You have successfully managed to dissemble your IKEA Malm bed. Now, let’s think about putting it back together. Reassembly is often easier than disassembly, especially when you have organized your parts well. The key is to reverse the steps you took to take it apart. Start with the largest components and work your way to the smaller ones.
First, lay out your headboard and footboard. Then, attach the side rails. Use the labeled bags of hardware you prepared during disassembly. Match the correct bolts and cam locks to each connection point. Make sure the side rails are oriented correctly. The pre-drilled holes should line up perfectly. Do not fully tighten all bolts immediately. Leave them slightly loose. This allows for minor adjustments as you connect all pieces.
Once the main frame (headboard, footboard, and side rails) is loosely assembled, insert the center support beam. Secure it to the headboard and footboard. Only after the center beam is in place should you go back and fully tighten all the frame bolts. Tighten them in a staggered pattern to ensure even pressure. This helps to prevent any wobbling or unevenness in the frame.
Finally, place the bed slats back into the frame. If your slats are individual, place them evenly across the support rails. If they are a roll of slats, simply unroll them onto the frame. Secure them if your model requires it. Add your mattress and bedding. Take a moment to check for any wobbles or loose connections. A stable bed provides better sleep. If you are thinking about how to dispose of a wooden bed frame instead of reassembling, consider local recycling options for wood. Proper reassembly means your Malm bed is ready for many more years of use.
FAQ Section
How long does it take to dissemble an IKEA Malm bed?
Disassembling an IKEA Malm bed typically takes about 30 to 60 minutes for one person. With two people, it can be even quicker, around 20-40 minutes. The exact time depends on your experience level and how well organized your tools and workspace are. Rushing can lead to mistakes, so take your time.
What tools do I need to dissemble an IKEA Malm bed?
You primarily need an Allen key (usually 4mm or 5mm, often included with IKEA furniture), a Phillips head screwdriver, and potentially a flathead screwdriver. A small hammer can be useful for dowels, and plastic bags or containers are essential for organizing hardware.
Can I reassemble my IKEA Malm bed after disassembling it?
Yes, IKEA Malm beds are designed to be disassembled and reassembled multiple times. The key to successful reassembly is carefully organizing all hardware during disassembly and following the steps in reverse order. Taking photos during disassembly also helps with reassembly.
What should I do with the hardware after disassembling the bed?
Place all screws, bolts, cam locks, and dowels into separate, clearly labeled plastic bags or compartments. Taping these bags to the corresponding bed components (e.g., headboard bolts to the headboard) is an excellent way to ensure nothing gets lost and makes reassembly much easier.
How do I prevent scratching the bed components during disassembly and transport?
Lay large components like the headboard and side rails flat. Place blankets, cardboard, or foam sheets between stacked pieces to prevent scratches. When transporting, wrap the components in moving blankets or bubble wrap. This protects the finish.
Is it hard to dissemble the IKEA Malm bed drawers?
No, disassembling the Malm bed drawers is generally straightforward. The drawers usually slide out easily from their runners. The drawer frames themselves can often be broken down further by unscrewing a few fasteners. Remember to keep all drawer hardware separate.
Conclusion
Dissembling your IKEA Malm bed might seem like a big task, but with the right approach, it becomes simple. We covered everything from gathering the essential tools to systematically taking apart each component. You learned the importance of labeling hardware, protecting parts during storage, and even troubleshooting common issues. Following these steps ensures your Malm bed remains in great condition, ready for its next assembly.
Remember, patience and organization are your best friends in this process. By applying these tips, you not only make disassembling your IKEA Malm bed easy but also prepare yourself for a smooth reassembly. Whether you are moving, storing, or just refreshing your space, you now have the knowledge to handle your Malm bed with confidence. Get ready to enjoy your newly moved or stored bed soon!

Todd Martin
Senior Writer
With over 15 years of experience in home renovation and design, I started HEG to share what I’ve learned with homeowners who want to create spaces that are both beautiful and functional. I’ve always believed in a hands-on approach, and over the years, I’ve picked up practical solutions that actually work. Through HEG, I aim to make home improvement more approachable, sharing real tips that help you create a home you truly love.