· Todd Martin · Home Improvement · 17 min read
How To Clean Varnish Brush
Achieve Pristine Finish: How to Clean Your Varnish Brush Effectively
Have you ever finished a varnishing project, only to dread the cleanup? Cleaning varnish brushes properly is important. A well-maintained brush performs better and lasts longer. It makes sure your next project looks just as good as the last. I will guide you through the best methods to clean varnish brushes, whether you use oil-based or water-based products. We will cover immediate cleanup, deep cleaning, and even how to save stiff brushes. You will learn the secrets to keep your varnish brushes in excellent condition for many projects to come.
Takeaway:
- Clean varnish brushes immediately after use.
- Use specific cleaners for oil-based (mineral spirits) and water-based (soap and water) varnishes.
- Always rinse brushes thoroughly until all residue is gone.
- Condition brush bristles to maintain softness and shape.
- Store brushes correctly to prevent damage and drying.
To clean a varnish brush, first determine if the varnish is oil-based or water-based. For oil-based, use mineral spirits or paint thinner. For water-based, use warm water and dish soap. Agitate the bristles in the cleaner, then rinse until clear. Finally, reshape and dry the brush completely.
Understanding Varnish Types and Their Cleaning Needs
Before you begin cleaning your varnish brush, you need to know what type of varnish you used. Varnish comes in different formulas. Each formula requires a specific cleaning agent. Using the wrong cleaner can damage your brush. It can also leave residue that ruins future projects. I always check the varnish label first.
Oil-Based Varnish: Solvent-Based Solutions
Oil-based varnishes are durable and popular for their rich finish. They contain resins and oils that dry by oxidation. This means they harden when exposed to air. To clean these brushes, you must use a solvent. Water will not work for oil-based products. Solvents dissolve the varnish, allowing it to release from the bristles.
Common solvents for oil-based varnish include mineral spirits and paint thinner. I often use mineral spirits because it has a milder odor. Paint thinner is more aggressive but also very effective. Always work in a well-ventilated area when using these chemicals. Safety is always a priority when dealing with solvents.
Water-Based Varnish: Simple Soap and Water
Water-based varnishes are eco-friendlier and dry faster. They contain acrylics or polyurethanes dispersed in water. These varnishes are easier to clean than oil-based types. You do not need harsh chemicals for them. This makes cleanup much simpler.
For water-based varnish, warm water and dish soap are usually enough. The soap helps break down the varnish residue. It lifts the particles from the brush bristles. I find this method quick and easy. It is also much safer for both me and my brushes.
Immediate Post-Use Cleaning: The First Essential Step
Cleaning your varnish brush right after use is vital. Varnish dries quickly, especially in warmer conditions. If varnish dries on the brush, it becomes much harder to remove. Dried varnish can permanently damage the bristles. This means you might have to throw out an expensive brush. My rule is: clean it as soon as you finish applying varnish.
Initial Wipe-Down: Removing Excess Varnish
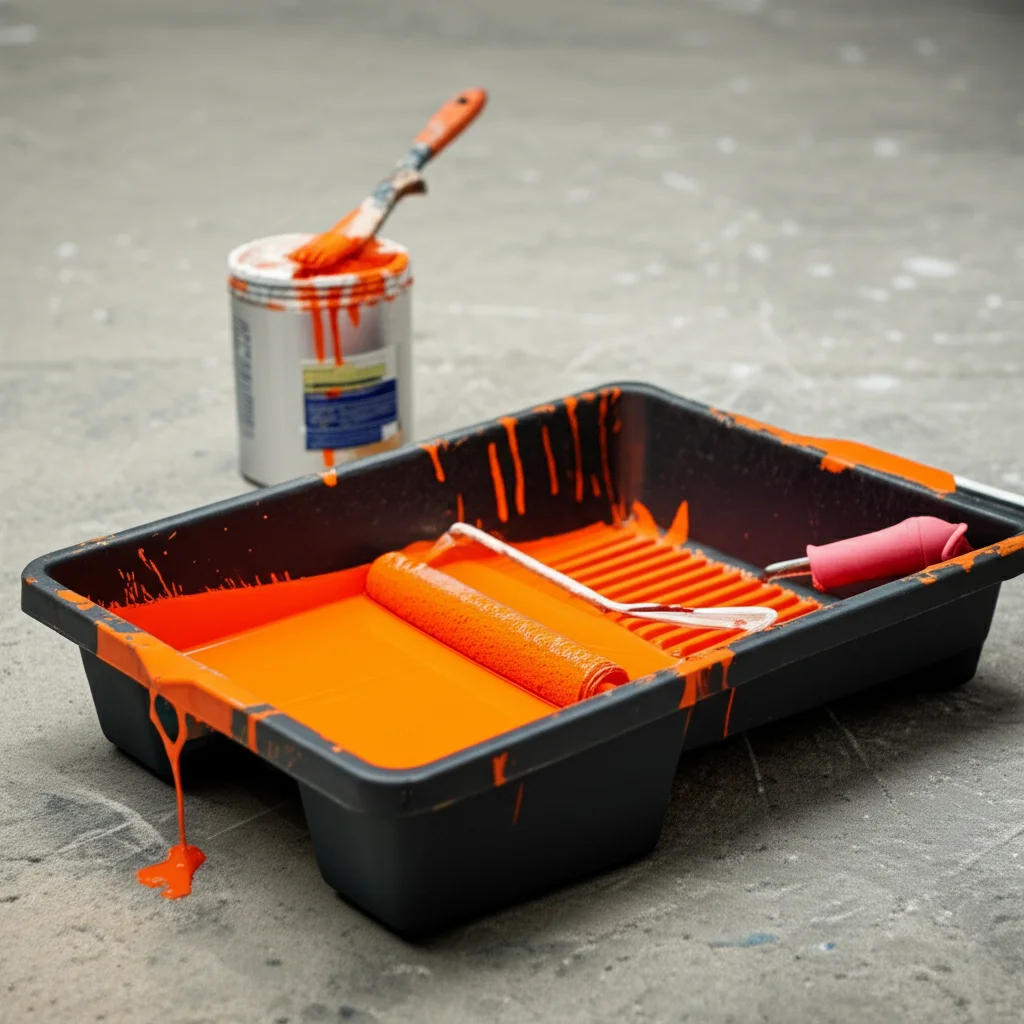
The first step is always to remove as much excess varnish as possible. I use the edge of the varnish can or a clean rag for this. Gently scrape the brush against the can’s rim. This pushes the varnish back into the can. You can also wipe the bristles with a paper towel or an old cloth. Be sure to press firmly but do not splay the bristles.
Removing the bulk of the varnish makes the deep cleaning process much easier. It reduces the amount of cleaner you need. It also prevents the varnish from spreading into the ferrule. The ferrule is the metal band holding the bristles. Varnish trapped there can cause the bristles to splay. This makes the brush useless for future projects.
Rough Cleaning: First Rinse
After wiping, it is time for the first rinse. If you used oil-based varnish, pour a small amount of mineral spirits into a clean container. Swirl the brush in the solvent. Press the bristles against the bottom and sides of the container. This helps release the varnish. Repeat this with fresh solvent until most of the color is gone.
For water-based varnish, hold the brush under warm running water. Gently work the bristles with your fingers. You will see the varnish wash away. Use mild dish soap to help lift the residue. Rub the brush on a bar of soap or squirt some liquid soap into the bristles. This initial cleaning removes most of the surface varnish. It prepares the brush for a more thorough wash. This step is similar to how you might clean a brush after staining, where removing the bulk of the product is key. How To Clean Brush After Staining
Deep Cleaning Techniques for Oil-Based Varnish Brushes
Deep cleaning oil-based varnish brushes requires careful attention. The solvents used need proper handling and disposal. This process ensures all varnish residue is gone. It also helps maintain the brush’s shape and softness. I always make sure I have enough ventilation and safety gear.
Using Mineral Spirits or Paint Thinner
Gather your supplies: mineral spirits or paint thinner, two clean containers, and a wire brush or comb for cleaning bristles. Pour about an inch of solvent into the first container. Dip your varnish brush into the solvent. Work the bristles against the bottom and sides of the container. You will see the varnish color leach into the liquid. Repeat this process until most of the color is gone. Do not let the solvent go above the ferrule. This can loosen the glue holding the bristles.
Once the first container’s solvent is very discolored, move to the second container. Fill it with clean solvent. Agitate the brush again in this fresh solvent. Continue this process until the solvent remains clear. This step ensures all residual varnish is removed. You can also use a brush spinner if you have one. It quickly forces the solvent through the bristles. This is particularly effective for thick brushes. Remember, proper disposal of used solvents is important. Check local regulations for disposal methods.
Soaking and Rinsing Thoroughly
After the solvent washes, the brush needs a final rinse and conditioning. Some people skip this part, but it is important for brush longevity. After the solvent rinses, clean the brush with warm soapy water. Use dish soap or a dedicated brush cleaner. Work the soap into the bristles, creating a lather. Rinse under running water until no more soap suds appear. The water should run clear. This removes any lingering solvent residue and further cleans the bristles.
If the varnish is especially stubborn, you might need to let the brush soak. Suspend the brush in a container of mineral spirits or brush cleaner for a few hours. Do not let the bristles touch the bottom. Use a brush clip or hang it. Soaking helps break down dried varnish within the bristles. After soaking, repeat the agitation and rinsing process. This can be very helpful for brushes that have started to stiffen from varnish. If you are ever cleaning a brush that has a stubborn stain, the process for a varnish brush can be similar. How To Clean Stain Off A Brush
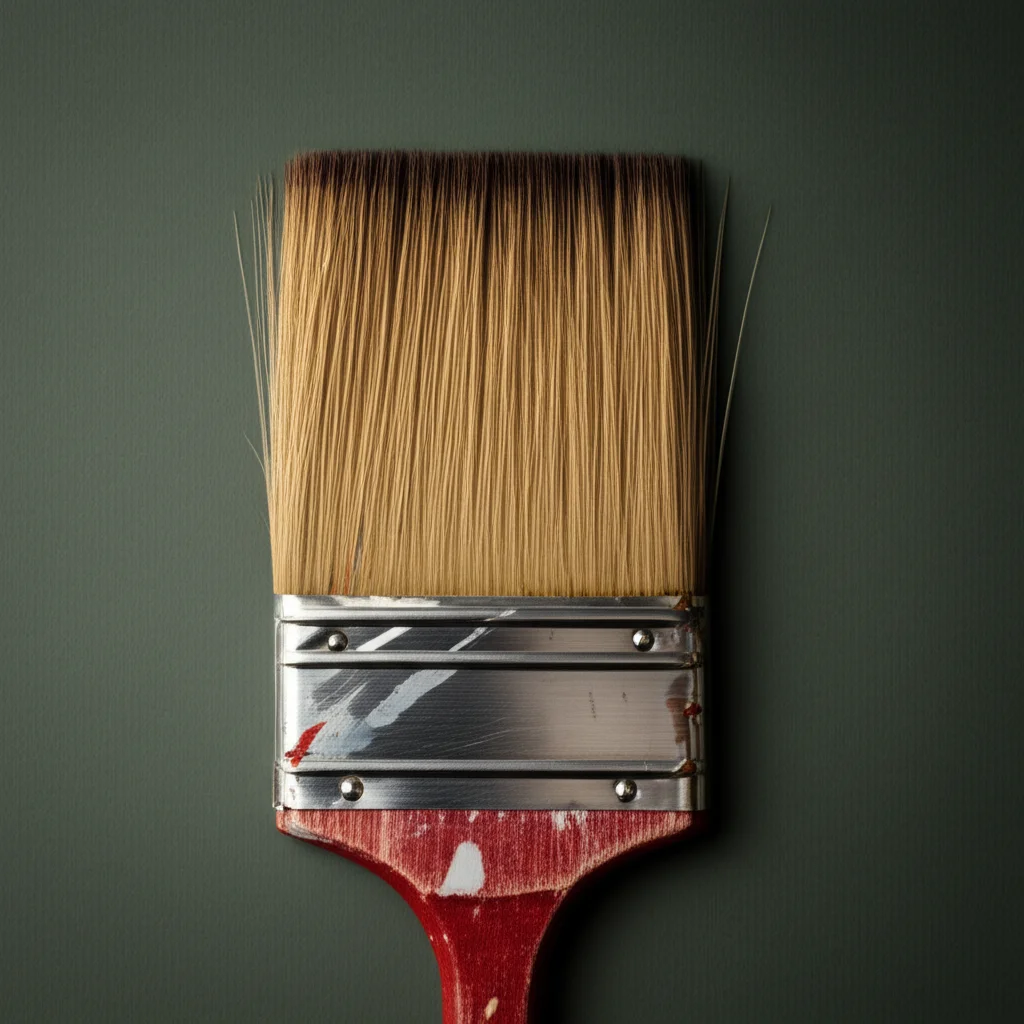
Conditioning the Bristles for Softness
After cleaning and rinsing, conditioning is essential. Just like your hair, brush bristles can dry out and become brittle. Conditioning helps them stay soft and flexible. This makes the brush easier to use next time. It also prevents splaying and extends the brush’s life.
I apply a small amount of brush conditioner or even hair conditioner to the bristles. Work it in thoroughly. Rinse it lightly, but leave a little conditioner in the bristles. Alternatively, some professionals suggest a small amount of linseed oil. Work a few drops into the bristles. This coats and protects them. It keeps them supple. The brush will be ready for its next use.
Effective Cleaning Methods for Water-Based Varnish Brushes
Cleaning water-based varnish brushes is generally simpler. You do not need harsh solvents. This makes the process quicker and safer. However, thoroughness is still key to a long-lasting brush. I always clean these brushes right away.
Simple Soap and Water Wash
For water-based varnish, warm water and dish soap are your best friends. Start by wiping off as much excess varnish as possible on the edge of the can. Then, hold the brush under warm running water. Gently work the bristles with your fingers. You will see the milky varnish wash away. Make sure the water penetrates all the way to the ferrule.
Next, squirt a generous amount of liquid dish soap directly onto the bristles. Work it into a good lather using your fingers. You can also rub the brush gently on the palm of your hand or a cleaning mat. The friction helps release the varnish particles. Continue scrubbing until the lather turns clear, not milky. Rinse the brush thoroughly under running water until no suds remain and the water runs perfectly clear. This means all the varnish and soap are gone.
Dealing with Stubborn Residue
Sometimes, even water-based varnish can dry a bit, leaving stubborn residue. This happens if you wait too long to clean the brush. In such cases, plain soap and water might not be enough. You might need a slightly stronger approach. Do not despair if your brush feels a little stiff.
You can try using a specialized brush cleaner designed for water-based paints and varnishes. These cleaners often contain mild detergents and conditioners. Follow the product instructions. Usually, it involves soaking the brush for a short period. Another trick is to use a mixture of warm water and a small amount of fabric softener. The fabric softener helps loosen the dried varnish and conditions the bristles. Soak the brush for 15-30 minutes, then repeat the soap and water wash. This often softens the stubborn bits. Always rinse extremely well after using any cleaning agent beyond simple dish soap.
Reviving Stiff or Dried Varnish Brushes
It happens to all of us. Sometimes, a varnish brush gets neglected. It sits out, and the varnish dries hard. A stiff or rock-hard brush seems useless. However, do not throw it away just yet. Many dried varnish brushes can be saved. Reviving them takes patience and the right products. I have brought many brushes back to life this way.
Soaking in Strong Solvents or Restorers
For brushes dried with oil-based varnish, strong solvents are needed. Mineral spirits might not be enough. Try paint thinner or specialized brush restorers. These products are formulated to break down hardened paint and varnish. Pour enough solvent into a container to submerge the bristles without covering the ferrule. Suspend the brush in the liquid using a brush clip or clothespin. This keeps the bristles from bending. Let it soak for several hours, or even overnight for very stiff brushes.
After soaking, gently work the bristles with your fingers or a stiff brush comb. You will see flakes of dried varnish come off. Repeat the solvent wash with fresh solvent. Rinse thoroughly with warm, soapy water. This process can be messy, so wear gloves. For polyurethane varnish, a specific cleaner might be even more effective. You can find more information on cleaning polyurethane off brushes. How To Clean Polyurethane Off Brush
Using Specialized Brush Restorer Products
There are commercial brush restorer products designed for this exact purpose. These often contain strong chemicals that penetrate and soften hardened varnish. They work well for both oil-based and some stubborn water-based varnishes. Follow the manufacturer’s instructions closely. These products often require soaking the brush for an extended period. Some might even suggest heating the solution slightly for better results. Always use these products in a well-ventilated area.
After soaking, vigorously work the bristles to remove the softened varnish. Use a brush comb or a stiff brush to get into the base of the bristles. Rinse the brush thoroughly with water, then wash with soap. You might need to repeat the process if the brush is very stiff. Once clean, condition the bristles. This helps restore their flexibility. Even though it takes effort, saving a good quality brush is worth it. It saves money and reduces waste.
Proper Drying and Storage of Varnish Brushes
After all that hard work cleaning your varnish brush, proper drying and storage are essential. Incorrect drying can lead to splayed bristles or mold. Poor storage can damage the brush shape. Your efforts to clean the brush will be wasted if you do not dry and store it correctly. I always take these final steps seriously to ensure my brushes last.
Drying Techniques for Optimal Brush Life
Once your brush is clean and conditioned, gently squeeze out excess water. Do not twist or wring the bristles. This can permanently damage their shape. Use a clean cloth or paper towel to blot the remaining moisture. Shape the bristles with your fingers. Make sure they form a neat, natural taper. Many brushes come with a cardboard cover or plastic wrapper. You can use this to help maintain the shape during drying. Slide it over the bristles after shaping.
Hang the brush upside down to dry. This prevents any residual moisture or solvent from seeping into the ferrule. Moisture in the ferrule can cause the glue to weaken. It can also lead to rust if the ferrule is metal. Use a clothesline with a clip or a brush drying rack. Air circulation is key. Make sure the brush is not touching anything. Allow ample time for the brush to dry completely, typically 24-48 hours. Drying it flat or upright can cause water to collect at the base of the bristles, leading to splaying or mildew.
Storing Brushes Correctly for Longevity
Proper storage protects your clean brushes from dust and damage. Once completely dry, store brushes in a way that preserves their shape. Lay them flat in a drawer or toolbox if space allows. You can also hang them using a hole in the handle. This prevents the bristles from bending or getting crushed. I prefer to store them flat or hanging.
For long-term storage, consider brush wraps or individual plastic sleeves. These protect the bristles from dust and keep them from splaying. You can also store them in their original cardboard sleeves if you saved them. Some people keep their brushes in a dedicated brush box or container. This keeps them organized and safe. Avoid storing brushes bristle-down or jammed into a container with other tools. This will deform the bristles and ruin the brush. Storing brushes correctly is a simple step that greatly extends their life.
Essential Tips for Varnish Brush Longevity
Beyond cleaning, certain habits ensure your varnish brushes last. These tips are about preventive care. They help you avoid common mistakes that shorten a brush’s lifespan. Following these practices means you will spend less money replacing brushes. You will also have reliable tools for all your projects.
Never Let Varnish Dry on the Brush
This is the most crucial tip. The moment you finish applying varnish, start the cleaning process. Even a few minutes of drying time can make cleaning much harder. If you need to take a break during varnishing, wrap the brush in plastic wrap. You can also submerge the bristles in the appropriate solvent or water. This keeps the varnish wet. If you are doing multiple coats over a day or two, you can store the wet brush. Wrap it tightly in plastic wrap or aluminum foil. Then place it in the refrigerator. This slows down the drying process for a short period. Bring it to room temperature before reuse.
Use the Right Cleaner for the Varnish Type
As we discussed, using the correct cleaner is non-negotiable. Oil-based varnish needs mineral spirits or paint thinner. Water-based varnish needs water and soap. Never try to clean oil-based varnish with water. You will ruin the brush. Likewise, strong solvents are usually unnecessary for water-based products. They can be harsh on the bristles. Always check the varnish label for cleaning instructions. This ensures you use the most effective and safest method for your brush.
Regular Conditioning and Proper Reshaping
After every cleaning, conditioning the bristles is important. This helps them retain their flexibility and softness. It prevents them from becoming brittle or splaying. A small amount of brush conditioner or even hair conditioner works wonders. Work it through the bristles, then rinse lightly.
Always reshape the bristles after washing. Use your fingers to bring them back to their original form. A brush comb can also help align the bristles perfectly. This ensures the brush maintains its intended shape. A well-shaped brush applies varnish smoothly and evenly. It makes your work look professional. This small step makes a big difference in brush performance and lifespan.
FAQ Section
How often should I clean my varnish brush?
You should clean your varnish brush immediately after every use. Varnish dries quickly. Allowing it to dry on the bristles makes cleaning much harder. Prompt cleaning ensures the varnish does not harden. This preserves the brush’s softness and shape for future projects.
Can I use the same cleaning method for all types of varnish?
No, you cannot. Different varnish types require different cleaning methods. Oil-based varnishes need solvents like mineral spirits or paint thinner. Water-based varnishes clean up easily with warm water and dish soap. Always check the varnish label for specific cleaning instructions to prevent brush damage.
What if my varnish brush has dried hard? Can I still save it?
Yes, often you can save a varnish brush that has dried hard. For oil-based varnish, soak the brush in paint thinner or a specialized brush restorer. For water-based varnish, a prolonged soak in warm soapy water or fabric softener might work. Patience and thorough cleaning steps are key to reviving it.
How do I store my varnish brushes after cleaning?
After cleaning and completely drying, store varnish brushes to protect their shape. Hang them upside down to prevent bristle splaying. You can also lay them flat in a drawer. Use brush covers or sleeves to protect the bristles from dust and damage. Avoid storing them bristle-down in a container.
Are there any substitutes for mineral spirits for oil-based varnish?
While mineral spirits are standard, some alternatives exist. Acetone or lacquer thinner can work for stubborn cases, but they are very strong and require extreme ventilation and caution. Specialized “green” paint thinners are also available. These are often less toxic but may be less effective. Always check product compatibility with your varnish.
What is the best way to dispose of used varnish cleaning solvents?
Proper disposal of used solvents is crucial. Never pour them down the drain. Allow the solids to settle to the bottom of the container. You can then pour off the cleaner solvent for reuse. Take the remaining sludge and completely dried-out solids to a hazardous waste collection facility. Check with your local waste management services for specific guidelines in your area.
Conclusion
Cleaning your varnish brush properly is not just a chore; it is an investment. It ensures your tools perform their best for every project. We have covered the critical differences between cleaning oil-based and water-based varnish brushes. We also discussed the importance of immediate cleanup and how to revive even the stiffest brushes. Remember to always use the correct cleaning agent, whether it is mineral spirits or simple soap and water. I hope these steps help you keep your brushes in top shape.
By following these guidelines, you extend the life of your brushes. You also get smoother, more professional-looking finishes. A clean brush makes all the difference. Take the time to care for your tools, and they will care for your projects. Get ready to tackle your next varnishing task with confidence, knowing your brush is ready. Start cleaning your varnish brush effectively today and see the lasting benefits for yourself!
- varnish brush
- brush cleaning
- wood finishing
- DIY cleaning
- brush care
- cleaning tools
- home maintenance

Todd Martin
Senior Writer
With over 15 years of experience in home renovation and design, I started HEG to share what I’ve learned with homeowners who want to create spaces that are both beautiful and functional. I’ve always believed in a hands-on approach, and over the years, I’ve picked up practical solutions that actually work. Through HEG, I aim to make home improvement more approachable, sharing real tips that help you create a home you truly love.