· Todd Martin · Kitchen Cleaning · 12 min read
How To Clean Dish Brush

How to Clean Your Dish Brush for a Sparkling Kitchen
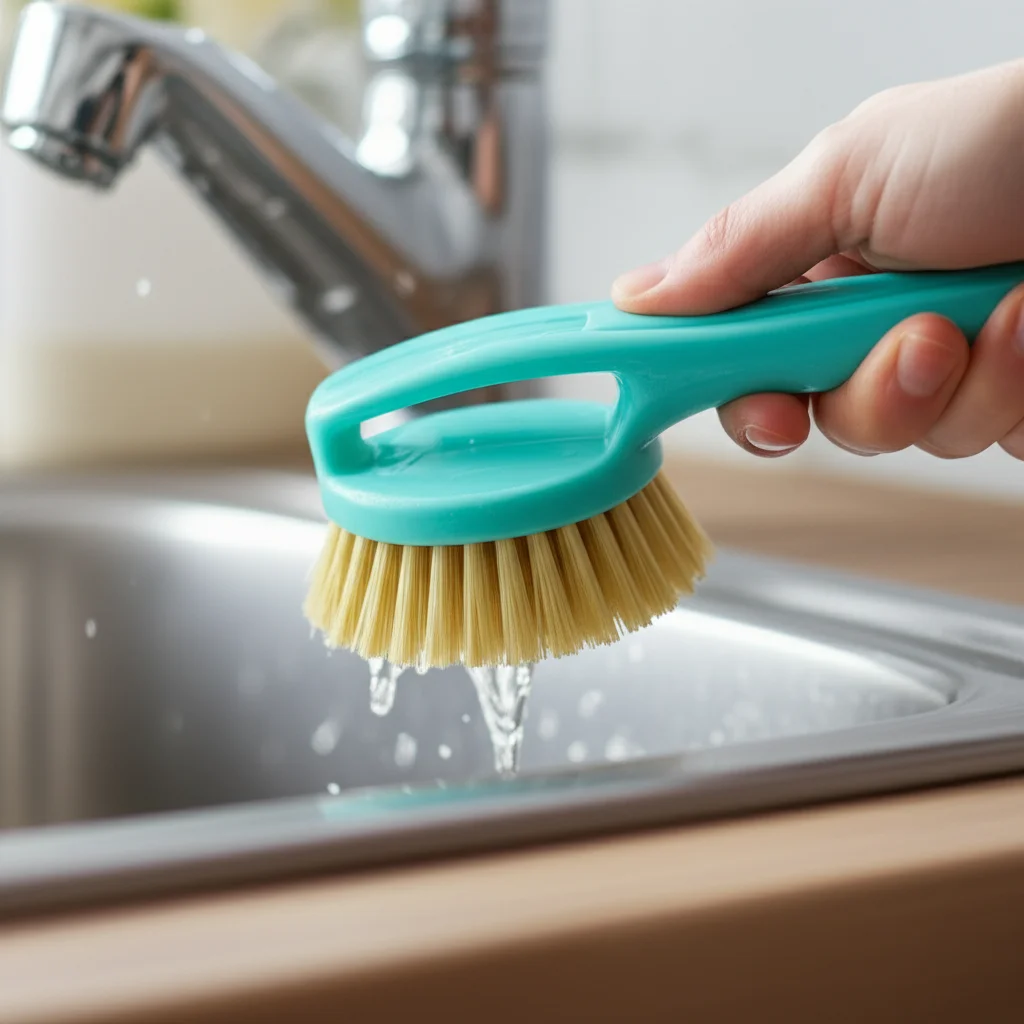
Have you ever stopped to think about the state of your trusty dish brush? It works hard every day, scrubbing away food particles and grease from your plates, pots, and pans. This constant contact with food residue and water makes it a prime spot for bacteria growth. Learning how to clean dish brush correctly is not just about aesthetics; it is about maintaining a truly hygienic kitchen.
A dirty dish brush can spread germs instead of cleaning them. It can also develop unpleasant odors. Regularly cleaning and sanitizing your dish brush ensures it remains an effective and safe tool. This article will guide you through various methods to keep your dish brush spotless. We will also cover frequency, drying, and when it is time for a replacement.
Takeaway:
- Sanitize your dish brush regularly using methods like dishwashing, boiling, or soaking in vinegar or bleach solutions.
- Allow your dish brush to dry completely between uses to prevent mold and mildew growth.
- Replace your dish brush every few weeks or when it shows signs of wear or persistent odor.
To effectively clean your dish brush, regularly rinse it with hot water, then sanitize it using methods like boiling, soaking in a bleach solution, or running it through the dishwasher. This removes food particles and kills bacteria, ensuring your brush stays hygienic for daily use.
Why Your Dish Brush Needs Regular Cleaning
Your dish brush is a frontline defense against kitchen mess. It constantly tackles food scraps, grease, and grime. While it helps clean your dishes, it also picks up a lot of microscopic debris and bacteria in the process. This makes it a hotspot for microbial growth if not cleaned often.
Think about it: after you scrub that last plate, where do all the tiny food bits and bacteria go? Many stick to the brush bristles. If these are not removed, they can multiply rapidly in the damp environment. This leads to unpleasant smells and can even transfer germs back onto your supposedly clean dishes.
A dirty dish brush is not just smelly; it is a health risk. Studies have shown that kitchen cleaning tools can harbor more bacteria than your toilet. E. coli and Salmonella are just a couple of the unwelcome guests that can thrive on a neglected brush. Regular cleaning helps to eliminate these harmful pathogens.
Maintaining a clean dish brush also extends its lifespan. Food residue and mineral buildup can stiffen bristles and make the brush less effective. Cleaning helps keep the bristles soft and flexible. This ensures your brush works efficiently every time you reach for it.
Cleaning Your Dish Brush: Step-by-Step Methods
There are several effective ways to clean your dish brush, each with its own benefits. The best method for you might depend on the type of brush you have and the time you have available. I often rotate between these methods to ensure my brush stays truly pristine. Always rinse your brush thoroughly with hot water after each use to remove loose food particles. This simple step goes a long way in preventing buildup.
The Dishwasher Method
Using your dishwasher is one of the easiest ways to sanitize a dish brush. Many dish brushes are designed to be dishwasher safe. Just place your dish brush in the utensil basket or securely on the top rack. The hot water and powerful detergents in the dishwasher will effectively clean and sanitize it.
Run it through a normal wash cycle with your other dishes. The high temperatures reached during the drying cycle also help to kill any remaining bacteria. This method is convenient and requires minimal effort from you. It is a great way to keep your dish brush clean without extra steps. You can also sanitize other kitchen items like how to clean glass baking dish or even learn how to clean dish-washer itself for overall kitchen hygiene.
Boiling Water Sanitization
Boiling water is a simple yet powerful way to sanitize your dish brush. This method is excellent for brushes that can withstand high heat. First, remove any large food particles from the brush. Then, bring a pot of water to a rolling boil.
Carefully place the dish brush bristles-down into the boiling water. Let it boil for at least 2-3 minutes. This intense heat will kill most bacteria and loosen any stubborn grease or residue. After boiling, use tongs to carefully remove the brush. Allow it to cool completely before handling, then rinse it thoroughly under running water. This method works well for many types of brushes, including similar ones like how to clean bottle brush.
Vinegar Soaking Solution
White vinegar is a natural disinfectant and deodorizer, perfect for dish brush cleaning. It is a gentler option than bleach, making it suitable for most brush materials. First, give your brush a good rinse under hot water to remove any loose debris. Then, fill a bowl with equal parts white vinegar and hot water.
Submerge the entire dish brush in the solution. Let it soak for at least 30 minutes, or even overnight for a deep clean. The vinegar works to break down grease, eliminate odors, and kill common bacteria. After soaking, rinse the brush thoroughly with clean water. This method is also useful for tackling light how to clean stains on plastic parts of your brush.
Bleach Disinfection
For a powerful germ-killing clean, a diluted bleach solution is highly effective. This method should be used cautiously and less frequently due to bleach’s potency. Always ensure good ventilation when working with bleach. First, mix one teaspoon of liquid bleach with one gallon of water in a basin.
Submerge your thoroughly rinsed dish brush in this solution. Let it soak for about 5-10 minutes. Do not exceed this time, as bleach can degrade some brush materials. After soaking, rinse the brush exceptionally well under running water to remove all traces of bleach. This method provides robust sanitization.
Dealing with Stubborn Stains and Odors
Sometimes, even after regular cleaning, your dish brush might develop stubborn stains or a lingering odor. These issues often indicate embedded food particles or bacterial buildup that a quick rinse cannot tackle. Do not despair; there are specific steps you can take to revitalize your brush. I have found these extra steps often save a brush from an early retirement.
For persistent odors, the vinegar soaking method (mentioned earlier) is particularly effective. The acetic acid in vinegar neutralizes odor-causing bacteria. You can also try sprinkling baking soda directly onto the wet bristles. Let it sit for 15-30 minutes, then scrub the brush against itself under running water. Baking soda is known for its deodorizing properties and gentle abrasive action.
Stubborn stains, especially on plastic handles or bristles, can be tricky. For general discoloration, a paste made from baking soda and a little water can work wonders. Apply the paste to the stained area and let it sit for a few minutes. Then, gently scrub with an old toothbrush or a cloth. This can lift surface stains.
For more severe stains, a very diluted bleach solution (as described in the previous section) might be necessary, but use it sparingly and test on an inconspicuous area first. Always rinse thoroughly after using any strong cleaning agent. If your brush has a how to clean stainless steel handle, a dab of dish soap and warm water is usually enough to keep it gleaming. These methods help restore your dish brush’s fresh appearance and functionality.
Drying and Storing Your Dish Brush Properly
Proper drying and storage are just as important as cleaning for maintaining a hygienic dish brush. A damp brush is a breeding ground for bacteria, mold, and mildew. Air circulation is key to preventing these issues. I always make sure my dish brush dries completely between uses; it makes a huge difference.
After cleaning or using your dish brush, shake off excess water vigorously. Do not just leave it lying flat in the sink or a damp dish rack. Instead, store it upright in a holder or a caddy that allows air to circulate around the bristles. Some sink caddies have drainage holes, which are ideal.
Avoid storing your dish brush directly next to your dish soap or in a spot where it stays wet. A small, elevated stand or a suction cup holder on the side of the sink can keep it off the counter and promote airflow. If your sink has a divider, hanging the brush over it can also work. This prevents water from pooling at the base of the bristles, which encourages microbial growth and can also degrade the brush material over time.
Ensuring your brush is dry also helps prevent unpleasant odors from forming. A consistently damp environment leads to musty smells. By providing adequate drying time, you are not only keeping your brush cleaner but also extending its useful life. This simple habit makes a big impact on kitchen hygiene.
How Often Should You Clean Your Dish Brush?
The frequency of cleaning your dish brush depends on how often you use it and what you are cleaning with it. For most households, regular maintenance is vital to prevent bacterial buildup. I try to make it a part of my routine, as it does not take much time. Daily rinsing is a good starting point.
After each use, rinse your dish brush thoroughly with hot water to remove visible food particles. This prevents immediate buildup. For deeper cleaning, aim to sanitize your dish brush at least 2-3 times per week if you use it daily. If you wash a lot of greasy pots or deal with raw meat residue, you might want to sanitize it more frequently, perhaps every other day.
If you notice your dish brush starting to smell or if the bristles look grimy, that is a clear sign it needs an immediate deep clean, regardless of your regular schedule. Do not wait for unpleasant odors to appear; that means bacteria are already thriving. Being proactive saves you from a bigger problem later on.
Think about the types of dishes you are washing. If you primarily wash lightly soiled dishes, weekly sanitization might suffice. However, for heavy-duty cleaning involving stubborn food residue, more frequent cleaning is recommended. Consistency in cleaning helps ensure your dish brush remains a tool for cleanliness, not a source of contamination in your kitchen.
When to Replace Your Dish Brush
Even with the best cleaning routine, dish brushes do not last forever. Knowing when to replace your dish brush is crucial for maintaining effective cleaning and kitchen hygiene. A worn-out brush simply cannot do its job as well as a new one. I make it a point to inspect my brush regularly for signs of wear.
Look for these key indicators that it is time for a replacement:
- Frayed or Bent Bristles: If the bristles are splayed, matted, or permanently bent, they will not effectively scrub away food. They lose their abrasive power, leaving residue behind.
- Persistent Odor: If your dish brush still smells unpleasant even after a thorough cleaning and sanitization, it means bacteria are deeply embedded and cannot be removed. This is a strong indicator to toss it.
- Discoloration or Stains: Beyond superficial stains that can be cleaned, deep, persistent discoloration that does not come out might mean the material itself is breaking down or absorbing grime.
- Mold or Mildew: Any visible signs of mold or mildew, especially at the base of the bristles or on the handle, mean the brush is compromised and should be replaced immediately. These can spread harmful spores.
- Loose or Broken Handle: If the handle is cracked, wobbly, or separates from the brush head, it becomes difficult and unsafe to use.
As a general guideline, plan to replace your dish brush every 1-3 months, depending on usage. Heavy users might need a new one sooner, while those who use it less frequently might get a bit more time. Regularly inspecting your dish brush ensures you are always cleaning with an effective and hygienic tool.
Beyond the Brush: General Kitchen Hygiene Tips
A clean dish brush is a great start, but maintaining overall kitchen hygiene involves more than just one tool. A truly clean kitchen environment requires attention to multiple areas. I find that adopting a holistic approach to cleanliness keeps my kitchen sparkling and safe. This includes surfaces, sponges, and other frequently used items.
Regularly wipe down your countertops, sink, and stovetop with an appropriate cleaner. These surfaces are where food preparation happens, making them prone to spills and bacterial growth. Use separate cloths for different tasks to avoid cross-contamination. For example, a cloth for wiping down counters should be different from one used for the sink.
Do not forget about your sponges. Sponges can harbor even more bacteria than dish brushes due to their porous nature. Sanitize your sponge daily by microwaving it (when wet) for one minute, running it through the dishwasher, or soaking it in a bleach solution. Replace sponges every week or two. You should also ensure your dish drying mat is clean; learn how to clean dish drying mat to prevent moisture-related issues.
Wash your hands frequently, especially after handling raw meat or before preparing food. This simple habit prevents the spread of germs. Also, clean out your sink drain regularly; food particles can accumulate there and cause odors or blockages. Incorporating these practices alongside diligent dish brush cleaning will create a truly healthy and inviting kitchen space.
Conclusion
Keeping your dish brush clean is a small but mighty step in maintaining a hygienic kitchen. We have covered various effective methods, from the convenience of the dishwasher to the powerful sanitizing action of boiling water, vinegar, and bleach solutions. Remember, daily rinsing and proper drying are just as crucial as the deep cleans. By understanding how to clean dish brush effectively and knowing when it is time for a replacement, you ensure your cleaning tools are always working for you, not against you.
A clean dish brush fights off odors and harmful bacteria, keeping your dishes sparkling and your family safe. Make brush cleaning a regular part of your kitchen routine. Your nose, your dishes, and your health will thank you. Start implementing these simple cleaning habits today for a fresher, cleaner home.
- dish brush cleaning
- kitchen hygiene
- brush sanitization
- cleaning tools
- household hacks


