· Todd Martin · Beauty & Personal Care · 11 min read
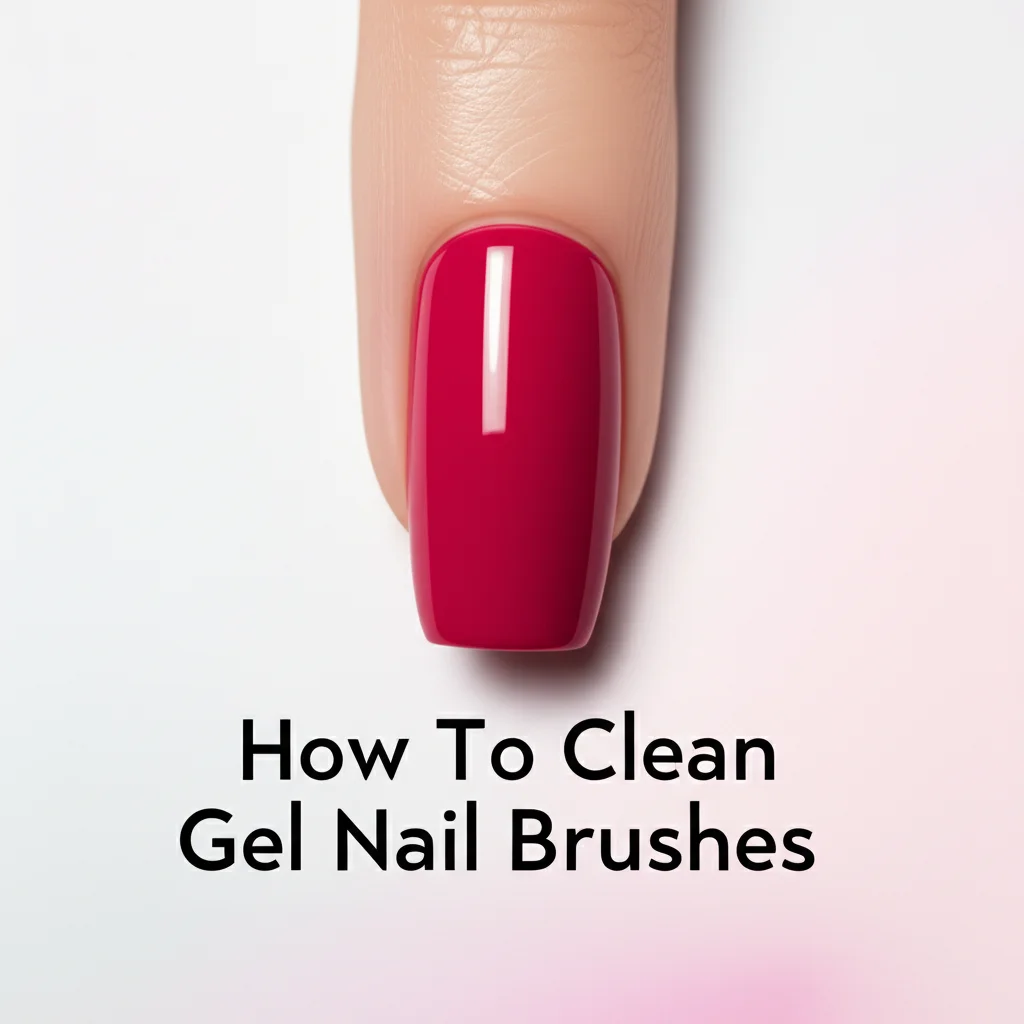
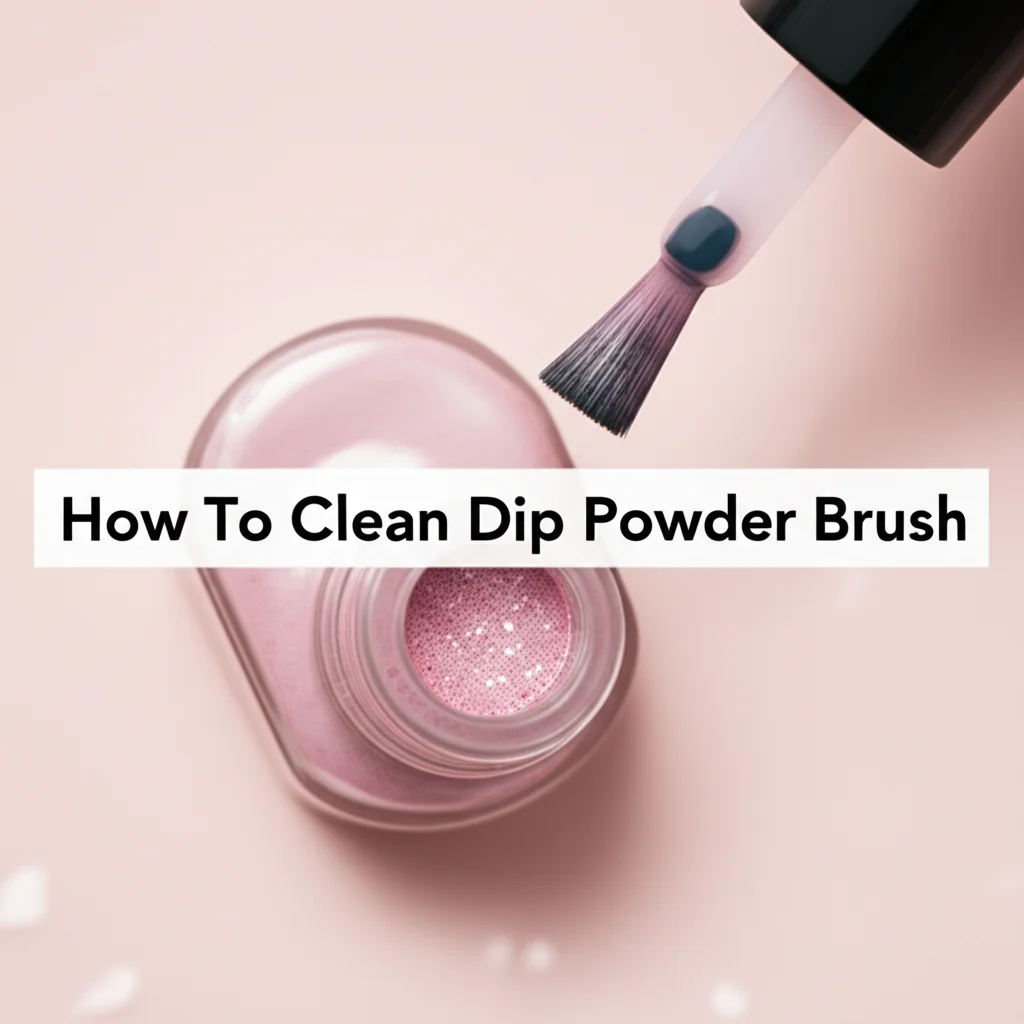
How To Clean Dip Powder Brush
Mastering Brush Care: How to Clean Dip Powder Brushes
Have your dip powder brushes become stiff or clumpy? You are not alone. Many nail enthusiasts face this common issue. Proper cleaning of your dip powder brushes is essential for flawless manicures. It keeps your tools in top condition. This guide will show you how to clean dip powder brush tools correctly. We will cover essential cleaning methods, common problems, and maintenance tips. By the end, you will know how to keep your brushes soft and ready for every application. Let’s make your dip powder experience smoother and more enjoyable.
Takeaway:
- Regularly clean dip powder brushes to prevent stiffness and product buildup.
- Use acetone or specialized brush saver liquids for effective deep cleaning.
- Gently reshape bristles and allow brushes to air dry completely for best results.
- Store brushes properly to maintain their integrity and extend their lifespan.
To clean a dip powder brush, soak it in a specialized brush saver liquid or 100% acetone until the product softens. Gently wipe away residue with a paper towel. Reshape the bristles. Allow the brush to air dry completely. This method removes hardened dip powder and restores brush softness.
Understanding Your Dip Powder Brushes: Anatomy and Purpose
Dip powder manicures offer a durable and shiny finish. The brushes used in this process are key to a good result. Knowing their parts helps in cleaning them. A dip powder system often includes several liquids. Each liquid has its own brush.
The base coat brush applies the adhesive layer. This layer holds the dip powder. The activator brush cures the powder, making it hard. The top coat brush gives the final shine. Each brush comes into contact with different chemicals and powders. This contact can cause residue to build up on the bristles. Over time, this buildup hardens. Hardened brushes make smooth application difficult. This affects your manicure quality. Proper understanding of each brush’s role helps us clean it correctly.
Why Proper Cleaning of Dip Powder Brushes is Crucial
Cleaning your dip powder brushes is more than just good practice. It is essential for several reasons. Dirty brushes lead to poor manicure results. They can also ruin your costly dip liquids. Let’s look at why cleaning matters so much.
First, product buildup on bristles causes stiffness. A stiff brush cannot spread the liquids evenly. This results in lumpy or uneven nail applications. You might see streaks or thick spots. Second, unclean brushes can contaminate your dip powder jars. Bits of hardened liquid or powder can fall into the jars. This makes the entire powder clumpy or unusable. Third, regular cleaning extends the life of your brushes. Brushes are an investment. Keeping them clean means you do not have to replace them often. This saves you money in the long run. Finally, clean brushes ensure a hygienic process. This protects your nails from unwanted bacteria.
Essential Tools and Solutions for Cleaning Your Dip Powder Brush
Before you start cleaning, gather the right supplies. Having everything ready makes the process easy. The tools you use affect how well you clean your brushes. Choose them wisely.
The most important item is a proper cleaning solution. Many people use 100% pure acetone. Acetone is strong. It dissolves hardened dip powder liquids effectively. Another option is a specialized “brush saver” liquid. These products are made specifically for dip powder brushes. They are often gentler than pure acetone. Brush savers can also condition bristles. You will also need lint-free paper towels or cotton pads. These absorb the dissolved product without leaving fibers. A small, shallow dish is useful for soaking brushes. Some people use a glass or ceramic container. Avoid plastic if using pure acetone, as it can damage some plastics. A brush reshaper or even your fingers help restore the brush shape after cleaning. Remember, selecting the right cleaning agent is key to restoring your brush effectively. If you are exploring how to clean stains off brushes generally, you might find more tips on how to clean stain off a brush.
Step-by-Step: The Best Way to Clean a Stiff Dip Powder Brush
A stiff dip powder brush can be frustrating. But you can restore it to its original softness. Follow these steps carefully for the best results. This method focuses on deep cleaning. It removes stubborn buildup.
First, pour a small amount of brush saver liquid or 100% acetone into a shallow dish. Only put enough to cover the bristles. Do not let the liquid touch the ferrule (the metal part) or the handle for too long. This can weaken the glue holding the bristles. Submerge the stiff bristles into the liquid. Let them soak for a few minutes. For very stiff brushes, you might need to soak them for 10-15 minutes. The liquid will begin to dissolve the hardened product. You will see the residue start to come off.
Next, gently move the brush back and forth in the liquid. You can also press the bristles lightly against the bottom of the dish. This helps work the solution through the bristles. Avoid scrubbing or pulling too hard. This can damage the brush shape. Once the bristles feel softer, remove the brush from the solution. Wipe the dissolved product and liquid onto a lint-free paper towel. Repeat this process if the brush is still stiff. Dip it back into fresh cleaning solution. Continue until the bristles are completely soft and free of residue. This gentle method works well for removing tough residues like polyurethane from other types of brushes, similar to how one might approach cleaning a brush used for how to clean polyurethane off brush.
Finally, reshape the bristles. Use your fingers or a brush reshaper tool. Gently press the bristles back into their original flat or pointed shape. Lay the brush flat on a clean, dry paper towel. Allow it to air dry completely. Do not stand the brush upright while wet. Water or cleaning solution can seep into the ferrule. This can loosen the glue over time. Ensure the brush is fully dry before its next use. This detailed process will bring your stiff dip powder brush back to life.
Quick Cleaning and Daily Maintenance Tips for Dip Powder Brushes
Regular maintenance prevents your dip powder brushes from getting stiff. Quick cleaning after each use saves you from deep cleaning later. These small habits make a big difference. They keep your brushes ready for action.
After each dip liquid application, quickly wipe the brush on a clean paper towel. This removes excess product before it hardens. You can also dip the brush into a small amount of brush saver or acetone immediately after use. Swirl it gently for a few seconds. Then, wipe it clean. This immediate action prevents product from drying on the bristles. It stops buildup before it becomes a problem. Think of it like daily care for your hairbrush; just as you might regularly clean buildup from a hairbrush to keep it effective, you should do the same for your nail brushes. Learn more about preventing buildup by checking out tips for how to clean buildup on hair brush.
Another tip is to have a separate “brush saver” bottle. After using a brush, put it directly into this bottle. The liquid keeps the bristles submerged. This prevents hardening between uses. Just remember to change the liquid regularly. It gets dirty over time. Proper storage is also vital. Store your brushes lying flat or standing upright in a brush holder. Protect them from dust and direct sunlight. These simple steps prolong the life of your valuable dip powder brushes. They ensure your brushes are always in top condition.
Troubleshooting Common Dip Powder Brush Issues
Even with good care, you might encounter specific brush problems. Knowing how to troubleshoot these issues saves your tools. Let’s address some common frustrations.
One common issue is extremely stiff or hardened brushes. This usually happens when product dries completely on the bristles. For these brushes, a longer soak in acetone or brush saver is needed. You might need to repeat the soaking and wiping process several times. Patience is key here. Do not force the bristles to bend. This can cause damage. Let the solution do the work. If your brush has extreme buildup, you may need a specialized brush restorer. These products are stronger. They help break down very stubborn residue. They work well for situations where you might need to clean a beauty blender or powder puff too, for similar stubborn makeup buildup. For more insights on cleaning beauty tools, you can check out guides like how to clean beauty blender powder puff.
Another problem is frayed or splayed bristles. This can happen from rough handling or improper drying. Once bristles are splayed, it is hard to fully restore them. You can try reshaping them more aggressively after cleaning. Use your fingers to press them firmly into their correct shape. A brush guard can help keep the shape while drying. If the bristles are severely damaged, it might be time for a replacement. Sometimes, prevention is the best cure. Always handle your brushes gently. Ensure they dry completely in the correct shape.
Extending the Life of Your Dip Powder Brushes: Advanced Care and Storage
Beyond basic cleaning, advanced care practices can significantly extend your brushes’ lifespan. Think of these as investments in your tools. These steps help maintain peak performance.
Consider using a dedicated brush “hospital” jar. This is a small jar filled with fresh brush saver liquid. After each use, immediately place the brush into this jar. The bristles stay submerged in the cleaning solution. This prevents any product from hardening. It keeps them soft and ready for the next use. Change the liquid in this jar regularly. It will become cloudy with dissolved product. This method is especially useful for the activator brush. The activator is notorious for hardening bristles quickly.
Proper storage is also vital. After cleaning and drying, store your brushes in a way that protects their shape. Lay them flat in a drawer. Or, stand them upright in a brush holder with bristles pointing up. Make sure the bristles do not touch anything that could bend or splay them. Keep them away from direct sunlight and extreme temperatures. Heat can damage bristles over time. A sealed container can also protect them from dust. By following these advanced care and storage tips, you ensure your dip powder brushes remain in excellent condition. This extends their usability for many manicures to come.
FAQ Section
How often should I clean my dip powder brushes?
You should quick clean your dip powder brushes immediately after each use. A deeper cleaning is recommended if you notice any stiffness or product buildup. This frequent cleaning prevents hardening and keeps brushes soft. Regular maintenance saves time and effort in the long run.
Can I use regular nail polish remover to clean my dip powder brush?
Most regular nail polish removers contain added ingredients like moisturizers. These can leave a residue on your dip powder brushes. Only use 100% pure acetone or a specialized dip powder brush saver liquid. Other removers may not effectively dissolve the dip powder liquids. They can also harm your brushes.
What if my dip powder brush is completely hard and stiff?
For a completely hard brush, soak it in 100% acetone or a strong brush saver for a longer period. This could be 30 minutes or even a few hours. Gently work the bristles every 10-15 minutes. Repeat soaking and wiping until the brush softens. Patience is key for severe cases.
How can I prevent my dip powder brushes from hardening in the future?
To prevent hardening, wipe your brushes immediately after each use. Dip them into a brush saver liquid right away. Consider keeping brushes submerged in a small “hospital” jar of brush saver between uses. Ensure they dry completely after cleaning. Store them properly.
Is it okay if some liquid gets into the ferrule of the brush?
Avoid letting cleaning liquid get into the ferrule (the metal part) of your brush for too long. This can weaken the glue that holds the bristles. Over time, it can cause bristles to fall out. Only submerge the bristles themselves in the cleaning solution. Keep the ferrule and handle dry.
Conclusion
Cleaning your dip powder brush is a simple yet crucial step for beautiful manicures. We have covered why cleaning matters, what tools you need, and a clear step-by-step process. We also discussed how to tackle common problems. You now know how to clean dip powder brush tools effectively. Remember, consistent quick cleaning and proper storage are vital. They keep your brushes soft and extend their life. Investing a few minutes in brush care saves you time and money in the long run. Keep your brushes clean and enjoy perfect dip powder nails every time. Start implementing these tips today. Your brushes will thank you!
- dip powder brush
- nail brush care
- brush cleaning

Todd Martin
Senior Writer
With over 15 years of experience in home renovation and design, I started HEG to share what I’ve learned with homeowners who want to create spaces that are both beautiful and functional. I’ve always believed in a hands-on approach, and over the years, I’ve picked up practical solutions that actually work. Through HEG, I aim to make home improvement more approachable, sharing real tips that help you create a home you truly love.