· Todd Martin · Home Maintenance · 15 min read
How To Clean Crown Molding

Achieve Pristine Crown Molding: A Cleaning Guide
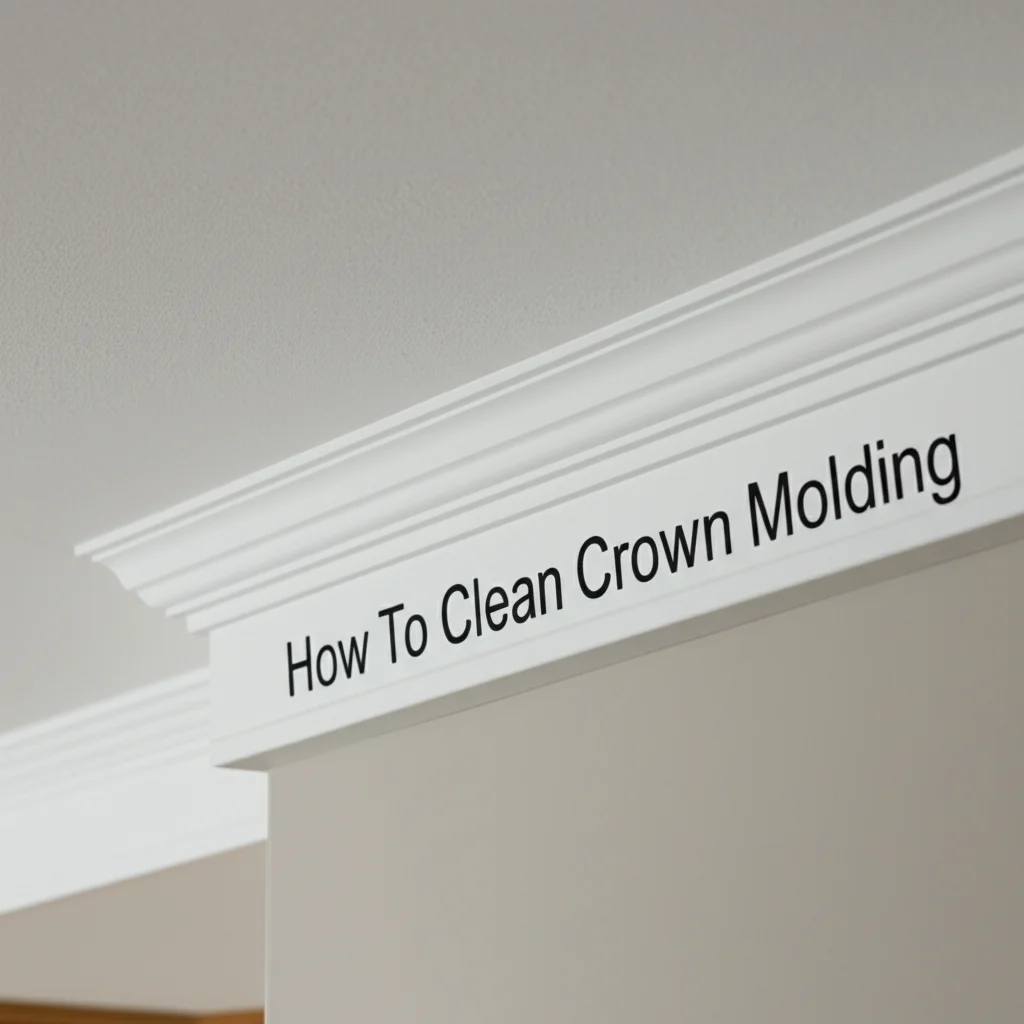
Crown molding adds elegance to any room. It provides a beautiful transition between walls and ceilings. Over time, however, crown molding collects dust, cobwebs, and grime. Keeping it clean maintains your home’s appearance. Learning how to clean crown molding correctly preserves its beauty.
This guide provides simple, effective methods for cleaning crown molding. We will discuss essential tools and supplies you need. We cover dusting, tackling stains, and addressing mold. You will also learn about cleaning different materials and preventing future buildup. My goal is to help you keep your crown molding sparkling easily.
Takeaway:
- Gather the right tools for safe and effective cleaning.
- Dust crown molding regularly to prevent buildup.
- Address stains and mold with appropriate, gentle solutions.
- Adjust cleaning methods based on the molding material.
- Implement routine maintenance to keep molding looking its best.
To effectively clean crown molding, you must first remove loose dust using a duster or vacuum with a brush attachment. Then, gently wipe down the surface with a damp cloth and a mild cleaner, addressing any stubborn spots as needed. Finish by drying the molding thoroughly to prevent streaks or water damage.
Why Crown Molding Requires Regular Attention
Crown molding often goes unnoticed until it shows dirt. Its elevated position makes it a magnet for dust and cobwebs. Airborne particles settle on its intricate surfaces. Pet dander, pollen, and cooking residues also accumulate. This buildup detracts from your home’s clean look.
Regular cleaning prevents significant accumulation. Thick layers of dust are harder to remove. They can even become sticky with humidity. Ignoring this task leads to visible grime. Your beautiful molding loses its charm.
Beyond aesthetics, neglected crown molding can harbor allergens. Dust mites thrive in dusty environments. This impacts air quality inside your home. Keeping molding clean contributes to a healthier living space. It makes a big difference.
Regular maintenance also extends the life of your molding. Dust can hold moisture, which may damage wood or painted surfaces over time. It can also cause discoloration. A clean surface lasts longer. This saves you repair or replacement costs in the future.
Essential Tools and Supplies for Cleaning Crown Molding
Before you start, gather all necessary tools and supplies. Having everything ready saves time and effort. You want to choose items that are safe for your specific molding material. Different materials require different cleaning approaches. Always check what your molding is made from.
Here is a list of common tools and supplies:
- Step stool or ladder: This allows safe access to high areas. Choose a sturdy one.
- Microfiber cloths: These are excellent for dusting and wiping. They trap dust effectively.
- Soft-bristled brush or duster with extendable handle: A lamb’s wool duster or a long-handled brush reaches high spots. It gathers loose dust.
- Vacuum cleaner with brush attachment: This is ideal for quickly removing large amounts of dust and cobwebs.
- Buckets: You will need two buckets for water and cleaning solutions.
- Mild dish soap or all-purpose cleaner: Use a gentle, diluted solution for most general cleaning.
- White vinegar: This is a natural cleaner for many surfaces. It helps with light stains and mold. Learn how to clean with vinegar.
- Warm water: Essential for mixing solutions and rinsing.
- Sponge or soft scrub brush: For tackling more stubborn spots gently.
- Protective gear: Gloves and safety glasses can be helpful.
Always test any cleaning solution in an inconspicuous area first. This prevents damage or discoloration. Safety is key when working at heights. Ensure your ladder is stable.
Step-by-Step Guide to Dusting Crown Molding
Dusting is the most frequent cleaning task for crown molding. Regular dusting prevents heavy buildup. It keeps your molding looking fresh between deeper cleans. This step should be part of your routine home maintenance.
Start by preparing your work area. Clear any furniture that might be in the way. Lay down drop cloths or old towels on the floor beneath the molding. This protects your flooring from falling dust. It also catches any drips if you use a wet method later.
Use your extendable duster or a vacuum with a soft brush attachment. Begin at one end of the room. Work your way around slowly. Apply gentle pressure to avoid damaging the molding. Ensure you reach into all crevices and decorative elements.
For very high molding, use a sturdy step stool or ladder. Always have someone spot you if possible. Move the duster or vacuum attachment along the top and sides of the molding. Pay attention to corners and detailed carvings. These areas tend to collect more dust.
Once you have removed all loose dust, you can proceed to the next step. If your molding is relatively clean, this might be all it needs. For dust that clings, a lightly damp cloth might be necessary. Wipe down dusty walls too, if needed, with a similar method, as dust often settles there as well. Consider how you might clean walls with a mop for lower sections of your wall if dust is widespread.
Tackling Stubborn Stains and Grime on Crown Molding
Sometimes, dusting is not enough. Crown molding can accumulate sticky grime, cooking grease, or other stubborn stains. These require a more thorough cleaning approach. It is important to identify the type of stain to choose the right cleaner.
For general grime and light stains, a mild soap solution often works wonders. Mix a few drops of dish soap into a bucket of warm water. Dampen a clean microfiber cloth with this solution. Wring out the cloth very well. It should be barely damp, not dripping. Excess moisture can damage your molding, especially if it’s wood or painted.
Gently wipe down the stained areas. Use a circular motion if needed. For persistent spots, you might need to apply a bit more pressure. Avoid harsh scrubbing, which can damage the finish. After cleaning, use a second clean, damp cloth (rinsed with plain water) to wipe away any soap residue.
For tougher stains, such as those from greasy hands or cooking splatter, consider a solution of equal parts white vinegar and warm water. Vinegar is a natural degreaser and can be very effective. Test it first on an inconspicuous spot. For instance, if you’ve ever needed to clean stubborn residue from kitchen surfaces, a similar approach might be useful as when you clean grease from an oven. Apply the vinegar solution with a damp cloth. Wipe gently.
Always dry the molding immediately after wet cleaning. Use a clean, dry microfiber cloth. This prevents water spots, streaks, and potential moisture damage. Proper drying helps maintain the integrity and appearance of your crown molding for years to come.
Dealing with Mold and Mildew on Crown Molding
Mold and mildew can appear on crown molding, especially in humid environments like bathrooms or kitchens. They look like black, green, or white fuzzy spots. Mold is not only unsightly but also poses health risks. Addressing it promptly is important.
First, identify the extent of the mold growth. For small patches, you can often handle it yourself. For extensive mold, particularly if it covers large areas or is recurrent, consider professional help. This might indicate a deeper moisture problem. Ensuring good ventilation helps prevent future mold growth.
A common and effective solution for mold is white vinegar. Vinegar is a natural fungicide and bactericide. Mix undiluted white vinegar in a spray bottle. Spray the moldy area directly. Let the vinegar sit for at least an hour. This allows it to penetrate the mold. This method is often useful in other areas where mold appears, such as when you clean mold in a shower.
After letting it sit, scrub the area gently with a soft brush or a microfiber cloth. For persistent mold, you might need a bit more pressure. Once scrubbed, wipe the area clean with a damp cloth. Make sure to remove all mold residue.
For more severe mold on non-porous surfaces like painted molding, a very diluted bleach solution can be used. Mix one part bleach with ten parts water. Always wear gloves and eye protection when using bleach. Apply with a cloth and let it sit for a few minutes. Rinse thoroughly afterward. Be extremely careful with bleach, as it can damage or discolor some materials. Never mix bleach with vinegar or any other cleaners, as this creates toxic fumes. This caution is similar to cleaning other areas, like if you clean a shower with bleach. Remember to dry the molding completely once cleaned.
Cleaning Different Types of Crown Molding Materials
Crown molding comes in various materials, each requiring specific care. Understanding your molding’s material is crucial for effective and safe cleaning. Using the wrong products can cause irreversible damage. Always identify your material first.
Painted Wood or MDF Molding: These are very common types. They are durable but can scratch or chip. For routine cleaning, dusting with a soft duster or vacuum is best. For light stains, use a mild dish soap and warm water solution. Always wring out your cloth thoroughly. Excess water can damage the paint or the wood underneath. Dry immediately with a clean, dry cloth. Avoid abrasive cleaners or harsh scrubbing pads. These can strip paint or leave marks.
Stained or Natural Wood Molding: Wood molding has a beautiful natural grain. It requires gentle care to preserve its finish. Dust regularly with a soft cloth. For cleaning, use a wood cleaner specifically designed for finished wood. Alternatively, a very lightly damp cloth with plain water can work for superficial dirt. Never use harsh chemicals or excessive water. Water can warp wood or damage its finish. Wipe with the grain. Dry completely to prevent water spots or damage. Cleaning stains from other wooden items, like stains on wood furniture, follows similar principles.
Plaster or Gypsum Molding: Plaster is delicate and porous. It can absorb moisture easily. For these types, dry dusting is preferred. Use a soft brush or duster. If you must use a wet method, use a very lightly dampened cloth with plain water. Avoid any soap or chemical cleaners, as they can stain or dissolve the plaster. Test a small, hidden area first. Dry immediately and completely. Plaster is not as robust as wood or synthetic materials.
Polyurethane or PVC Molding: These synthetic materials are durable and moisture-resistant. They are generally the easiest to clean. You can use mild soap and water solutions more freely. Wiping with a damp cloth is effective for most dirt. For tougher grime, a diluted all-purpose cleaner works well. Rinse with a clean, damp cloth. These materials resist water damage better than wood or plaster. They are often painted, so be mindful of the paint finish.
Tips for Maintaining Clean Crown Molding and Preventing Dust Buildup
Keeping crown molding clean is an ongoing process. Regular maintenance prevents the need for deep cleaning too often. A proactive approach saves you time and effort in the long run. Incorporating these tips into your routine will make a big difference.
Regular Dusting Schedule: Make dusting crown molding a part of your regular cleaning routine. Depending on your home’s dust levels, aim for monthly or bi-monthly dusting. If you have pets or live in a dusty area, you might need to dust more frequently. Consistent light dusting is far easier than tackling heavy buildup.
Use a Long-Handled Duster: Invest in a duster with an extendable handle. This allows you to reach the molding without always needing a ladder. It makes quick dusting sessions more feasible. Consider tools like those you might use when trying to clean high walls or other hard-to-reach spots.
Improve Air Filtration: A good quality air filter in your HVAC system can significantly reduce airborne dust. Change your air filters regularly. This traps dust particles before they settle on surfaces, including your crown molding. Air purifiers can also help reduce dust in individual rooms.
Vacuum Regularly: Regular vacuuming of floors and carpets helps reduce the overall dust in your home. Less dust circulating means less dust settling on your molding. Pay attention to corners and edges where dust accumulates.
Address Humidity: High humidity can make dust stick to surfaces and encourage mold growth. Use dehumidifiers in humid rooms, especially in basements or bathrooms. Ensure proper ventilation, especially when showering or cooking. This prevents moisture-related issues.
Wipe Down Walls: Dust often collects on walls before settling on molding. Occasionally wiping down your walls can reduce the amount of dust migrating upwards. You can use a dry microfiber cloth or a slightly damp one for this.
Consider Anti-Static Sprays: Some products claim to repel dust. You can try an anti-static spray on your molding after cleaning. These sprays create a barrier that makes it harder for dust to cling to the surface. Always test in an inconspicuous area first.
Safety Precautions for Cleaning High Crown Molding
Cleaning crown molding often means working at heights. Safety should always be your top priority. A fall can cause serious injury. Take the necessary precautions to ensure a safe cleaning process.
Use a Stable Ladder or Step Stool: Never stand on chairs or unstable furniture. Use a sturdy ladder or step stool rated for your weight. Ensure the ladder is placed on a flat, stable surface. Check that all locks are engaged before climbing. Ask someone to steady the ladder for you if possible.
Maintain Three Points of Contact: When on a ladder, always keep three points of contact. This means two hands and one foot, or two feet and one hand, on the ladder at all times. Do not overreach. Move the ladder frequently instead of stretching too far. Overreaching can cause the ladder to tip.
Wear Appropriate Footwear: Wear shoes with good grip. Avoid slippery footwear like socks or smooth-soled shoes. This provides better stability on ladder rungs. Safety is critical when working above ground level.
Clear the Work Area: Before you start, ensure the floor around your ladder is clear of clutter. Remove rugs, toys, or anything you could trip over. A clear space reduces the risk of falls. This also makes moving the ladder easier.
Avoid Electrical Outlets and Wires: Be mindful of electrical outlets, light fixtures, and wiring near the molding. Do not spray liquids directly onto electrical components. Turn off power to the room if you are concerned about water contact with electrical outlets.
Work in a Well-Lit Area: Ensure good lighting to see what you are doing. This helps you identify dirt and avoid accidents. Natural light is ideal, or use a bright work light. Seeing clearly helps prevent mistakes.
Take Breaks: Cleaning high areas can be physically tiring. Take regular breaks to rest. This helps prevent fatigue, which can lead to mistakes. Do not rush the cleaning process. Prioritize your well-being.
FAQ Section
How often should I clean crown molding? You should dust crown molding at least once a month. For homes with pets or high dust levels, consider dusting every two weeks. A deeper cleaning with a damp cloth might be needed every three to six months. Adjust frequency based on visible dust accumulation. Regular, light dusting prevents heavy buildup.
Can I use a magic eraser on crown molding? Magic erasers are abrasive. They can damage delicate finishes, especially on painted or stained wood molding. I advise against using them on most crown molding materials. They might remove paint or dull the finish. Stick to soft cloths and gentle cleaners. Test any new product in a hidden area first.
What is the best way to remove cobwebs from high crown molding? The best way to remove cobwebs is with an extendable duster or a vacuum cleaner with a brush attachment. A soft-bristled broom covered with a microfiber cloth can also work. These tools allow you to reach high areas without needing to climb a ladder too often. Start from one end and sweep across gently.
How do I clean crown molding without a ladder? To clean crown molding without a ladder, use an extendable duster, a long-handled microfiber mop, or a vacuum cleaner with a long wand and brush attachment. You can also attach a microfiber cloth to a clean broom handle. These tools help you reach high spots from the floor. This method is suitable for light dusting.
Can I paint over dirty crown molding instead of cleaning it? No, you should always clean crown molding thoroughly before painting. Painting over dirt, dust, or grime will result in a poor finish. The paint will not adhere properly, leading to peeling or bubbling. Cleaning ensures a smooth, long-lasting paint job. Address any mold or stains before painting.
What should I do if my crown molding is severely stained? For severely stained crown molding, first identify the stain type. For grease, use a diluted degreaser or vinegar solution. For mold, use a vinegar solution or very diluted bleach. Always test on an inconspicuous area first. If stains persist after gentle cleaning, consider sanding and repainting the molding if its material allows.
Conclusion
Keeping your crown molding clean enhances your home’s beauty and air quality. It might seem like a daunting task due to its height, but with the right tools and techniques, it becomes manageable. Remember to prioritize safety by using stable ladders and proper body mechanics. I hope this guide helps you maintain your elegant crown molding.
Regular dusting prevents heavy accumulation, saving you time and effort in the long run. For tougher grime or mold, gentle solutions and careful application are key. Always choose cleaning methods suitable for your specific crown molding material. A little consistent effort ensures your crown molding remains a sparkling highlight in your home. Start your routine today and enjoy cleaner, more beautiful spaces!


