· Todd Martin · Home Care & Cleaning · 15 min read
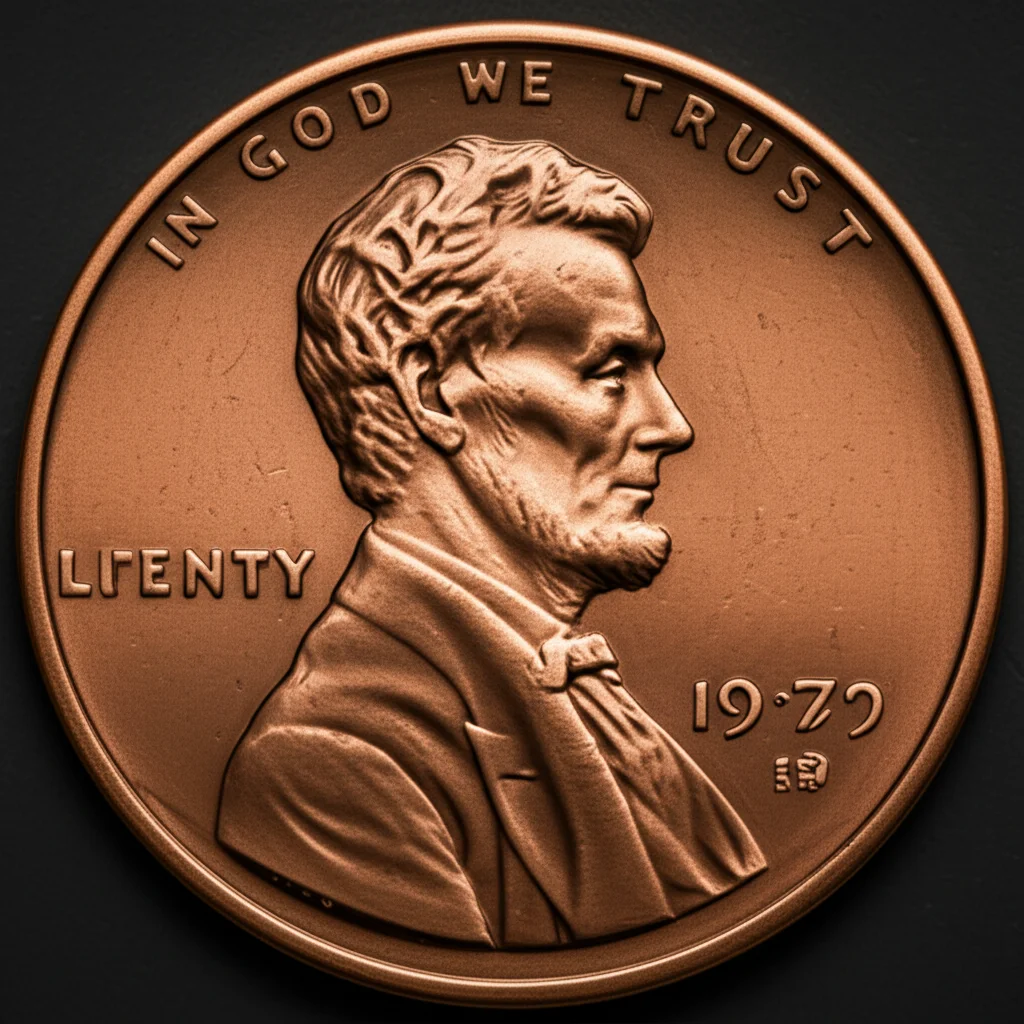
How To Clean Copper Penny
How to Clean Copper Pennies Effectively
Do you have a jar full of dull, dark pennies? I know the feeling. Those once bright copper coins often lose their luster over time. Cleaning them brings back their shine. It also helps you see their details clearly. Knowing how to clean copper penny coins is simple. You can use everyday items from your kitchen.
This guide will show you how to clean copper pennies using safe, simple methods. We will look at why pennies get dirty. We will explore various home remedies like vinegar and salt. You will also learn tips to keep your cleaned pennies looking great. Let’s make those copper coins sparkle again.
Takeaway
- Copper pennies tarnish due to oxidation; this means they react with air.
- Household items like vinegar, salt, and lemon juice effectively clean tarnished pennies.
- Always test a small area first, especially on older or valuable coins.
- Gentle drying and proper storage prevent new tarnish from forming.
- Cleaning is not recommended for rare or collector’s pennies.
Copper pennies lose their shine due to a chemical reaction with oxygen and other elements in the air. You can effectively clean copper penny coins by using mild acids and abrasives found in common household items, such as a vinegar and salt solution or lemon juice, to remove the built-up tarnish layer.
Understanding Copper Tarnish on Pennies
Pennies, especially older ones, are mostly copper. Copper is a reactive metal. When it touches air, it reacts with oxygen. This reaction forms copper oxide. This copper oxide layer is what we see as tarnish. Tarnish makes pennies look dull, brown, or even greenish.
Many things speed up this tarnishing process. Moisture in the air is a big factor. Dirt, oils from our hands, and other environmental pollutants also contribute. Over time, these layers build up. They hide the penny’s original bright, shiny surface. Understanding this process helps us choose the right cleaning methods. We need something that breaks down this oxide layer without harming the copper.
The Science Behind Penny Discoloration
Copper atoms on the penny’s surface combine with oxygen atoms from the air. This forms new compounds. These compounds are typically copper oxides. They have a different color than pure copper. This is similar to how iron rusts. It is a natural process for many metals. The speed of tarnishing depends on the environment. High humidity makes pennies tarnish faster. Dirt and grime also act as catalysts. They provide more surfaces for reactions to happen. When you clean a penny, you are essentially reversing this oxidation. You remove the dark oxide layer. This reveals the bright copper underneath.
Safety First: Essential Precautions for Cleaning Pennies
Before you start cleaning your pennies, think about safety. While most methods use common household items, a few precautions are smart. Protecting your hands is a good first step. Gloves keep your skin from direct contact with cleaning solutions. This is especially true if you have sensitive skin. It also prevents the natural oils from your hands from getting on the cleaned pennies.
Work in a well-ventilated area. Some cleaning solutions can create mild fumes. Fresh air keeps you comfortable. It also ensures good air circulation. Protect your work surface too. A towel or old newspaper under your pennies prevents spills or drips from damaging your table. These small steps make the cleaning process safer and more enjoyable. Always handle cleaning agents with care.
Identifying Valuable Pennies Before Cleaning
Not all pennies should be cleaned. Some pennies are valuable to collectors. Cleaning these coins can actually lower their worth. Collectors prefer coins in their original condition, even if tarnished. The patina, or tarnish, on old coins can be part of their historical charm. It shows their age.
Before you clean any penny, check its year and mint mark. Look up coin values online. You can use a coin catalog or a numismatic website. If a penny is rare or old, consider consulting a coin expert. They can tell you if cleaning will harm its value. For common pennies, like those still in circulation, cleaning is usually fine. But for anything potentially collectible, proceed with caution. Never use abrasive methods on a coin you suspect has value.
Common Household Methods to Clean Copper Pennies
You do not need special tools to clean copper pennies. Many everyday items in your kitchen work well. These methods are gentle on the copper. They effectively remove tarnish. We will look at some of the most popular and effective home remedies. Remember to gather your supplies before starting. A small bowl, some paper towels, and your chosen cleaning agent are usually all you need. Always use warm water for rinsing.
The Classic Vinegar and Salt Method
This is one of the easiest and most effective ways to clean copper pennies. The acid in vinegar reacts with the copper oxide. The salt acts as a mild abrasive. It helps to loosen the tarnish. This method is quick and safe for most common pennies. I have used this many times myself. It makes quick work of dark, dirty coins.
Here is how to use it:
- Gather Materials: You need white vinegar, table salt, a non-metal bowl, and paper towels.
- Mix the Solution: Pour about a quarter cup of white vinegar into the bowl. Add a teaspoon of table salt. Stir until the salt dissolves.
- Soak the Pennies: Place your tarnished pennies into the solution. Make sure they are fully submerged.
- Wait and Observe: Let them soak for about 5-10 minutes. You will see the tarnish start to disappear. For very dark pennies, you might need to soak a bit longer, up to an hour. Do not leave them overnight.
- Rinse Thoroughly: Remove the pennies. Rinse them well under running water. This removes all vinegar and salt.
- Dry Completely: Pat them dry with a clean paper towel. Do not let them air dry. This prevents new water spots or tarnish.
For more general copper cleaning using similar principles, you might find this guide helpful: how to clean copper and brass.
Lemon Juice and Salt Method
Lemon juice is another natural acid that works wonders on copper. It is similar to vinegar. The citric acid in lemon juice breaks down the tarnish. Salt again provides a gentle scrubbing action. This method also leaves a fresh scent. It is a good alternative if you do not have vinegar on hand. I often prefer this method for a pleasant aroma.
Follow these steps:
- Prepare Materials: You will need fresh lemon juice (from a real lemon or bottled), table salt, a non-metal bowl, and a soft cloth or paper towel.
- Combine Ingredients: Squeeze fresh lemon juice into a bowl. Add a pinch of salt to the juice. Mix them well.
- Clean the Pennies: You can either dip the pennies directly into the solution. Or, you can apply the mixture to each penny using a soft cloth. Gently rub the surface.
- Scrub (Optional): For stubborn tarnish, gently scrub the penny with a soft toothbrush. Make sure the bristles are soft.
- Rinse and Dry: Rinse the pennies under clean running water. Dry them completely with a paper towel.
This method works well for other small copper items too, like a copper bowl. Consider reading about how to clean copper bowl for more ideas.
The Ketchup Method
Yes, ketchup! It sounds strange, but it is surprisingly effective. Ketchup contains vinegar and salt. These are the same ingredients we use in the other methods. The thickness of ketchup also helps it cling to the penny. This allows the acids to work longer on the tarnish. It is a messy but fun way to clean coins. My kids love seeing this trick work.
Here is how to use ketchup:
- Get Ready: You need plain tomato ketchup and a soft cloth or paper towel.
- Apply Ketchup: Squeeze a small amount of ketchup onto a tarnished penny. Spread it evenly.
- Let it Sit: Let the ketchup sit on the penny for 5-10 minutes. For very dark pennies, leave it for up to 30 minutes.
- Rub Gently: After soaking, gently rub the penny with a soft cloth. You will see the tarnish come off.
- Rinse Clean: Rinse the penny thoroughly under warm water. Remove all ketchup residue.
- Dry Immediately: Dry the penny completely with a clean paper towel.
This method is also effective for other copper items, as detailed in articles like how to clean copper with ketchup.
Baking Soda Paste for Gentle Cleaning
Baking soda is a mild abrasive. It can help remove light tarnish without harsh chemicals. When mixed with water, it forms a gentle paste. This paste is good for pennies with less severe tarnish. It is also a good choice if you prefer a non-acidic method. Baking soda is a pantry staple. I use it for many cleaning tasks around the house.
To use baking soda:
- Make Paste: Mix a few teaspoons of baking soda with a small amount of water. Add water slowly until it forms a thick paste.
- Apply to Penny: Apply the paste directly onto the tarnished penny.
- Rub Gently: Use your fingers or a soft cloth to gently rub the paste onto the penny. Work in small circular motions.
- Rinse Off: Rinse the penny well under running water. Ensure all paste is gone.
- Dry Completely: Pat the penny dry with a paper towel immediately.
Beyond Basic Cleaning: Advanced Techniques for Stubborn Tarnish
Sometimes, pennies have very stubborn tarnish. These dark layers might not come off with simple household remedies. In such cases, you might consider slightly more advanced methods. However, always remember that stronger cleaning agents can be more aggressive. They carry a higher risk of damaging the coin’s surface. It is important to weigh the benefits against the risks. Proceed with extreme caution. These methods are typically for common pennies, not collector items.
Commercial Copper Cleaners
Specialized copper cleaning products exist. They are designed to remove tarnish from copper items. These cleaners often contain stronger acids or chemicals than household items. They can be very effective. Many of them work quickly. Always read the product instructions carefully. Wear gloves and eye protection when using commercial cleaners. Ensure you are in a well-ventilated area. Test on a small, inconspicuous area first. Some commercial cleaners can leave a residue. They might also alter the penny’s finish. Use these as a last resort for very heavily tarnished common pennies.
These cleaners are more commonly used for larger copper items. For instance, if you want to clean a copper sink or a copper bottom pan, a commercial cleaner might be a practical choice. However, for a small penny, the milder home remedies are usually sufficient and safer.
Electrolysis (For Extreme Cases Only, Not Recommended for Valuable Coins)
Electrolysis is a chemical process. It uses an electric current to reverse oxidation. This method is very powerful. It can remove even the most stubborn tarnish. However, it requires specific equipment. This includes a power source, wires, and a conductive solution. It can also be risky if not done correctly. More importantly, electrolysis can permanently damage coins. It strips away too much metal. It can leave the penny looking dull and unnatural. Numismatists (coin collectors) strongly advise against this method for any coin with potential value. It destroys the coin’s historical surface. This method is really only for experimentation with very common, low-value pennies. I do not recommend it for general use. It is far too aggressive for precious items or collectibles.
The Art of Drying and Polishing Cleaned Pennies
Cleaning your pennies is only half the battle. Proper drying is crucial. If you let pennies air dry, water spots will form. These spots can lead to new tarnish quickly. Water contains minerals that can react with the copper. I always make sure to dry my pennies immediately after rinsing. This step is as important as the cleaning itself. A soft, lint-free cloth or paper towel works best. Gentle patting motions are enough. Avoid rubbing aggressively, as this can scratch the newly revealed surface.
After drying, you can gently polish your pennies. This brings out an extra shine. You can use a very soft cloth. Rub the penny in small circles. This enhances its luster. You can also use a small amount of olive oil. Put a tiny drop on a cloth. Rub it onto the penny. Then wipe off any excess. This gives a beautiful, subtle shine. It also adds a very thin protective layer. Remember, gentle is key here.
When Not to Clean Your Pennies: Collector’s Perspective
This is a critical point. Not all pennies should be cleaned. If you have old coins, especially those from the early 20th century or earlier, stop and think. Cleaning them might actually lower their value. Coin collectors, or numismatists, value originality. They prefer coins with their original “patina.” Patina is the natural tarnish that develops over time. It tells a coin’s story. It proves its age. A cleaned old coin looks unnatural. It loses its historical context.
Before cleaning any penny, always check its potential value. There are many online resources and coin guides. Look for rare dates, mint marks, or specific errors. If you find something that might be valuable, consult a professional coin dealer. They can assess its worth. They can also advise on preservation. For instance, a 1909-S VDB Lincoln Cent is very rare. Cleaning one would be a huge mistake. Stick to cleaning only common, low-value pennies. These are the ones you find in your couch cushions.
Maintaining Shine: Preventing Future Tarnish on Copper Pennies
Once your pennies are sparkling, you want to keep them that way. Preventing future tarnish is easier than cleaning it repeatedly. Copper will always react with the air. But you can slow down the process. Proper storage is the most important step. I store my cleaned pennies carefully. This keeps them looking good for longer. Think about humidity and air exposure. Both are enemies of shiny copper.
Proper Storage for Pennies
Store your cleaned pennies in a dry place. Avoid basements or other humid areas. Air-tight containers are best. Small plastic bags designed for coins work well. You can also use coin flips made of inert materials. Do not use PVC plastic flips. PVC can degrade and damage coins over time. Silica gel packets can absorb moisture in storage containers. Place one or two packets with your coins. This helps keep the air dry inside the container. This simple step makes a big difference. It keeps pennies from turning dark again too fast.
Applying a Protective Coating (Optional)
For pennies you intend to keep shiny for display, a protective coating is an option. A very thin layer of clear lacquer or micro-crystalline wax can seal the copper. This prevents air and moisture from reaching the surface. It stops the oxidation process. This method is often used for copper crafts or jewelry. For pennies, use a very minimal amount. Apply it with a soft brush. Let it dry completely.
Be aware that coatings can be permanent. They might also alter the feel of the coin. If you ever want to remove the coating, it might require harsh solvents. For most common pennies, simply drying thoroughly and proper storage is enough. For other copper items, such as a copper cup or copper bottle, a coating might be more practical if they are frequently handled.
FAQ Section
Q1: Can I clean pennies with toothpaste?
A: Yes, you can use toothpaste to clean pennies. Toothpaste contains mild abrasives and sometimes baking soda. Apply a small amount to the penny. Rub gently with your finger or a soft cloth. Then rinse well and dry completely. It is a good option for light tarnish.
Q2: How often should I clean my copper pennies?
A: Clean pennies only when necessary. Frequent cleaning can cause wear on the coin’s surface over time. If they are common circulation pennies and you want them shiny, clean them when they become noticeably dull. For display, clean them once and then store them properly to maintain their shine.
Q3: Will cleaning pennies damage them?
A: Harsh cleaning methods, like abrasive scrubbing or strong chemicals, can damage pennies. This includes scratching the surface or removing valuable patina. Always use gentle methods. Avoid cleaning valuable or collectible coins. For common pennies, gentle cleaning is generally safe and effective.
Q4: Why do some pennies turn green after cleaning?
A: If a penny turns green after cleaning, it is often due to residual cleaning solution or improper drying. Water or acidic residues can react with the copper. This forms a green copper compound (verdigris). Always rinse pennies thoroughly and dry them completely immediately after cleaning to prevent this.
Q5: Can I use boiling water to clean pennies?
A: Boiling water alone will not clean tarnished pennies. It might help loosen some dirt, but it does not remove the copper oxide tarnish. Combining hot water with an acidic solution might speed up the chemical reaction, but it is not necessary. The methods discussed, like vinegar and salt, work well with room temperature water.
Q6: What is the fastest way to clean a lot of pennies?
A: For cleaning a large quantity of common pennies, the vinegar and salt method is usually the fastest. You can soak many pennies at once in a larger batch of the solution. Ensure they are fully submerged. Remember to rinse and dry them in small batches to avoid water spots.
Conclusion
Bringing back the shine to your dull pennies is simple. Knowing how to clean copper penny coins effectively empowers you. You can make old coins look new again. We explored why pennies tarnish, and how common household items like vinegar, salt, lemon juice, and even ketchup can reverse this process. Remember, safety first, and always be cautious with valuable coins.
Proper drying and smart storage are key to keeping that fresh shine. These simple steps ensure your efforts last. Next time you see a dark penny, grab some kitchen staples. Give it a new lease on life. Start cleaning your pennies today. See the remarkable transformation for yourself!

Todd Martin
Senior Writer
With over 15 years of experience in home renovation and design, I started HEG to share what I’ve learned with homeowners who want to create spaces that are both beautiful and functional. I’ve always believed in a hands-on approach, and over the years, I’ve picked up practical solutions that actually work. Through HEG, I aim to make home improvement more approachable, sharing real tips that help you create a home you truly love.