· Todd Martin · Kitchen Cleaning · 19 min read
How To Clean Burnt Cast Iron

How To Clean Burnt Cast Iron Easily
Have you ever looked at your beloved cast iron skillet and cringed? Burnt-on food and sticky residue can make even the most seasoned pan look like a lost cause. Many home cooks face this challenge. You might think it is impossible to bring it back.
I understand the frustration. Cast iron cookware is an investment. It promises years of delicious meals. However, improper cleaning or accidental burning can leave tough stains. These stains can ruin the pan’s non-stick properties. They also affect the taste of your food.
This article shows you how to clean burnt cast iron effectively. We will explore various methods. These methods range from gentle scrubbing to more intensive restoration. You will learn the right tools to use. We will also cover essential re-seasoning steps. By the end, your cast iron will be ready for many more culinary adventures.
Takeaway
- Avoid harsh chemicals: They strip the seasoning.
- Use gentle abrasion: Salt, chainmail, or plastic scrapers work best.
- Boiling water loosens stuck food: This is a simple first step.
- Baking soda and potato are natural cleaners: They lift burnt residue.
- Always re-season after deep cleaning: This protects your pan.
- Proper maintenance prevents future burns: Heat control and oiling are key.
To clean burnt cast iron, gently scrub the surface with hot water and a stiff brush or non-abrasive scraper to remove loose debris. For stubborn spots, use coarse salt or baking soda as a paste, then rinse thoroughly. Always re-season the pan after deep cleaning to restore its protective layer.
Understanding Burnt Cast Iron and Why It’s a Problem
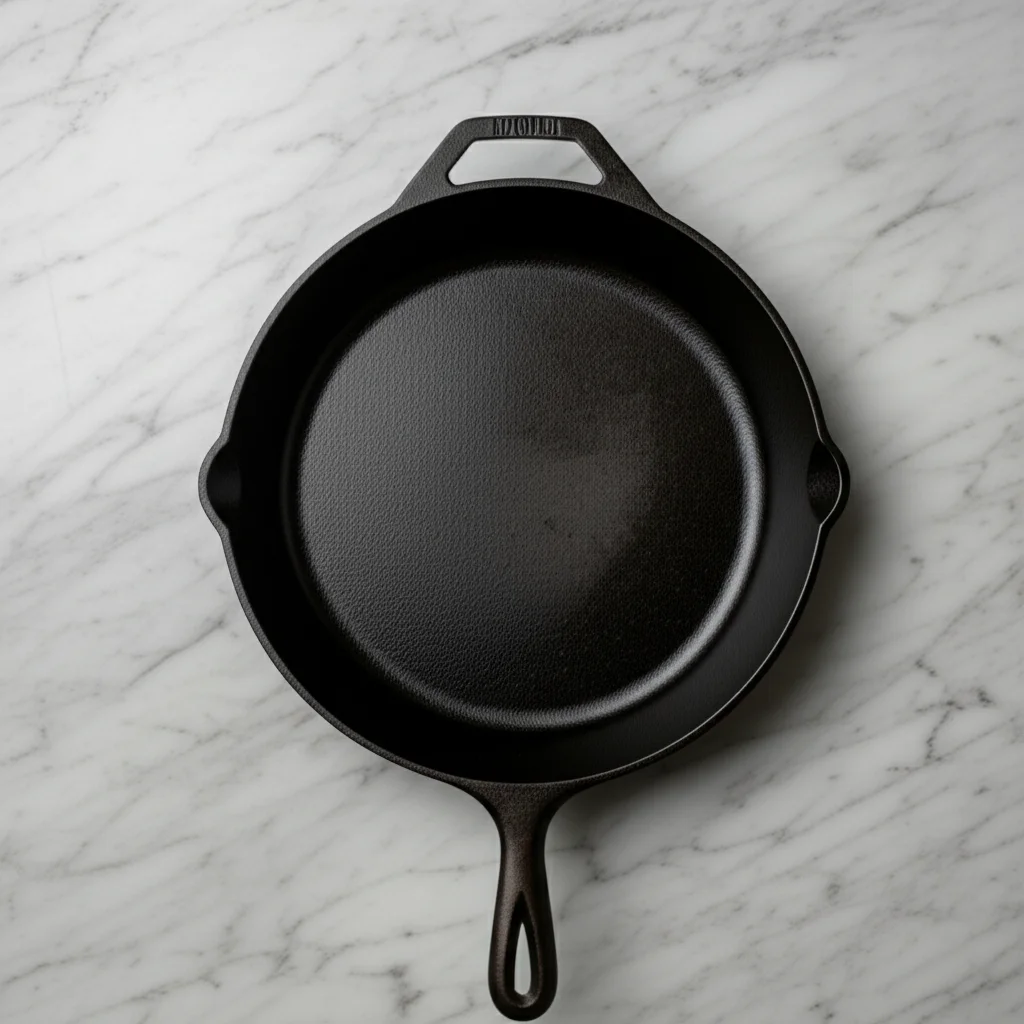
Cast iron pans are robust. They last generations with proper care. However, they are not invincible. Burnt food and scorched oil can cling to the surface. This creates a tough, crusty layer. This layer is not just unsightly. It also interferes with your cooking.
The seasoning on cast iron is a layer of polymerized oil. This layer creates a natural non-stick surface. When food burns, it often penetrates or disrupts this seasoning. This leaves a carbonized mess behind. Cleaning this mess without damaging the seasoning is the challenge.
The Nature of Burnt-On Residue
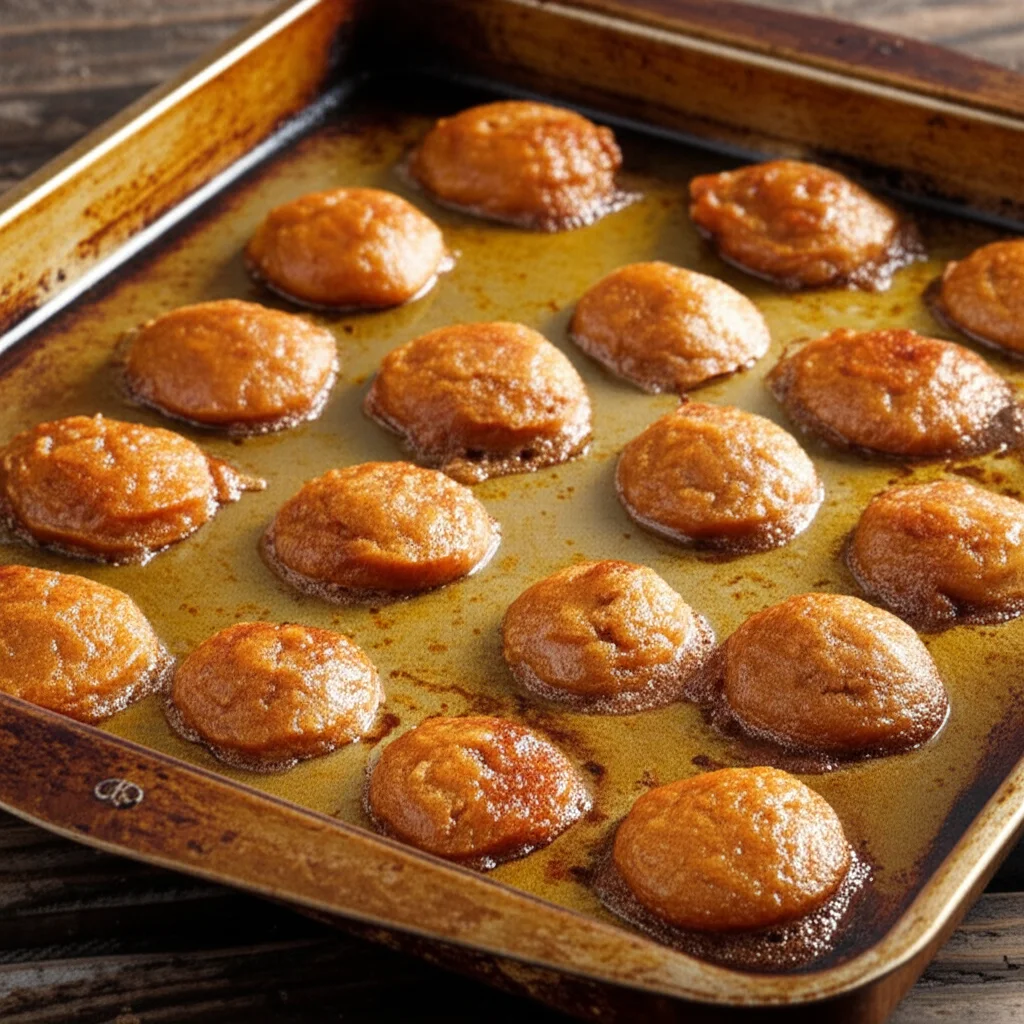
Burnt residue is often carbonized food or oil. High heat causes organic material to break down. It then bonds strongly with the pan’s surface. This creates a hard, black layer. It is similar to charred wood. This layer is very difficult to remove.
The residue can also be sticky and gummy. This happens when oil burns but does not fully carbonize. It becomes a thick, tar-like substance. Both types of residue block the pan’s natural non-stick properties. They also affect cooking performance. You might find food sticks more easily.
Why Harsh Chemicals Are Bad for Cast Iron
Many modern cleaning products contain harsh chemicals. These chemicals are designed to dissolve grease. They are effective on stainless steel or ceramic. However, they are detrimental to cast iron. They strip away the precious seasoning layer. This layer protects the iron from rust.
Dish soap, especially strong degreasers, should be used with caution. While some mild soaps are acceptable for light cleaning, harsh chemicals will remove the non-stick surface. This leaves your pan vulnerable. It becomes prone to rusting. Always opt for gentler methods when cleaning burnt cast iron. For general stuck-on issues, you can find more tips on how to clean stuck-on cast iron. If you’re dealing with a general buildup of “crud,” learning how to clean crud off a cast iron skillet can provide additional insights.
Essential Tools and Supplies for Cleaning Burnt Cast Iron
Having the right tools makes cleaning much easier. You do not need a lot of specialized equipment. Many items are likely already in your kitchen. Choosing the correct tools prevents damage to your pan. They also ensure effective cleaning.
The key is to use tools that are abrasive enough to remove burnt material but gentle enough not to scratch the underlying iron. This balance protects your pan. It also preserves its seasoning. Let us look at what you need.
Abrasive but Gentle Tools
- Plastic Scraper: These are excellent for scraping off large pieces of burnt food. They will not scratch the cast iron. I use them frequently.
- Wood or Silicone Spatula: Similar to plastic scrapers, these are safe options. They work well for scraping while the pan is still warm.
- Stiff Nylon Brush: A good quality stiff brush helps scrub away loosened residue. It gets into the rough texture of the cast iron.
- Chainmail Scrubber: This is a powerful tool for stubborn spots. It cleans effectively without removing the seasoning. It works like a charm for me.
- Coarse Salt: Regular table salt or kosher salt acts as a gentle abrasive. You can use it with a little oil. It creates a scrubbing paste.
Natural Cleaning Agents
- Hot Water: The simplest and often most effective agent. Heat helps loosen burnt-on food.
- Baking Soda: A mild abrasive and a natural deodorizer. It helps lift stubborn burnt residue. You can mix it with water to form a paste. For other cleaning tasks using this versatile ingredient, explore how to clean with vinegar and baking soda.
- Vegetable Oil (or other cooking oil): Used for scrubbing with salt. It is also essential for re-seasoning.
- Potato: A cut potato half can be used as a handle for scrubbing with salt. The starch can also help.
These tools and agents work together. They help you restore your cast iron. They avoid harsh chemicals. This keeps your pan healthy and ready for cooking.
Step-by-Step Methods to Clean Burnt Cast Iron
Cleaning burnt cast iron requires patience. It also requires the right technique. There are several methods you can use. The best one depends on the severity of the burn. I often start with the least aggressive method. I then move to more powerful ones if needed.
Remember, the goal is to remove the burnt material. We want to keep the valuable seasoning layer intact. If the seasoning is completely gone, do not worry. You can always re-season your pan.
Method 1: The Boiling Water & Scraper Method
This is my go-to for moderately burnt food. It is simple and effective.
- Add Water to the Pan: Pour about an inch of water into the burnt cast iron pan.
- Bring to a Boil: Place the pan on the stove. Bring the water to a rolling boil. Let it boil for 5-10 minutes. The hot water softens the burnt residue.
- Scrape While Hot: Carefully pour out most of the water. Leave a thin layer. While the pan is still hot, use a plastic scraper or wooden spoon. Gently scrape the burnt areas. The residue should lift off.
- Rinse and Dry: Rinse the pan with hot water. Use a stiff nylon brush to remove any remaining bits. Immediately dry the pan thoroughly. You can place it on low heat on the stove for a few minutes. This ensures all moisture is gone.
- Lightly Oil: Apply a very thin layer of cooking oil. Wipe off any excess. This protects the pan until the next use.
Method 2: Baking Soda & Potato Power
This method is great for burnt-on stains. It uses natural abrasives.
- Sprinkle Baking Soda: Sprinkle a generous amount of baking soda over the burnt areas.
- Add a Little Water: Add just enough water to create a thick paste.
- Scrub with Potato: Cut a potato in half. Use the cut side as a scrubber. The starch in the potato helps activate the baking soda. Scrub the burnt spots in circular motions. For general cleaning of carbonized material, this technique is similar to what you might use for how to clean burnt water off glass stove top.
- Let it Sit (Optional): For very stubborn burns, let the paste sit for 15-30 minutes.
- Rinse and Dry: Rinse the pan thoroughly with hot water. Scrub with a brush if needed. Dry immediately and completely.
- Lightly Oil: Apply a thin layer of cooking oil.
Method 3: Coarse Salt & Oil Scrub
This method offers a bit more abrasive power. It is still safe for seasoning.
- Add Salt and Oil: Pour a generous amount of coarse salt into the pan. Add a tablespoon of cooking oil.
- Scrub Hard: Use a paper towel or a stiff brush. Scrub the burnt areas vigorously. The salt acts as an abrasive. The oil helps lift the residue.
- Continue Scrubbing: Keep scrubbing until the burnt food loosens. The salt will turn dark.
- Discard and Rinse: Discard the dirty salt and oil. Rinse the pan with hot water. Use a brush to remove any lingering residue.
- Dry and Oil: Dry the pan completely. Apply a thin layer of oil.
Method 4: Oven Self-Clean Cycle (with caveats)
This is a powerful, last-resort method for heavily burnt or rusted cast iron. Use with extreme caution. It will strip all seasoning. You must re-season the pan completely afterward.
- Place Pan in Oven: Remove all handles if they are not oven-safe. Place the cast iron pan upside down on the middle rack. Put aluminum foil on the bottom rack to catch debris.
- Run Self-Clean Cycle: Start your oven’s self-clean cycle. The extremely high temperatures will turn burnt food and old seasoning into ash.
- Cool Completely: Let the oven and pan cool down naturally. Do not rush this process.
- Brush Off Ash: Once cool, brush away the ash with a stiff brush. The pan will be bare metal. It will look dull gray. It is very vulnerable to rust.
- Immediate Re-seasoning: You must re-season the pan immediately and thoroughly. This is critical. For more on oven cleaning, see how to clean oven with baking soda. If you’re dealing with rust, which often follows an oven self-clean, learn how to clean rust from cast iron.
Always choose the least aggressive method first. Protect your pan’s seasoning whenever possible.
Tackling Extremely Stubborn Burnt Cast Iron
Sometimes, burnt cast iron seems beyond hope. The standard methods might not work. This happens with layers of carbonized food. It also happens with very old, neglected pans. Do not despair. There are more aggressive techniques.
These methods often remove existing seasoning. Be prepared to fully re-season your pan afterward. This is part of the restoration process. Think of it as hitting the reset button.
Using a Chainmail Scrubber
A chainmail scrubber is a fantastic tool. It is made of small metal rings. It works like a gentle yet effective scourer. I find it very useful for tough spots. It removes burnt-on food without stripping the pan’s seasoning.
To use it, add a little hot water to the pan. Then scrub vigorously with the chainmail. The rings lift the burnt bits away. It is more effective than a brush. It is safer than steel wool. Rinse the pan well after use.
The Electrolysis Method (Advanced)
Electrolysis is a powerful method. It removes rust and heavy carbon buildup. It involves setting up an electrochemical bath. This method requires specialized equipment. It is generally for serious cast iron enthusiasts.
I do not recommend this for beginners. It involves electricity and water. Safety precautions are critical. If you are dealing with very old, heavily corroded cast iron, it is an option. For severe cases, consider seeking expert help.
Sanding and Re-seasoning (Last Resort)
This is the nuclear option. It is only for pans with deep, pitted rust or incredibly thick, baked-on carbon. It involves physically sanding the surface. You would use sandpaper or a wire brush attachment on a drill. This removes everything.
Start with coarse grit sandpaper (e.g., 60-80 grit). Then move to finer grits (e.g., 150-220 grit). This smooths the surface. You must wear protective gear. This includes gloves and eye protection. The dust can be harmful. After sanding, clean the pan thoroughly. Then, immediately begin the re-seasoning process. This creates a brand new, smooth surface. It is a big project but can save a truly neglected pan. For cleaning other cast iron items like stove grates, consider methods described in how to clean cast iron stove grates or how to clean cast iron grill grates for similar heavy-duty cleaning challenges.
Re-seasoning Your Cast Iron After Deep Cleaning
Deep cleaning cast iron, especially methods like the oven self-clean or sanding, strips away the pan’s seasoning. This exposes the bare iron. Bare iron is prone to rust. Therefore, re-seasoning is not optional. It is crucial.
Seasoning builds a protective, non-stick layer. It is a thin, baked-on coating of oil. This layer is what makes cast iron so special. It improves with every use. When you clean burnt cast iron aggressively, you often need to restart this process.
Why Re-seasoning is Crucial
Seasoning prevents rust. Iron reacts with oxygen and moisture to form rust. The seasoning layer creates a barrier. Without it, your pan will quickly rust. This happens especially in humid environments.
Seasoning also provides the non-stick surface. It fills microscopic pores in the iron. This creates a smooth cooking surface. A well-seasoned pan releases food easily. It makes cooking more enjoyable. Re-seasoning brings your pan back to life.
The Re-seasoning Process
Re-seasoning is a simple but precise process. It involves applying thin layers of oil and baking the pan. Repeat this several times.
- Preheat Oven: Preheat your oven to 450-500°F (230-260°C).
- Apply a Thin Layer of Oil: Apply a very thin layer of high smoke point cooking oil. Examples include grapeseed oil, flaxseed oil, or vegetable oil. Use a paper towel to rub the oil all over the pan. Include the handle and exterior.
- Wipe Off Excess Oil: This is the most important step. Use a clean paper towel. Wipe off all the oil. It should look like there is no oil left. A too-thick layer will result in a sticky or gummy finish.
- Bake Upside Down: Place the pan upside down on the middle rack of the preheated oven. Place aluminum foil on the bottom rack. This catches any drips.
- Bake for One Hour: Bake for one hour. The high heat polymerizes the oil. It turns it into a hard, protective layer.
- Cool in Oven: Turn off the oven. Let the pan cool completely inside the oven. This slow cooling helps solidify the seasoning.
- Repeat: For best results, repeat steps 2-6 three to five times. Each layer adds to the durability and non-stick quality. The pan will gradually turn a dark, glossy black.
Your pan is now re-seasoned. It is ready for use. Remember, seasoning improves with continued use and proper care.
Preventing Burnt Cast Iron and Daily Maintenance
Preventing burnt cast iron is easier than cleaning it. Good cooking habits protect your seasoning. They also extend the life of your pan. Daily maintenance is key. It keeps your cast iron in top condition.
I have found that a little effort after each use saves a lot of trouble later. These practices build better seasoning over time. They make your pan truly non-stick.
Proper Heat Management
Cast iron retains heat very well. It also heats slowly. Do not blast it with high heat from the start.
- Preheat Slowly: Begin with medium-low heat. Allow the pan to preheat for 5-10 minutes. This ensures even heat distribution. It prevents hot spots. Hot spots can burn food more easily.
- Adjust Heat as Needed: Once the pan is hot, you often need less heat than you think. Cast iron holds heat efficiently. Turn down the burner if food starts to scorch.
- Avoid Overheating Empty Pan: Do not leave an empty cast iron pan on high heat for too long. This can damage the seasoning. It can also cause the pan to crack.
Adequately Oiling Your Pan
Oiling is crucial for cooking and maintenance. It prevents sticking and builds seasoning.
- Oil Before Cooking: Always add a thin layer of cooking oil to the pan before adding food. This creates a barrier. It helps food release cleanly.
- Use Enough Oil, Not Too Much: Just enough oil to coat the bottom. Too much oil can pool. It can then burn and become gummy.
- Oil After Cleaning: After every wash and dry, apply a very thin layer of oil. Wipe off the excess. This keeps the pan protected. It also helps maintain the seasoning.
Post-Cooking Cleaning Habits
Clean your cast iron right after use. Do this while it is still warm.
- Scrape Immediately: Use a plastic scraper or wooden spatula. Scrape out any food bits. Do this before they dry and harden.
- Hot Water Rinse: Rinse with hot water. Use a stiff brush or non-abrasive sponge. Avoid soap for light cleaning. If you must use soap, use a very small amount of mild soap. Rinse quickly.
- Thorough Drying: This is critical. Dry the pan immediately and completely. Use a towel. Then, place it on low heat on the stove for a few minutes. This evaporates all moisture. Moisture leads to rust.
- Light Oiling: Apply a thin layer of cooking oil. Wipe it all off. Store the pan in a dry place. This routine keeps your cast iron in prime condition.
By following these prevention and maintenance tips, you can greatly reduce the chances of burnt food. You will also enjoy your cast iron for many years.
Common Mistakes to Avoid When Cleaning Burnt Cast Iron
Cleaning cast iron is different from cleaning other cookware. Making common mistakes can damage your pan. It can also strip its precious seasoning. I have made some of these errors myself. Learning to avoid them is key.
These mistakes often lead to rust. They also lead to a non-stick surface that no longer works. Understanding what not to do is as important as knowing what to do.
Never Use Dish Soap (Debate - Clarify Mild Soap is Okay)
The old adage was “never use soap on cast iron.” This came from a time when soaps contained lye. Lye would strip seasoning. Modern mild dish soaps are fine for light cleaning. They will not destroy properly polymerized seasoning.
- Avoid Strong Degreasers: These are still a no-go. They are designed to break down oil. This is exactly what seasoning is.
- Use Mild Soap Sparingly: If you feel you must use soap, use a tiny drop of mild dish soap. Use hot water. Scrub quickly. Rinse thoroughly.
- Focus on Mechanical Cleaning: Rely more on hot water and scrubbing tools. These are usually sufficient.
Skipping the Drying Step
This is perhaps the biggest mistake. Cast iron is essentially raw iron. Iron rusts when exposed to water and oxygen. If you leave your cast iron pan to air dry, it will rust.
- Dry Immediately: As soon as you rinse the pan, dry it with a towel.
- Heat Dry: Place the pan on low heat on the stove for a few minutes. This ensures all water evaporates. You will see steam coming off. Once the steam stops, it is dry.
- The “Water Test”: Flick a few drops of water into the pan. If they sizzle and evaporate immediately, the pan is hot enough and dry.
Not Re-seasoning
If you perform a deep clean that removes seasoning, re-seasoning is mandatory. Neglecting this step leaves the pan vulnerable. It will rust quickly. It will also be very sticky.
- Identify Bare Spots: If your pan looks dull gray or gets a reddish tint, it needs seasoning.
- Multiple Thin Coats: Remember to apply multiple thin layers of oil and bake thoroughly. A single thick coat will result in a sticky mess.
Using Metal Scouring Pads Indiscriminately
Steel wool or harsh metal scouring pads can remove burnt food. However, they can also scrape off your seasoning layer. They can even scratch the iron surface.
- Avoid unless Stripping: Only use steel wool if your goal is to completely strip the pan. This means you plan to re-season it from scratch.
- Opt for Safer Alternatives: Use a chainmail scrubber, a stiff nylon brush, or plastic/wooden scrapers. These are designed to be effective yet gentle on seasoning. They help you clean burnt cast iron without damage.
By avoiding these common pitfalls, you will keep your cast iron performing at its best. You will also save yourself future cleaning headaches.
FAQ Section
Q1: Can I use steel wool on burnt cast iron?
A: You can use steel wool, but use it with caution. It will likely remove not just the burnt food but also your pan’s seasoning. Use it only as a last resort for extremely stubborn carbon buildup or rust. Be prepared to fully re-season your cast iron pan afterward.
Q2: How do I know if my cast iron is seasoned properly?
A: A well-seasoned cast iron pan will have a smooth, dark, non-stick surface with a slight sheen. Water will bead up on it, and food will release easily when cooking. If your pan looks dull, rusty, or food sticks, it likely needs more seasoning.
Q3: Is it okay to use soap on cast iron?
A: Yes, mild dish soap is generally fine for cast iron, especially for light cleaning. Modern soaps do not contain the harsh lye that traditional soaps did, which would strip seasoning. Avoid strong degreasers, as these can still break down the seasoning layer. Always dry thoroughly afterward.
Q4: How often should I re-season my cast iron?
A: You do not need to re-season your cast iron pan after every use. Re-seasoning is necessary if you deep clean it (e.g., using oven self-clean or abrasive methods that strip seasoning), if it starts to rust, or if food begins to stick consistently. Regular cooking and light oiling after each use maintain the seasoning.
Q5: What if burnt food won’t come off?
A: For truly stubborn burnt food, try boiling water in the pan for 10-15 minutes, then scraping. If that fails, a coarse salt and oil scrub or a chainmail scrubber can help. For extreme cases, consider the baking soda paste method or, as a last resort, stripping and re-seasoning the entire pan.
Q6: Can I put hot cast iron in cold water?
A: No, you should avoid putting a hot cast iron pan directly into cold water. The sudden temperature change can cause the pan to crack or warp. This is known as thermal shock. Always let your cast iron cool down gradually before cleaning it with water.
Conclusion
Cleaning burnt cast iron can seem daunting. With the right techniques and a little patience, you can restore your cherished cookware. We have covered gentle methods using boiling water and scrapers. We have also explored natural cleaning agents like baking soda and salt. For the most stubborn cases, we discussed more intensive approaches.
Remember, the goal is to remove the burnt residue while protecting your pan’s seasoning. Regular maintenance and careful handling prevent future burn-on issues. Always dry your cast iron thoroughly after cleaning. Do not forget to apply a thin layer of oil. This keeps it seasoned and ready for cooking.
Your cast iron pan is a durable kitchen companion. It improves with age and proper care. By understanding how to clean burnt cast iron effectively, you ensure its longevity. You also continue to enjoy the superior cooking experience it provides. Take pride in your restored pan. Enjoy many more delicious meals.
- cast iron cleaning
- burnt cast iron
- restoring cast iron
- cast iron skillet care
- stubborn stains


