· Todd Martin · Appliance Care · 13 min read
How To Clean Airwrap Filter
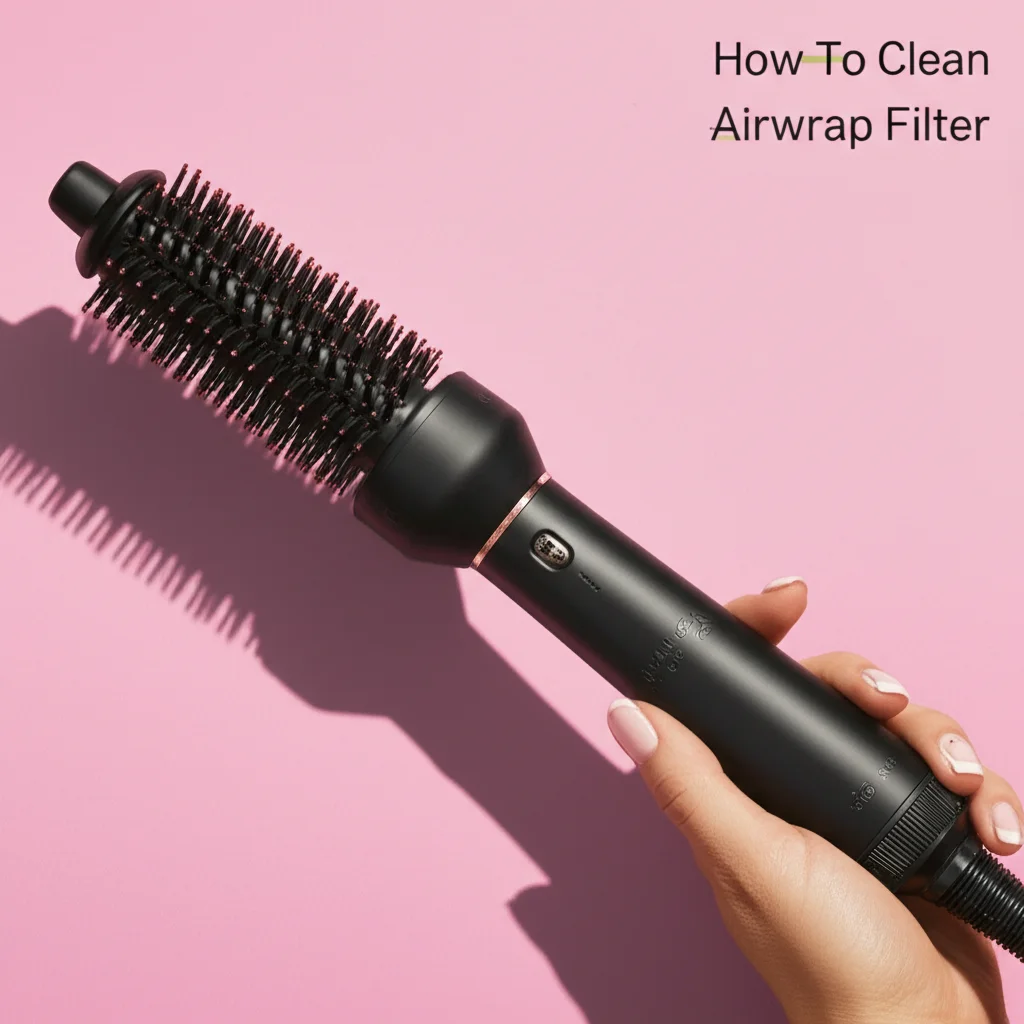
How to Clean Your Airwrap Filter for Peak Performance
I understand the joy of using a Dyson Airwrap. It styles hair beautifully with less heat. This device relies on powerful airflow to create those bouncy curls and sleek looks. But like any high-performance tool, it needs regular care. A clean filter is crucial for its optimal operation.
If you notice your Airwrap losing power, making unusual noises, or displaying a flashing light, a dirty filter is often the cause. Lint, dust, and hair collect in the filter cage. This buildup restricts airflow, reducing the tool’s effectiveness and potentially shortening its lifespan. Cleaning your Airwrap filter regularly ensures consistent performance and protects your investment. This article will guide you through every step to clean your Airwrap filter effectively. You will learn the signs of a dirty filter, what tools you need, and how to perform both routine and deep cleaning.
Takeaway
Keeping your Airwrap filter clean ensures top performance and longevity for your styling tool.
- Check your filter regularly for lint and hair buildup.
- Use the provided cleaning brush for quick, dry maintenance.
- Perform deep cleaning with water and soap when needed, ensuring complete drying.
- Clean the filter every few weeks, or more often with frequent use.
To clean your Airwrap filter, simply twist and slide down the filter cage. Use the provided cleaning brush to brush away lint, dust, and hair buildup from the mesh. For a deeper clean, you can rinse the filter cage with warm water and mild soap, ensuring it is completely dry before reattaching it to the device.
Understanding Your Airwrap Filter and Its Importance
The filter on your Airwrap is a vital component. It protects the motor from dust, lint, and hair. Think of it as the device’s lungs. When you use your Airwrap, tiny particles from hair and the environment get pulled into the filter. Over time, these particles accumulate, creating a thick layer. This layer blocks the airflow.
A clogged filter can lead to several problems. First, the Airwrap loses its styling power. You might find it harder to curl or smooth your hair. Second, the motor works harder to pull air through the blockage. This extra effort can cause the device to overheat. Overheating triggers safety shutdowns, where your Airwrap stops working mid-style. Prolonged overheating can damage the motor permanently. Regular cleaning keeps the airflow free. This ensures your Airwrap performs as it should. It also extends the life of your valuable styling tool. Keeping the filter clean means you continue to enjoy salon-quality results at home.
Signs Your Airwrap Filter Needs Cleaning
Recognizing when your Airwrap filter needs attention saves you from performance issues. There are clear indicators that signal a clogged filter. The most common sign is a noticeable drop in airflow. If your Airwrap feels less powerful than usual, or if it takes longer to style your hair, the filter likely needs cleaning. I’ve personally experienced this: one day, my curls just weren’t holding.
Another common sign is the device shutting off unexpectedly. The Airwrap has a safety mechanism to prevent overheating. If the filter is blocked, the motor gets too hot, and the device powers down to protect itself. You might also notice a red or blinking light on the handle. This light is an alert from the device itself. It indicates an obstruction in the airflow system. Finally, listen for unusual noises. A struggling motor trying to pull air through a clogged filter can sound strained or louder than normal. Addressing these signs promptly with a good cleaning will restore your Airwrap’s power and prevent further damage.
Gathering Your Tools: What You Need for Filter Cleaning
Cleaning your Airwrap filter is a simple task that requires just a few basic items. You do not need any special or harsh cleaning solutions. Most of what you need likely came with your Airwrap. First, locate the filter cleaning brush. Dyson provides this small, round brush specifically for this purpose. It has stiff bristles designed to dislodge lint and dust.
Next, you will need a clean, lint-free cloth. A microfiber cloth works very well. This cloth helps wipe away any remaining dust. It also helps dry the filter cage if you decide to rinse it. For a deeper clean, you might need a small amount of warm water and a mild, non-abrasive soap. Dish soap works fine, but avoid harsh chemicals or strong detergents. These can damage the filter material. Lastly, a clear, flat surface to work on is helpful. This keeps everything organized. Having these items ready ensures a smooth and efficient cleaning process. You are now prepared to give your Airwrap filter the care it needs.
Step-by-Step Guide: How to Clean the Airwrap Filter
Cleaning your Airwrap filter is a straightforward process. I find it easiest to do this in a few simple steps. Following these instructions will help restore your device’s airflow and efficiency. This routine maintenance is key to keeping your Airwrap in top shape.
- Unplug and Cool Down: Always start by unplugging your Airwrap from the power outlet. Safety is important when cleaning any electrical appliance. Allow the device to cool completely if you have just used it. A cool Airwrap is easier and safer to handle.
- Remove the Filter Cage: Hold the main body of the Airwrap firmly. Locate the cylindrical filter cage at the bottom of the handle. It usually has small arrows indicating the unlock direction. Twist the filter cage counter-clockwise. Then, slide it down and off the handle. You will likely see a visible accumulation of lint and hair.
- Brush Away Loose Debris: Take the filter cleaning brush provided with your Airwrap. Fit the brush over the mesh filter cage. Twist and rotate the brush to loosen and remove visible lint, dust, and hair. Brush both the outer mesh and the inner part of the filter cage. You will see the debris coming off easily. Make sure to get into all the crevices.
- Wipe Down the Filter Cage: Use a clean, lint-free cloth to wipe the entire surface of the filter cage. This removes any fine dust particles that the brush might have missed. Ensure the mesh is clear and free of blockages. A quick wipe often makes a big difference.
- Clean the Internal Mesh: Look into the handle where the filter cage was attached. There is often an internal mesh or screen. Gently use the filter cleaning brush to clear any lint or hair stuck to this internal part. Do not push anything inside the main body of the Airwrap. Just brush the surface.
- Reattach the Filter Cage: Once both the filter cage and the internal mesh are clean, slide the filter cage back onto the handle. Align the arrows or markings. Twist it clockwise until it clicks securely into place. Make sure it is firmly attached before plugging in your Airwrap again.
This routine dry cleaning is often enough for regular maintenance. For more stubborn buildup, consider a deeper clean, which we will discuss next. Performing these steps regularly will keep your Airwrap working like new. Remember, a clean filter is a happy Airwrap. For more general advice on keeping your Dyson appliances in top condition, you might find tips on how to clean Dyson Airwrap attachments helpful, as accessories also benefit from regular care. You can also refer to guides on how to clean Dyson Airwrap filter for more specific device insights. For other Dyson devices, understanding how to clean Dyson blow dryer filter or even a general how to clean Dyson air filter can provide a broader perspective on their maintenance philosophies.
Deep Cleaning the Airwrap Filter: When and How
Sometimes, dry brushing is not enough. Stubborn grime or oily residues from hair products can cling to the filter mesh. This requires a deeper clean. I recommend deep cleaning your Airwrap filter every few months, or if the dry cleaning method does not fully restore airflow. A deep clean gets rid of the embedded dirt that routine brushing misses.
- Prepare a Soapy Solution: Fill a small bowl with warm water. Add a few drops of mild dish soap. Stir the water gently to create some suds. Avoid using too much soap. Strong chemicals are not necessary and can be harmful.
- Soak the Filter Cage: Once you have removed the filter cage from the Airwrap, submerge it completely in the soapy water. Let it soak for about 10 to 15 minutes. This soaking helps loosen up any caked-on dirt or product residue. The warm water helps dissolve the oils.
- Brush Under Running Water: After soaking, take the filter cage out of the bowl. Hold it under cool, running water. Use the provided filter cleaning brush to gently scrub the mesh. Brush both the inside and outside surfaces. You should see the loosened grime washing away. Continue brushing until the water runs clear.
- Rinse Thoroughly: Rinse the filter cage very thoroughly under running water. Ensure all soap residue is gone. Any remaining soap can attract dust faster or affect the device’s operation. Shake off excess water.
- Dry Completely: This is the most critical step. The filter cage must be completely dry before you reattach it to your Airwrap. Water can damage the electrical components of the device. Shake off as much water as possible. Then, place the filter cage on a clean, dry towel. Allow it to air dry for at least 24 to 48 hours. I often place it near a fan to speed up the process. You can also pat it gently with a dry, lint-free cloth. Do not use heat to dry it, such as a hairdryer, as this can warp the plastic. Check that every part of the mesh is dry.
- Reattach When Dry: Once you are absolutely certain the filter cage is dry, reattach it to your Airwrap. Then, you can plug in and test your device. You should notice a significant improvement in airflow and performance. This deep cleaning method will keep your Airwrap functioning optimally for longer periods.
Preventative Measures: Keeping Your Airwrap Filter Cleaner Longer
Regular maintenance is the best defense against a clogged Airwrap filter. While cleaning is essential, there are steps you can take to minimize buildup. These preventative measures reduce the frequency of deep cleaning. They also help your Airwrap maintain peak performance consistently. I always try to incorporate these habits into my routine.
First, always style clean hair. Using your Airwrap on hair with heavy product buildup or excessive oil will transfer these substances to the filter. This leads to faster clogging. A quick wash or rinse before styling can make a big difference. Second, avoid using hairspray or dry shampoo directly over the Airwrap’s filter. These products can become sticky and trap lint more effectively. If you must use them, apply them away from the device’s intake.
Third, store your Airwrap properly. When not in use, keep your Airwrap in its original case or a clean, dust-free drawer. Leaving it out on a vanity can expose the filter to ambient dust and hair. A protective case shields the filter from accumulating airborne particles. Fourth, perform quick, dry brushes more often. Even if your Airwrap is not showing signs of reduced performance, a swift brush of the filter with the cleaning tool after every few uses can prevent major clogs from forming. This simple action takes only seconds. By following these tips, you extend the intervals between thorough cleanings. You also ensure your Airwrap remains efficient and ready for use.
Troubleshooting Common Airwrap Filter Issues
Even after cleaning, you might encounter lingering issues with your Airwrap. Do not worry; many common problems have simple solutions. I’ve faced a few myself and learned how to tackle them. Understanding these fixes helps you quickly get back to styling.
One common issue is the red or blinking light persisting after cleaning. This often means there is still some obstruction or the filter was not fully reattached. First, unplug the Airwrap. Remove the filter cage again. Re-examine the filter mesh carefully. Hold it up to a light source. Look for any tiny bits of lint or hair that might still be trapped. Use the brush to clear these stubborn pieces. Also, check the internal mesh within the handle. Sometimes a clump of hair gets pushed back there. Ensure both areas are perfectly clear. Then, firmly reattach the filter cage. Make sure it clicks into place. This firm connection is vital.
Another issue is reduced performance despite a seemingly clean filter. This could indicate a deeper problem, though it is rare. If the device still struggles, check if you performed a deep clean. Dry brushing only removes surface debris. Oily residues require a water rinse. If you have done both and still have issues, the motor might be damaged. Contact Dyson support in such cases. They can offer specific diagnostic help or repair services. They are experts in their products. Always ensure your filter is completely dry before reattaching it. Moisture can cause short circuits. By systematically checking these points, you can resolve most filter-related problems quickly.
FAQ Section
How often should I clean my Airwrap filter?
You should clean your Airwrap filter regularly. For daily users, a quick dry brush every week is a good idea. A deeper wet clean is recommended every month or two. If you use many hair products or have long hair, you might need to clean it more often. Pay attention to any signs of reduced performance.
Can I wash my Airwrap filter with water?
Yes, you can wash the Airwrap filter cage with warm water and mild soap for a deep clean. This helps remove stubborn oil and product residue. It is crucial to ensure the filter cage is completely dry before reattaching it to the device. Let it air dry for at least 24-48 hours.
What happens if I do not clean my Airwrap filter?
Ignoring your Airwrap filter leads to several problems. The device will lose power and efficiency as airflow becomes restricted. It may overheat and shut off frequently to prevent damage. Prolonged neglect can lead to permanent motor damage. This shortens the lifespan of your expensive styling tool.
How do I know if my Airwrap filter is truly clean?
After cleaning, hold the filter cage up to a light. You should see through the mesh clearly without any visible obstructions. The mesh should look uniform and free of lint or dust. Reattach it and test the airflow; it should feel strong and consistent again.
Can I use compressed air to clean the filter?
Dyson advises against using compressed air. While it might seem effective, compressed air can push debris further into the motor. This could potentially damage internal components. Stick to the provided cleaning brush and the recommended wet cleaning method for safety and effectiveness.
Conclusion
Keeping your Airwrap filter clean is not just a chore; it is an act of care for your valuable styling tool. A well-maintained filter ensures your Airwrap performs its best every time you use it. You will experience consistent airflow, efficient styling, and the peace of mind that your device is protected from damage. I hope this guide helps you maintain your Airwrap with confidence.
Remember, regular cleaning prevents issues and extends the life of your device. By understanding the signs of a dirty filter, gathering the right tools, and following our simple cleaning steps, you empower yourself to keep your Airwrap in top condition. Make cleaning your Airwrap filter a regular part of your beauty routine. Your hair and your Airwrap will thank you for it. Keep your Airwrap running like new and enjoy perfect hair days, every day!

Todd Martin
Senior Writer
With over 15 years of experience in home renovation and design, I started HEG to share what I’ve learned with homeowners who want to create spaces that are both beautiful and functional. I’ve always believed in a hands-on approach, and over the years, I’ve picked up practical solutions that actually work. Through HEG, I aim to make home improvement more approachable, sharing real tips that help you create a home you truly love.